
Expand or collapse a template grid cell
1. Overview
When using a template grid for resizing, you can choose to add a component to a cell such as button, and a Toggle Template Cell interaction to expand & collapse the cell. When collapsed, the cell will be reduced to the size of the component and all other contents will be hidden.
This walkthrough shows you how to set up a button to expand or collapse a template grid cell.
2. Set up the template grid
This example starts from a new blank dashboard: choose Define Template Grid, and add a 2x2 grid.
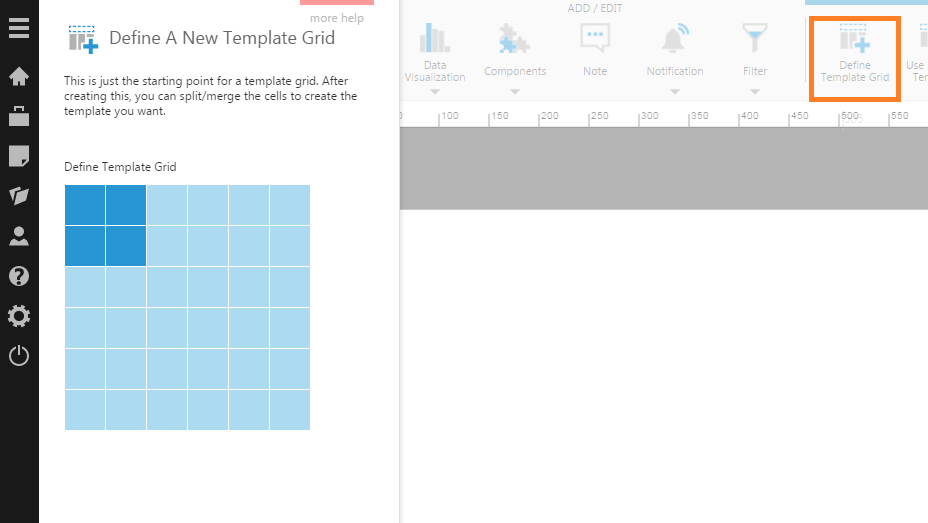
Also set the Re-Size Mode property of the dashboard to Resize.
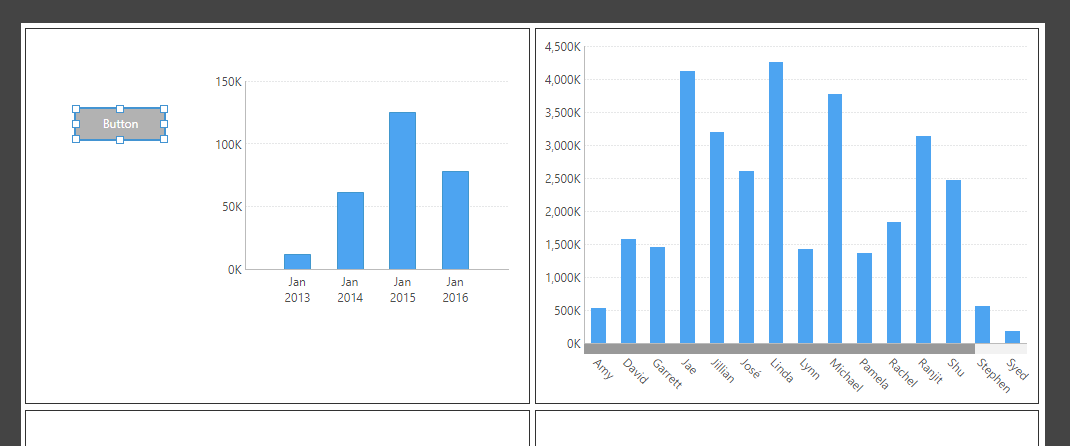
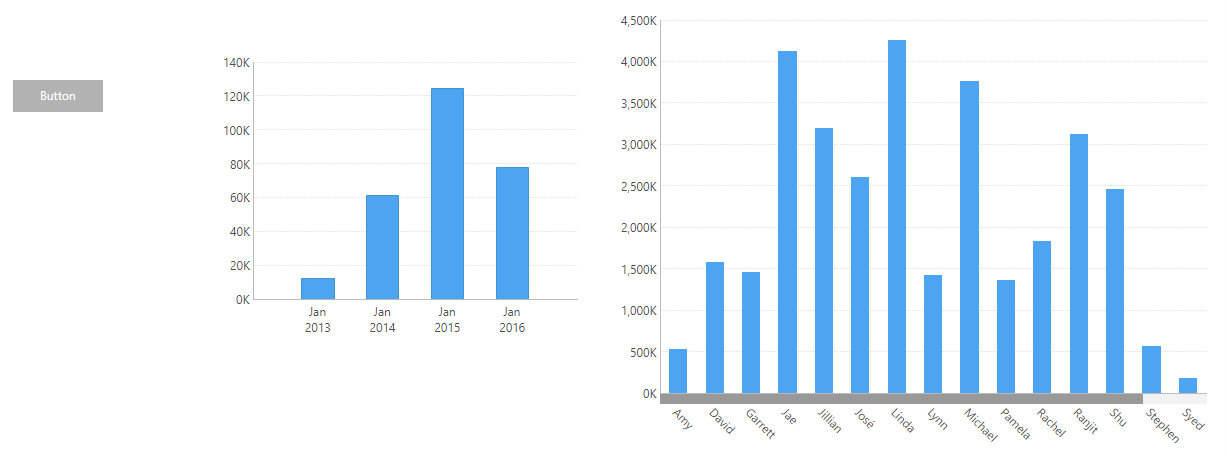
Add a button and a small chart to the first cell. Then add a second chart that fills up the second cell.
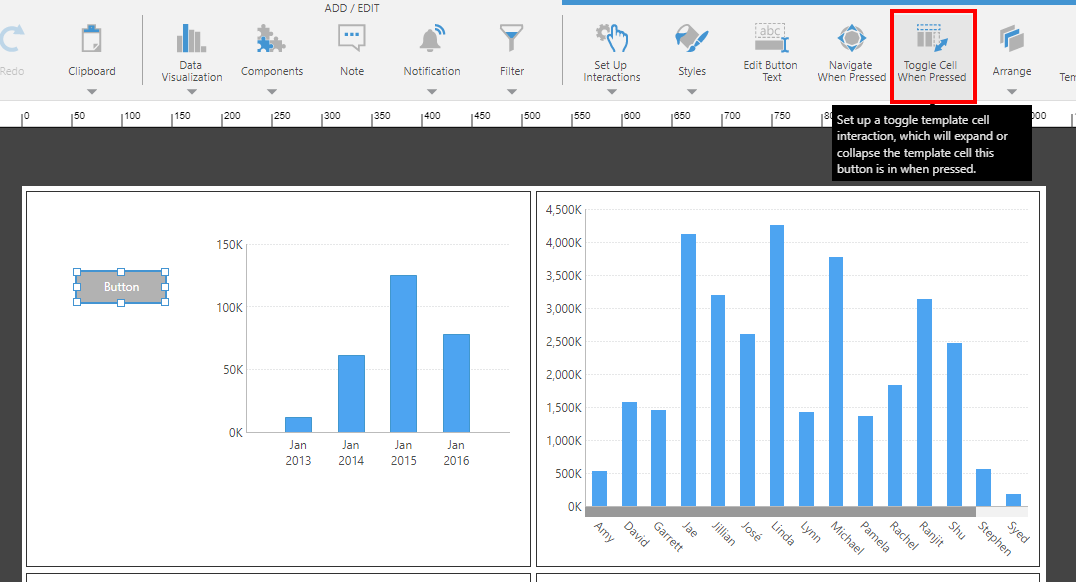
3. Set up the interaction
Select the button and choose Toggle Cell When Pressed in the toolbar.
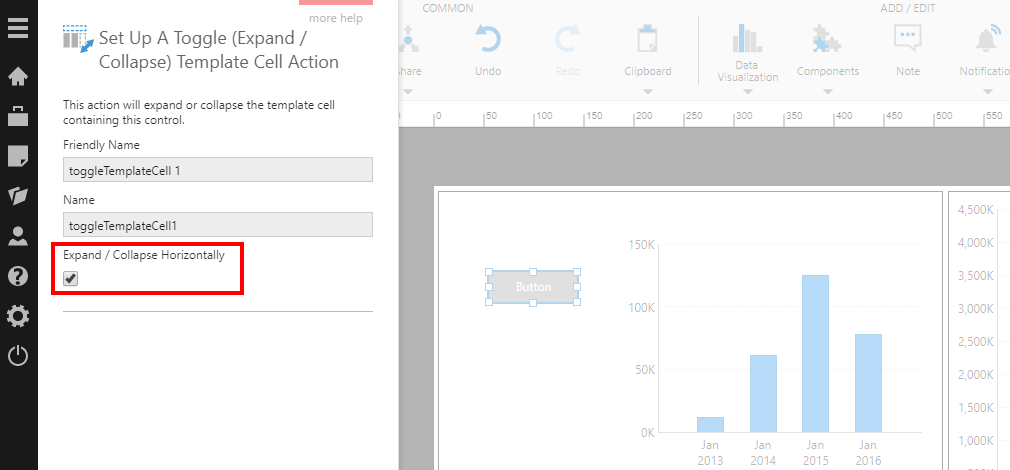
In the dialog, select the option to Expand / Collapse Horizontally. This option forces the expand/collapse to work horizontally only instead of in both directions (vertical and horizontal).
4. View the dashboard
Click Sandbox View to test the dashboard.
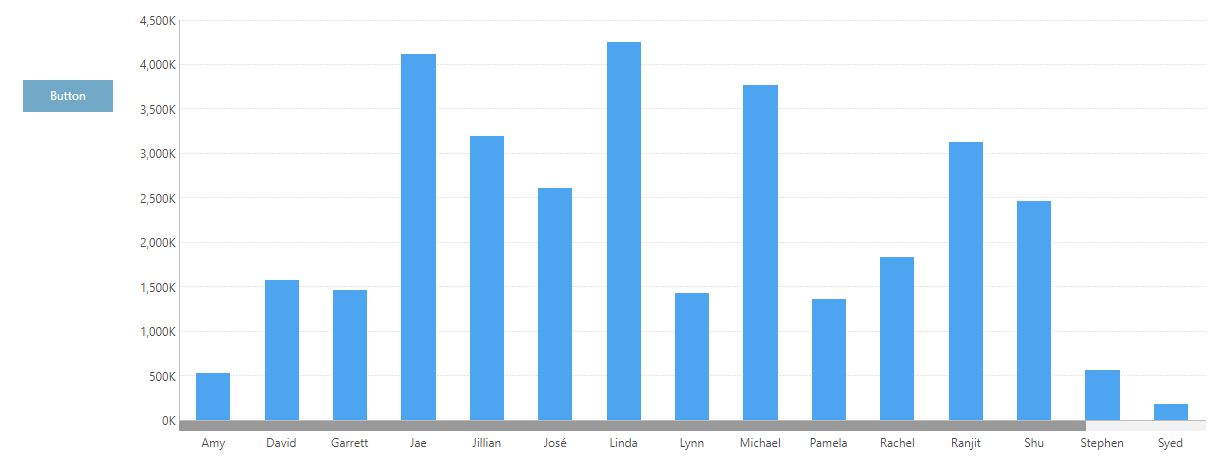
Click the button to collapse the first cell horizontally. Observe that the first chart is now hidden and the second chart expands to fill up the extra space.
Click the button again to expand the first cell.
If you view the dashboard normally to test, be aware that if you switch to Edit mode while the cell is collapsed, it will remain and be saved as collapsed.