How to set up a slideshow
1. Overview
Similar to a PowerPoint presentation, slideshows allow users to display their own selection of dashboards or other views in sequence. You can use them in a presentation, or to rotate through different views for monitoring purposes (e.g., in an office, operation center, or kiosk).
You can also export a slideshow as a PDF file, a PowerPoint presentation, or a set of images, so that you can create and share a storyboard or larger report made up of individual dashboards, reports, and other views. Notifications can also export and send this content on a schedule.
2. Create a new slideshow
To create a slideshow, Views in the main menu, switch to Slideshow along the top, then click Create.
3. Add views to the slideshow
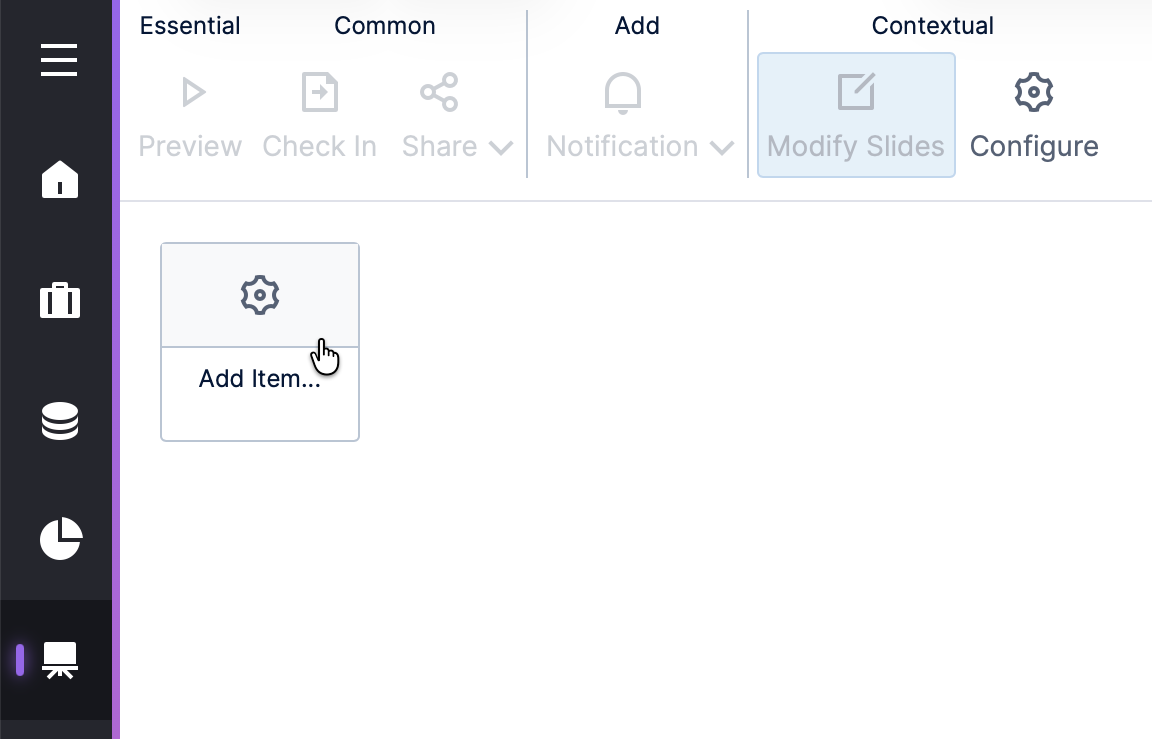
In the slideshow editor, click Add Item.
Select a dashboard or other view to be added to the slideshow, then click Open at the bottom of the dialog.
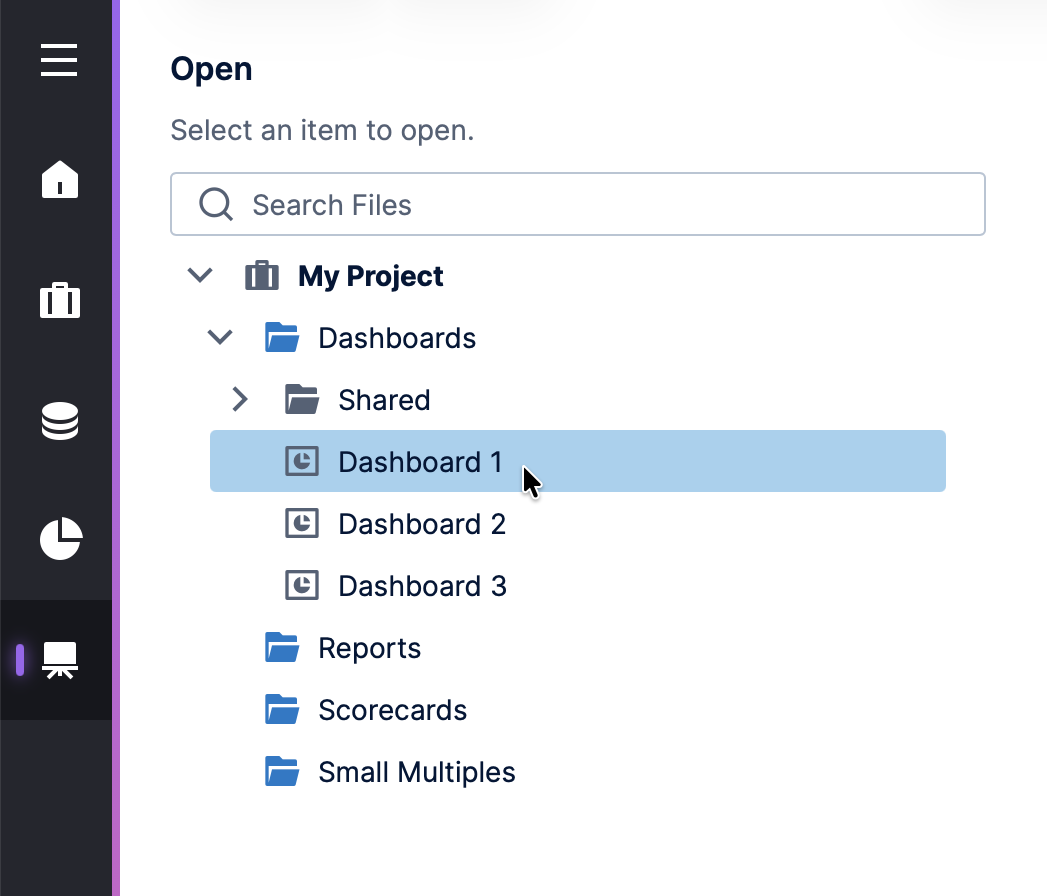
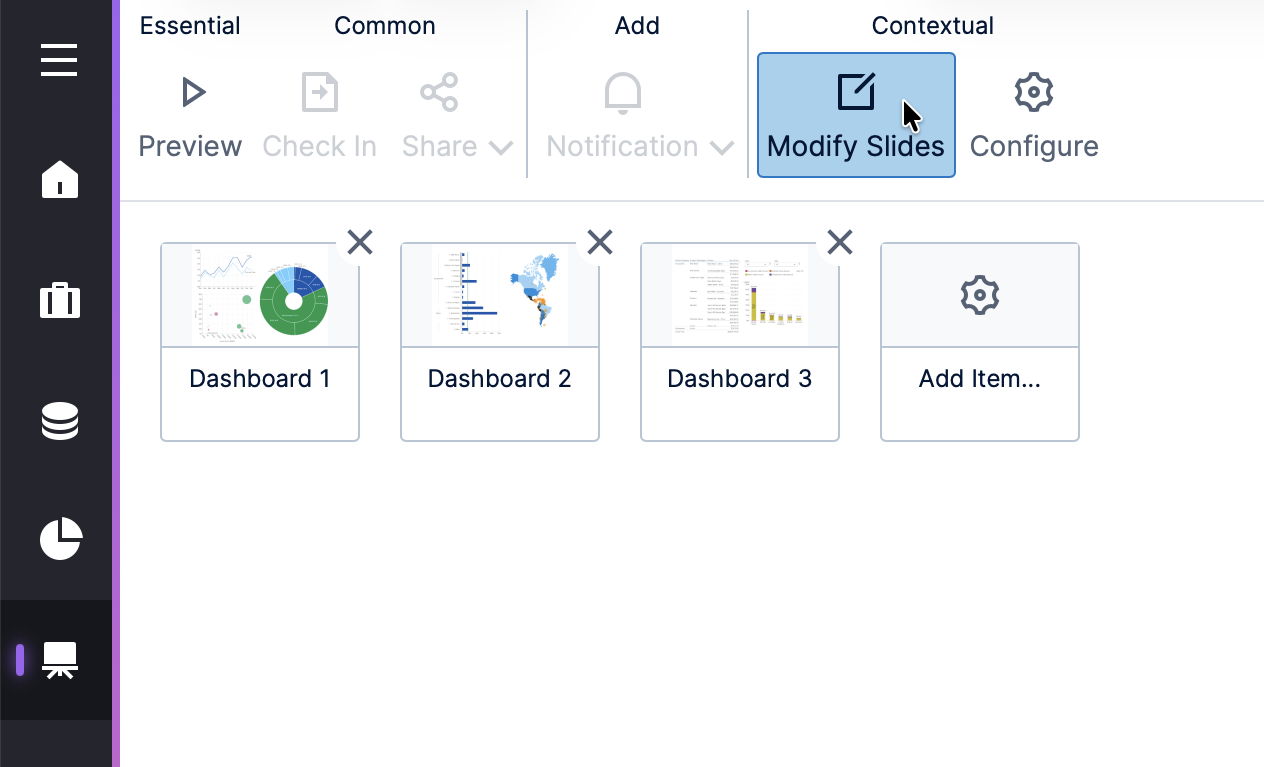
Repeat to add additional views as 'slides' to the slideshow.
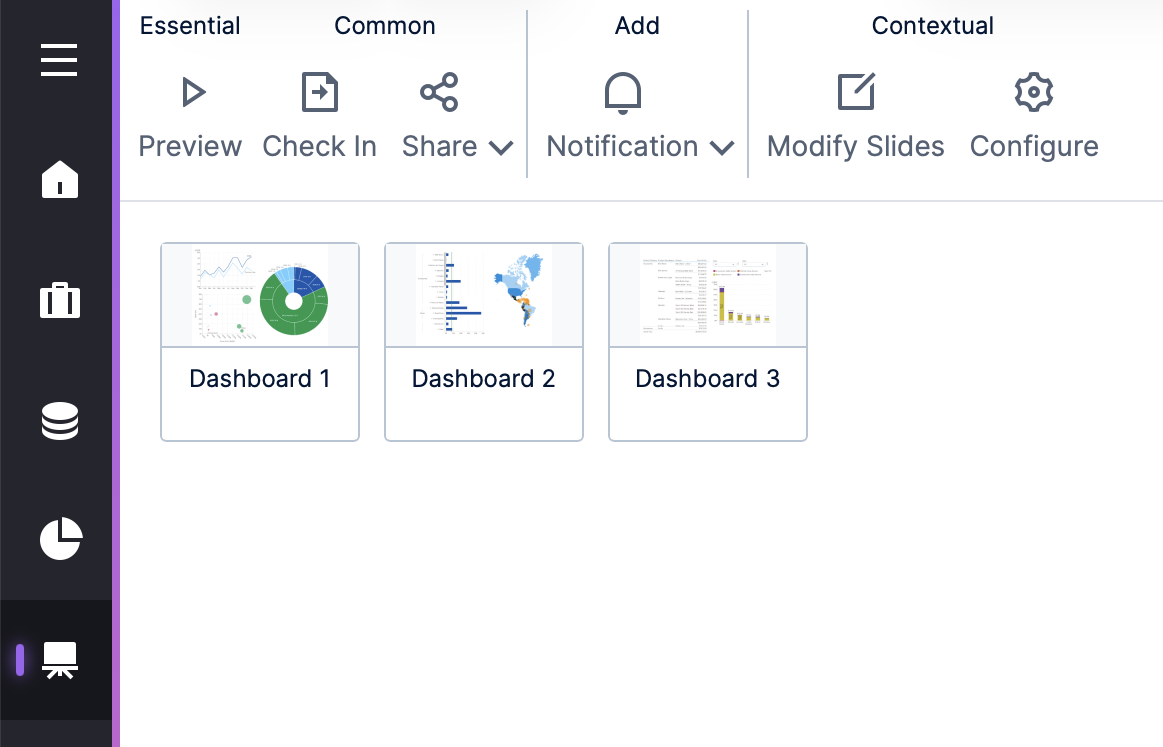
You can reorder the slides by dragging them, or remove a slide by clicking the x icon. Click Modify Slides in the toolbar to deselect it when you're finished to save your changes and for more options like sharing and notifications.
This is a toggle button, and you can click it again to go back to edit the slides.
4. Configure slideshow options
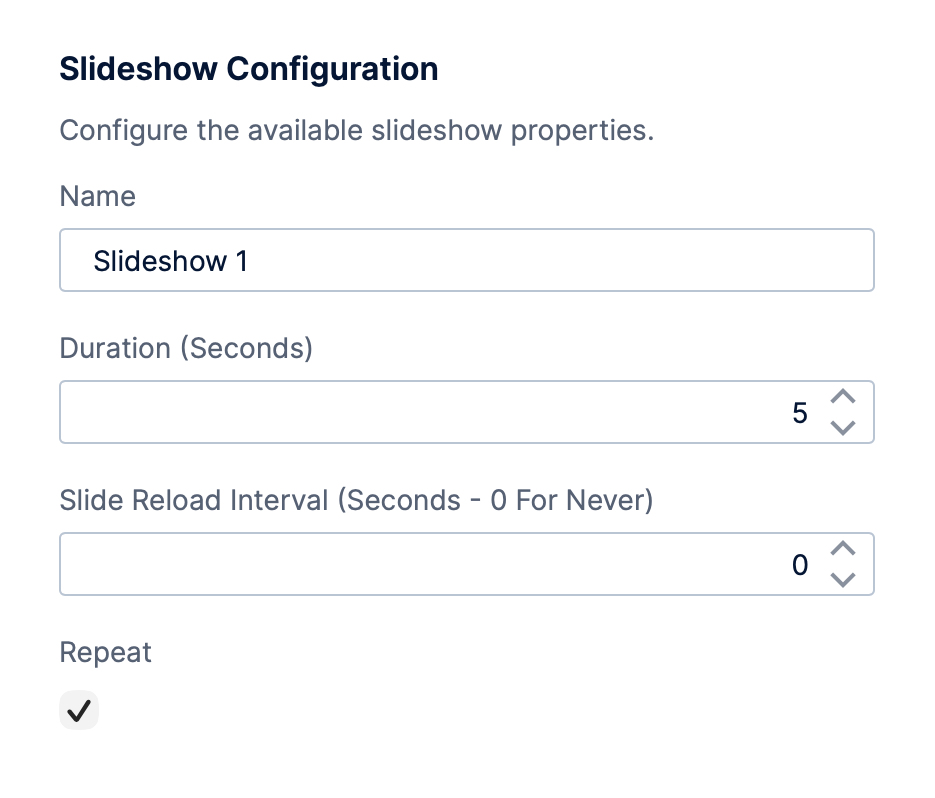
When editing a slideshow, click Configure in the toolbar to set slideshow options such as:
- Name of the slideshow
- Duration for each slide in seconds
- Slide Reload Interval in seconds, if you want each slide to also reload itself at some interval before moving to the next
- Repeat — loops through the slides continuously
5. Preview and play the slideshow
When editing, click Preview in the toolbar to play the slideshow. This also exits slide editing mode and saves any changes you made.
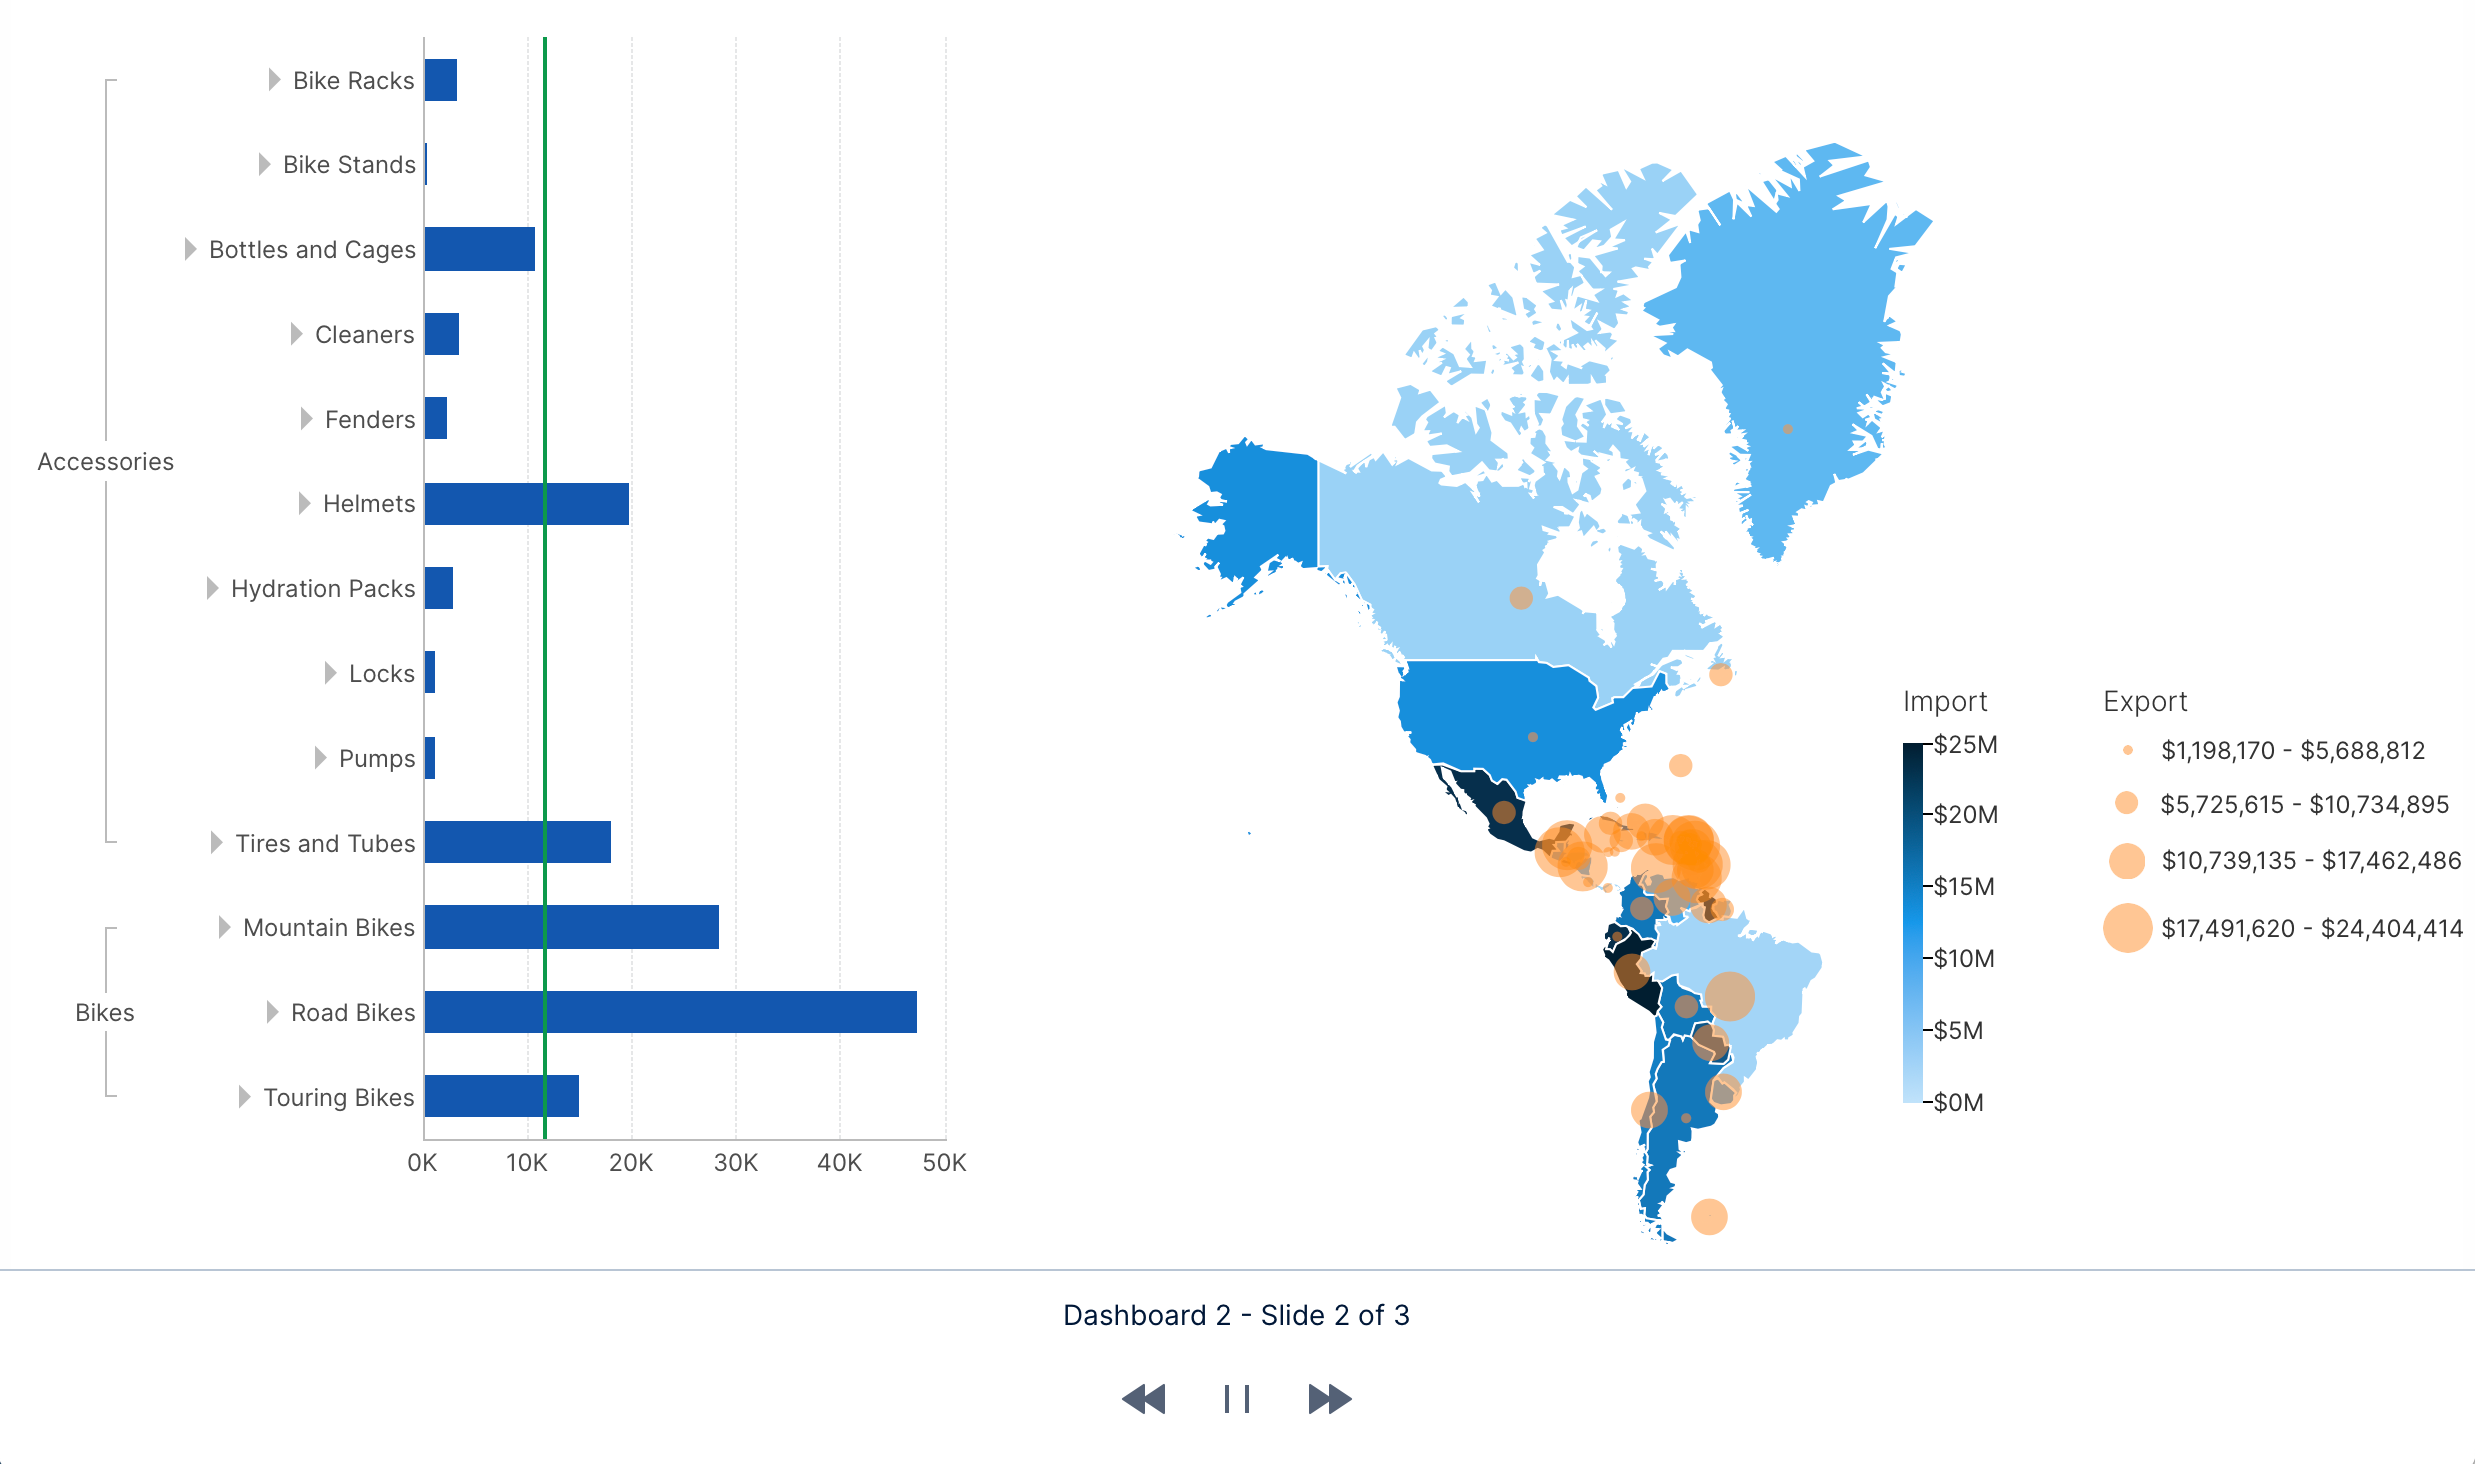
A panel appears automatically by default when moving the mouse toward the bottom of the screen, containing convenient options for pausing or playing the slideshow, and previous/next buttons.
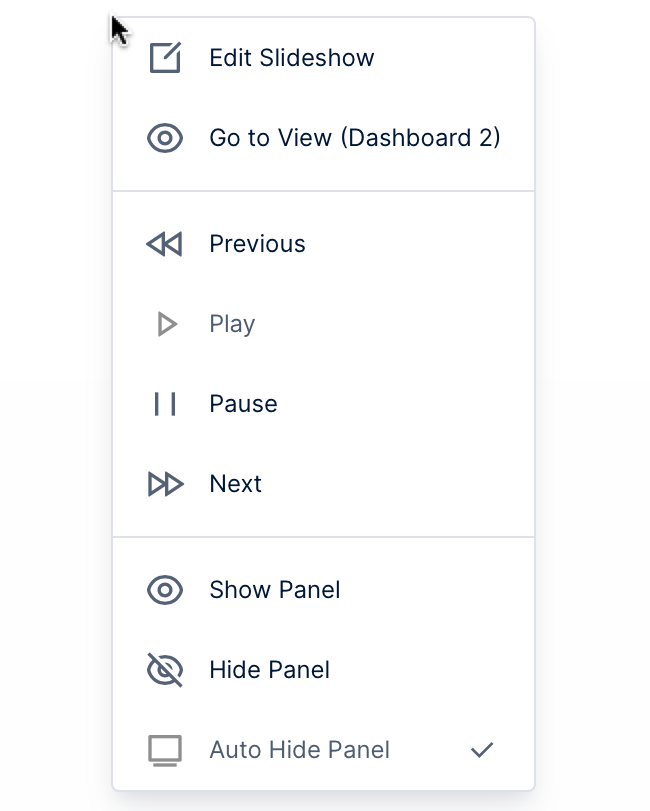
To access additional options, including for returning to the slideshow editor, right-click (or long-tap) the slideshow to access its context menu:
6. Edit a slideshow
To edit an existing slideshow, open it first from the main menu. It will open in view (or presentation) mode by default, in which case you can right-click or long-tap to access the context menu and choose Edit Slideshow as shown in the previous image.
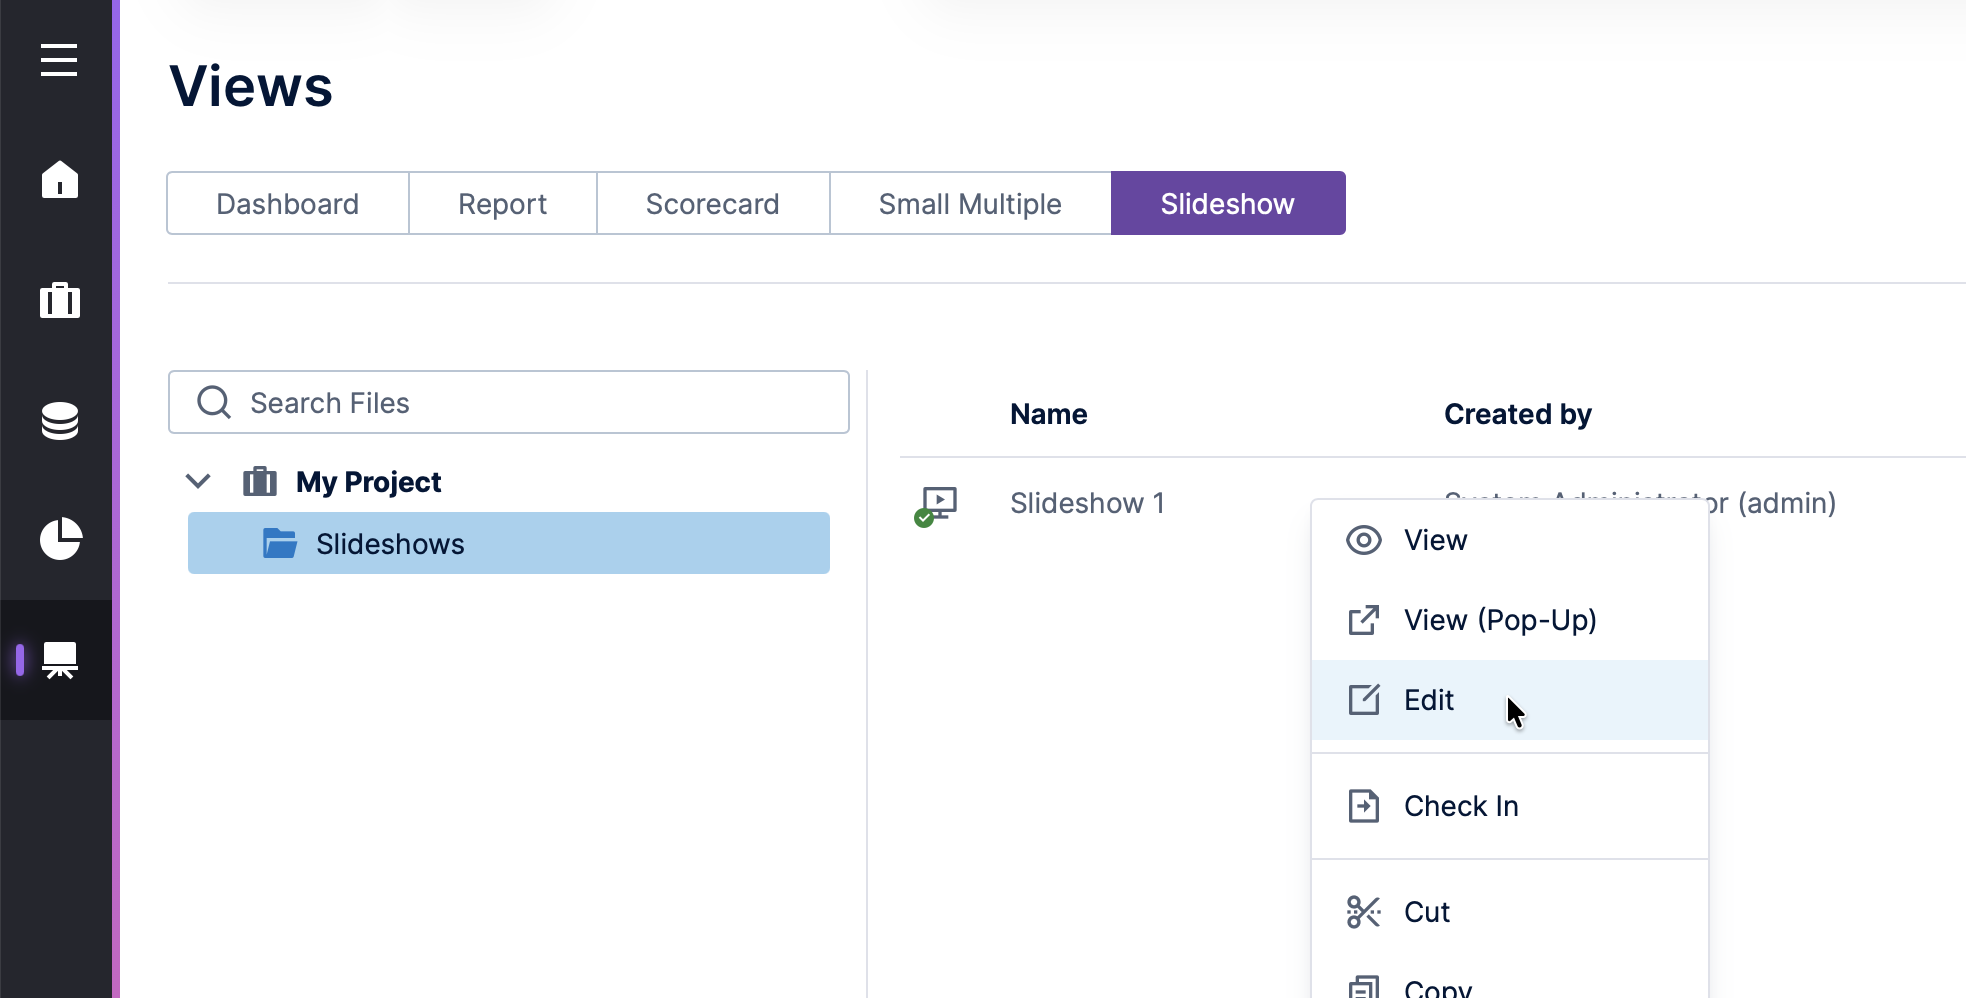
You can also open a slideshow from the main menu directly into edit mode like you can for other items: by right-clicking (or long-tapping) the file, or opening its three-dot menu, then choosing Edit.
If you want to add, remove, or reorder the slides, click Modify Slides in the toolbar if it's not already highlighted, and then you can follow the same steps shown earlier for a new slideshow.
7. Exporting and notifications
You can access the Share and Notification toolbar buttons in the toolbar when the slideshow is open for editing but not when modifying its slides: if the Modify Slides button is highlighted, click it first to save your changes and exit slide editing mode.
Choose from the following export formats to download or send or to set up in a recurring notification:
- PDF – contains a page for each view.
- PowerPoint – a PPTX presentation file containing a slide for each view.
- Image – a ZIP file containing a PNG image for each view.
Reports are themselves often made up of multiple pages, in which case each of them will also make up multiple PDF pages, PowerPoint slides, or images within the exported file.
In versions 24.3 and higher, PDF exports will include a table of contents accessible in most PDF viewers via a sidebar, for example, allowing you to click to navigate between the different items, similar to tables of contents in reports. A report's table of contents will be included below the top level of items.
For more details on exporting to these formats or setting up a scheduled notification, see Share or export your work and Notifications (alerts).
8. See also
- Check in, check out, and auto saving
- Share or export your work
- Notifications (alerts)
- Using the home screen
- Adding a table of contents

