Stored Procedure Select
The Stored Procedure Select transform lets you retrieve data using a relational database stored procedure. This transform is created automatically when you drag a stored procedure from a data connector in Explore to the data cube canvas.
1. Input
The Stored Procedure Select transform extracts data via a stored procedure such as uspGetManagerEmployees from the AdventureWorks 2014 sample database.
2. Add the transform
When editing a data cube, find your data connector in the Data Connectors folder in the Explore window. Expand it and its Programmatic Structures folder, then drag a stored procedure onto the canvas.
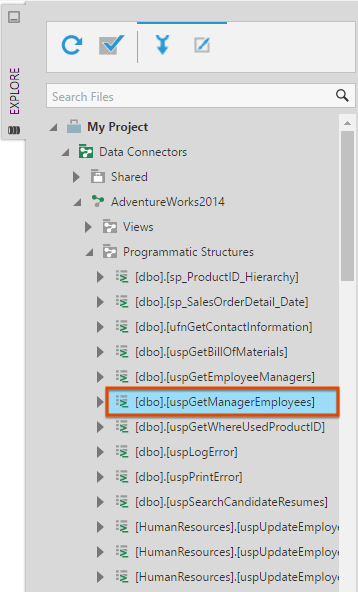
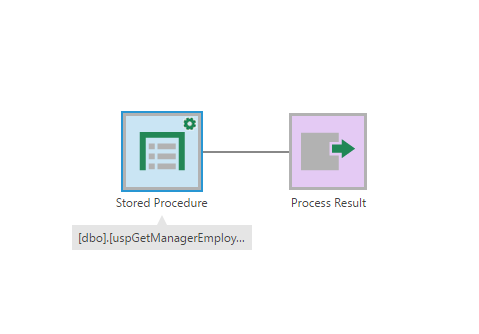
A Stored Procedure transform appears on the canvas and is connected to a Process Result transform. The icon at the top-right of the Stored Procedure transform indicates that it includes a parameter.
3. Configure the transform
Double-click the Stored Procedure transform, or select it and then choose Configure in the toolbar.
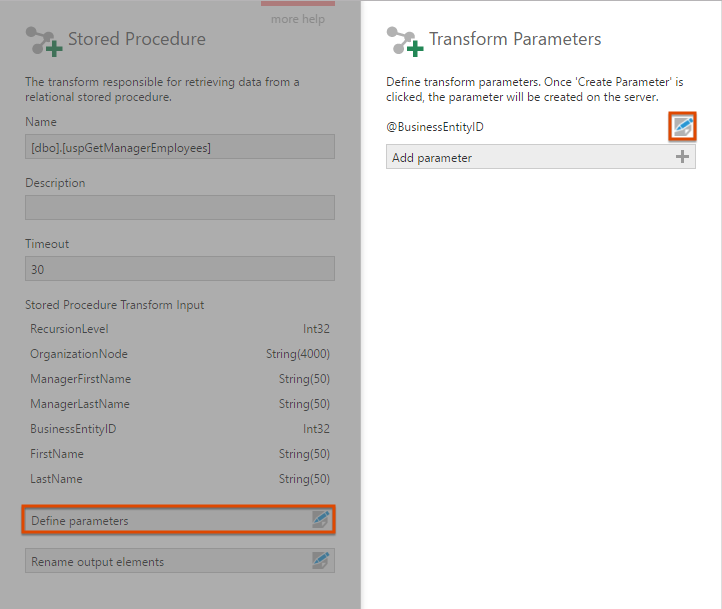
In the configuration dialog, the names and data types of the stored procedure's input columns are listed.
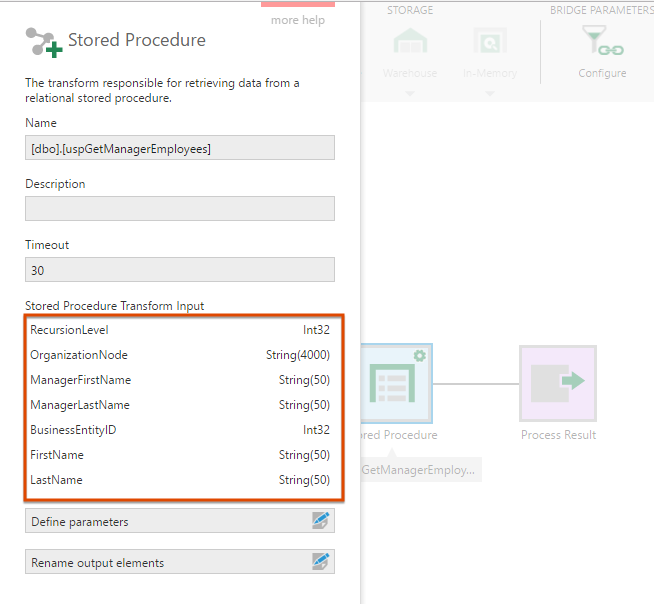
The Timeout determines how long in seconds to allow execution to take before terminating it.
Click Define parameters to configure the stored procedure's parameters.
In the Transform Parameters dialog, you will see that parameters are automatically detected and added to the list. Click the Edit button for a parameter to configure it.
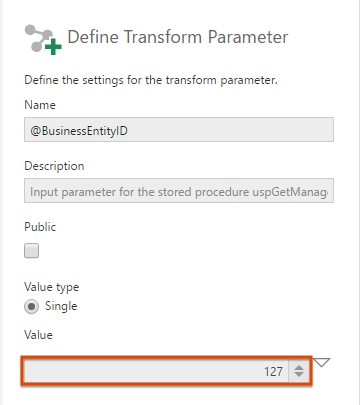
In the Define Transform Parameter dialog, use the Value field to indicate a default value for the parameter.
To allow the parameter to be set or attached to filters in metric sets, dashboards, etc., check Public.
4. Output
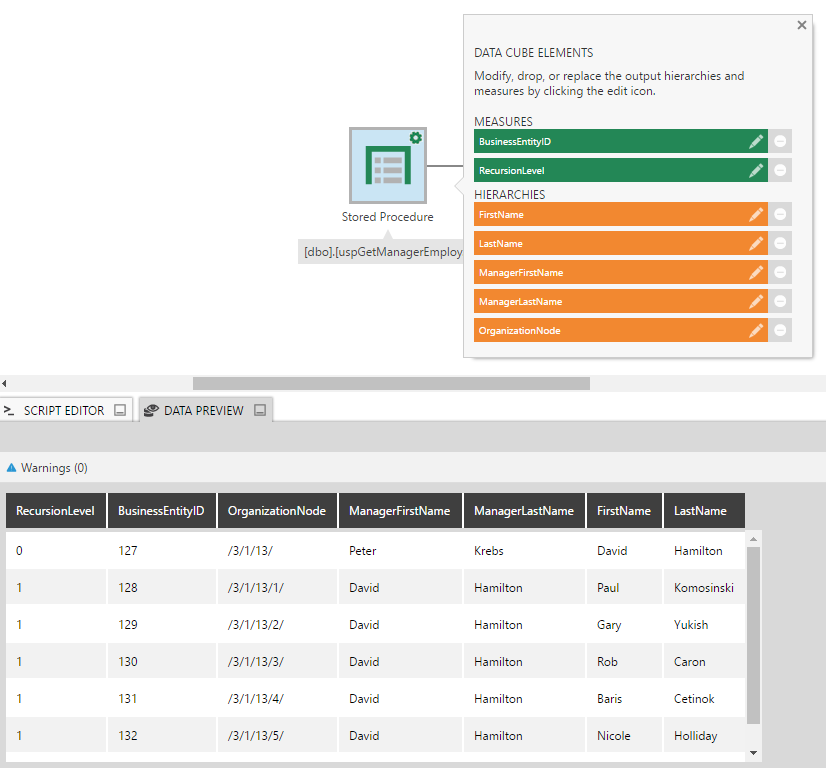
Select the Process Result transform on the canvas and then go to Data Preview to see the output from the stored procedure.

