Adding scheduler service to an existing instance
1. Overview
This article details how you can add the Dundas BI scheduler service to an existing instance on Windows if it is missing.
2. Launch the Deployment application
In the Start menu on the server, locate or search for the Dundas BI Deployment application. This was installed previously by the Dundas.BI.Setup program and lets you manage instances of Dundas BI.
If there are multiple versions, choose the same version number as the version of the instance you want to update.
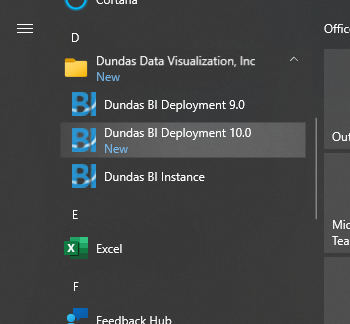
You can also locate and run Dundas.BI.Deployment.Application.exe in the folder where it was installed on the disk.
3. Add scheduler to instance
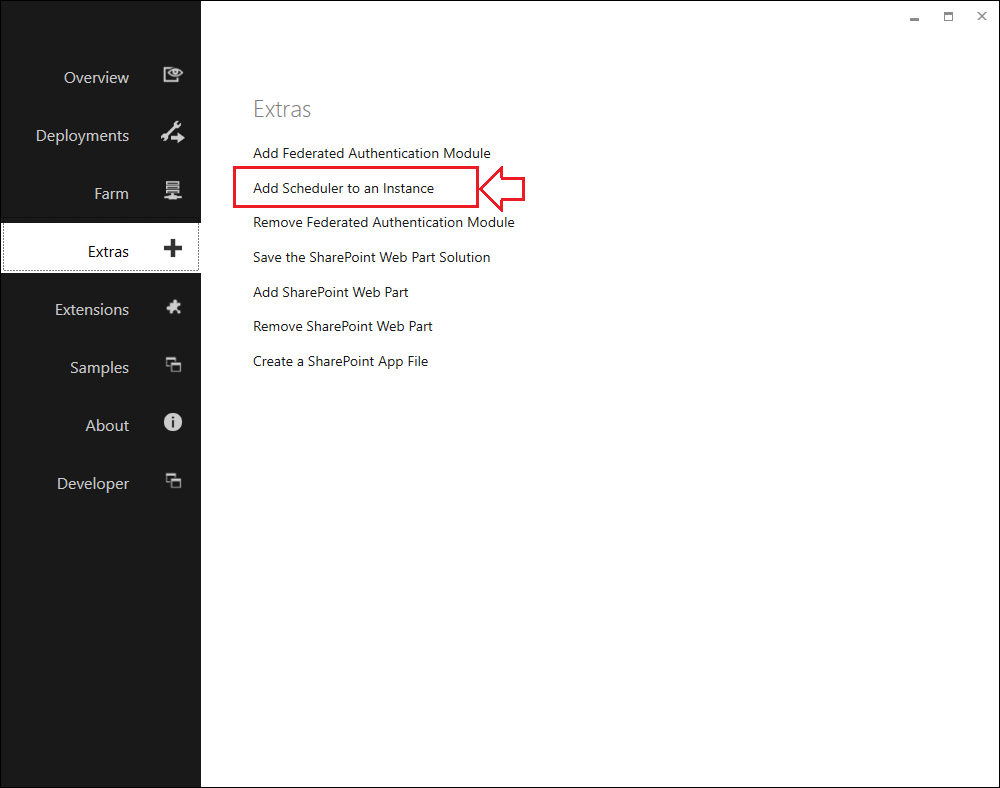
To add a scheduler to an existing instance click the extras menu within the deployment application. Next, click the option to add scheduler to an instance.
3.1. License Agreement
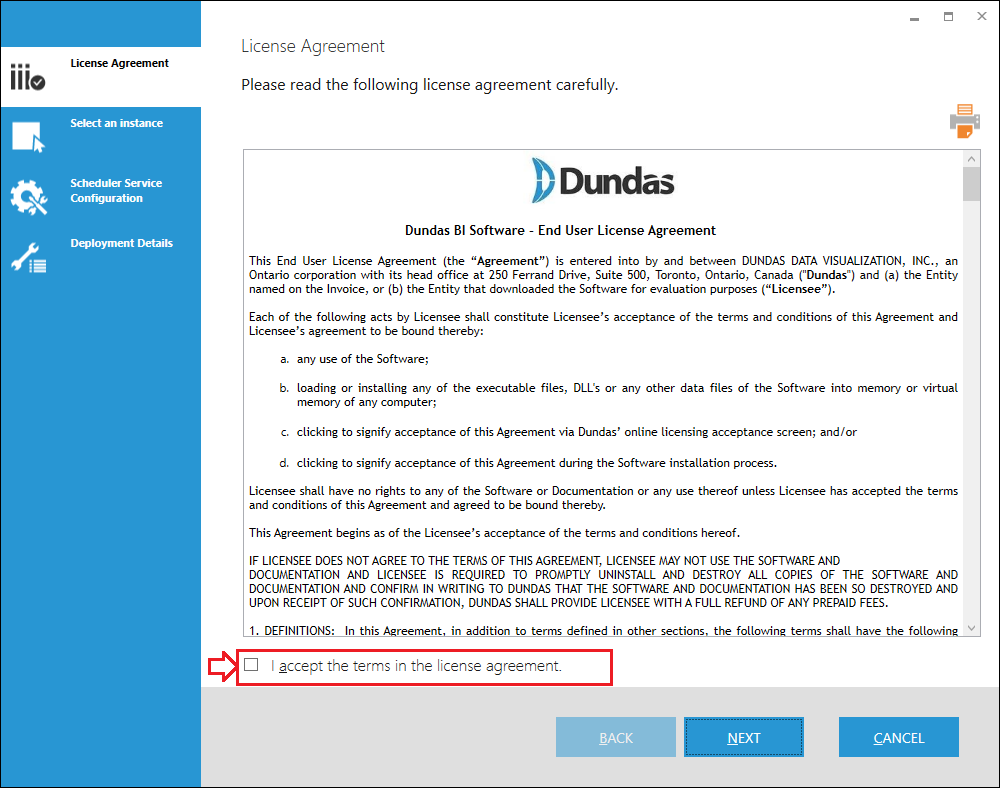
You must agree to the terms of the Dundas BI License Agreement before proceeding. If you agree with the terms, select the given checkbox and then click Next to continue.
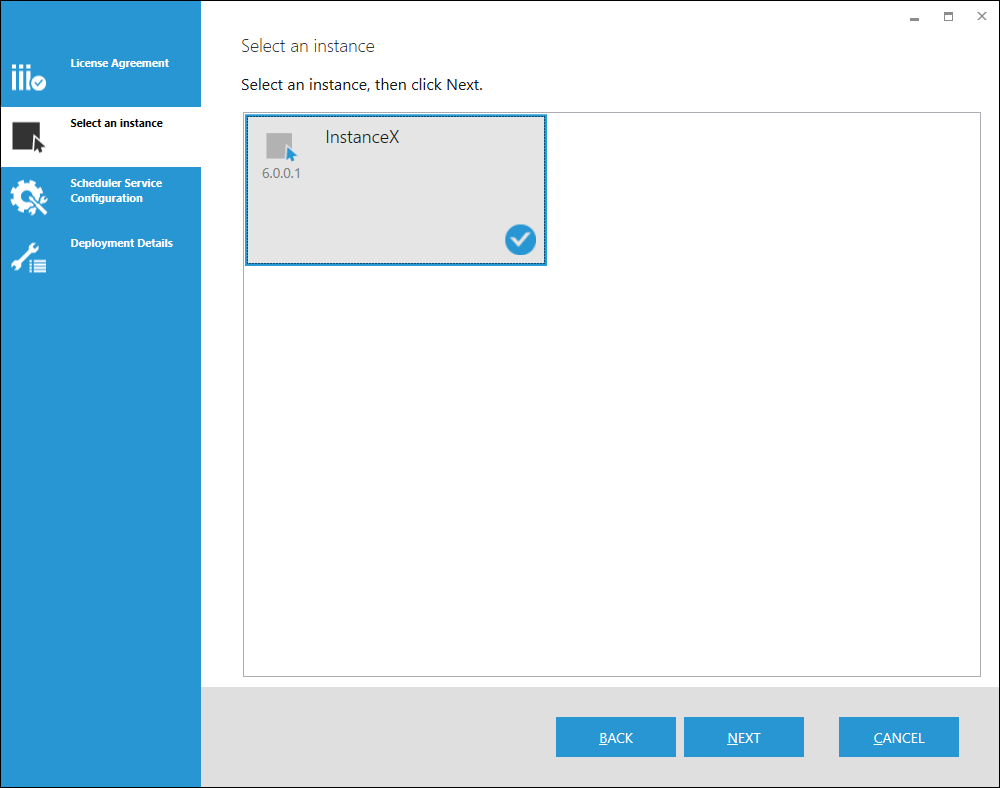
3.2. Select an Instance
In the Select an instance step, select the instance you want to add the scheduler service to.
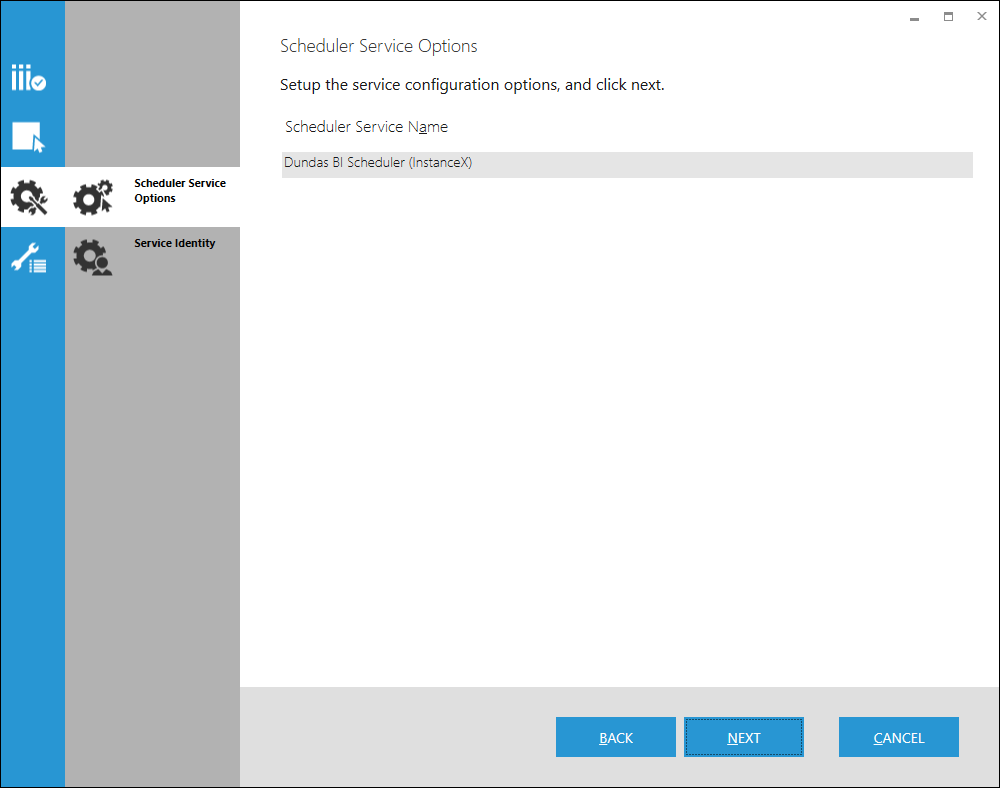
3.3. Scheduler Service Options
Enter the name of the service (or accept the default name).
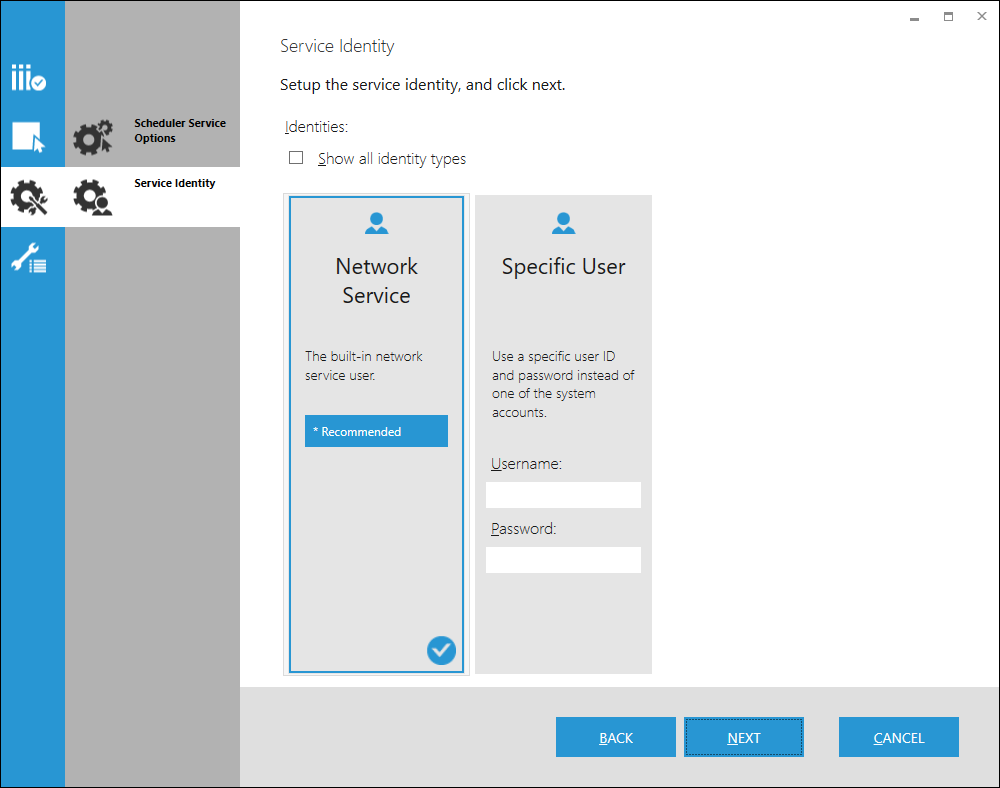
3.4. Service Identity
Choose an identity to run the Scheduler Service. The identity determines what permissions the service will have while running.
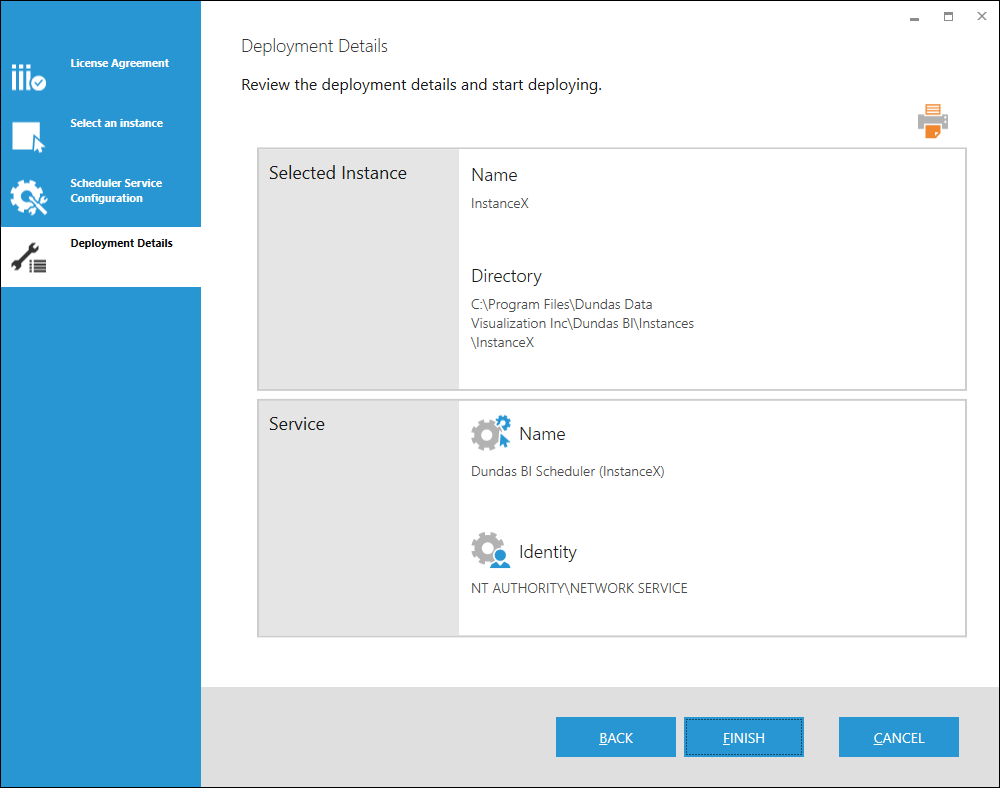
3.5. Deployment Details
This step lets you review all of the options you selected one more time before proceeding with adding the scheduler service.
You can also print the list of deployment details from this screen.
If everything looks fine, click Finish to begin installing.
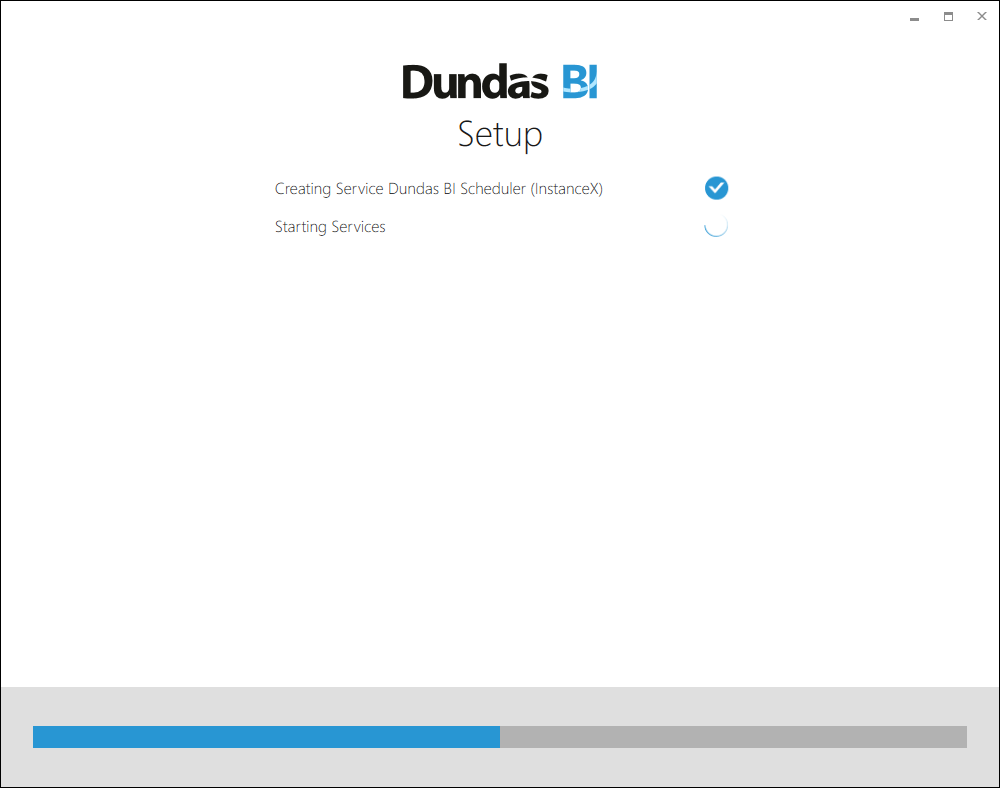
3.6. Running the Deployment Tasks
The tasks run to add the scheduler service to the instance.
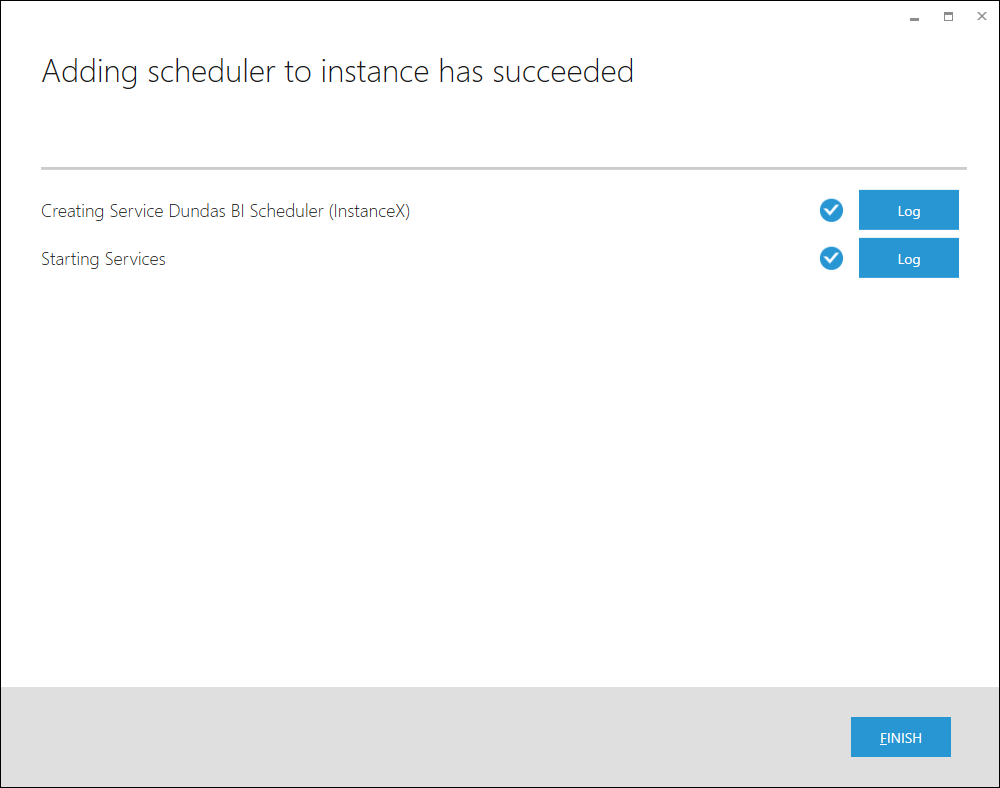
3.7. Summary
When the deployment of the scheduler service completes the summary screen appears. You can also review the installation logs from this screen.
Click Finish to return to the Dundas BI Deployment application.