Remove the SharePoint Web Part
1. Overview
This article shows you how to remove the Dundas BI SharePoint Web Part from your SharePoint server.
2. Launch the Deployment application
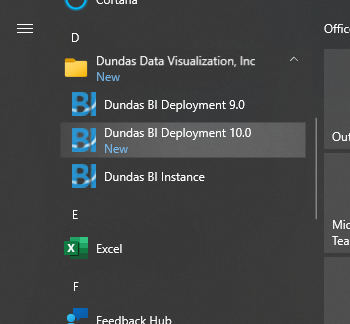
Start the Dundas BI Deployment application on your SharePoint server.
Locate or search for the Dundas BI Deployment application in the Start menu.

You can also locate and run Dundas.BI.Deployment.Application.exe in the folder where it was installed on the disk.
3. Remove the SharePoint Web Part
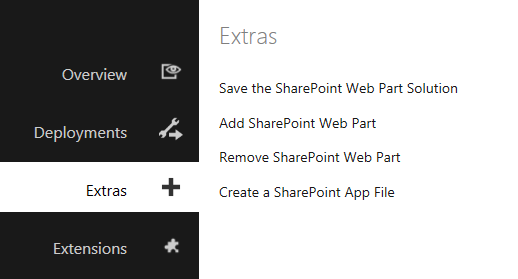
In the Deployment application's main screen, click Extras to see the available SharePoint options.

Click Remove SharePoint Web Part.
3.1. Prerequisites
The installation checks for prerequisites before it can proceed further. If your system meets all of the prerequisites, simply click Next to continue.
3.2. Remove Web Part
Review the list of operations that will be performed as part of the removal procedure. Select the checkbox to confirm that you want to remove the Web Part, and then click Next to continue.
3.3. Removal Details
Review the final details for removal and then click Remove to begin.
A progress screen is displayed while the Web Part is being removed.
3.4. Removing Dundas BI SharePoint web part has succeeded
A success screen is displayed when the removal operation is complete. Click Log to review the installer log.
Click Finish to return to the Deployment application main menu.


