Getting started with the .NET API
1. Overview
This article demonstrates how to use the .NET API with Dundas BI or Logi Symphony's Managed Dashboards & Reports in a new or existing Visual Studio project.
2. Prerequisites
- A version of Microsoft .NET compatible with your version of the application.
- This article describes using Visual Studio as your IDE.
Version 9 and below installed on Windows use the .NET Framework, while version 10 and higher and all other platforms use .NET Core, now also known as simply .NET. For more details, check the system requirements for your version of the application.
3. Setup
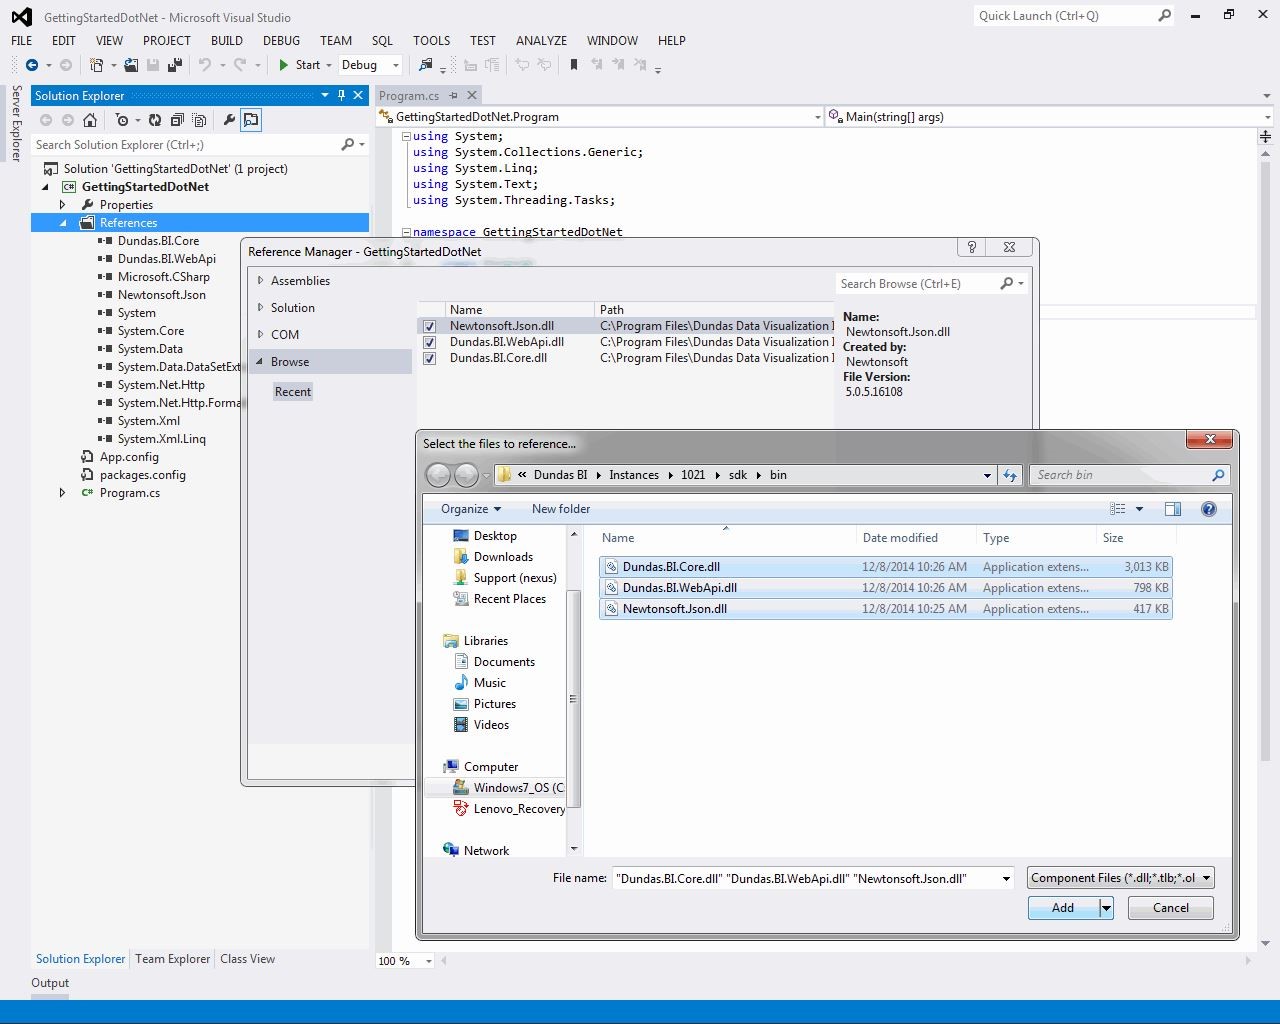
- With your project open in Visual Studio, right-click References or Dependencies in the Solution Explorer.
- You can click Manage NuGet Packages and browse for the Dundas packages that you need to reference. For more details, see the Microsoft Docs article.
- You can also choose Add Project Reference, then click Browse - see Microsoft Docs for details for your version of Visual Studio. The SDK assemblies are installed with an application instance in the sdk\bin subfolders if you have access to or have copied these.
- The most common package or assembly to use is Dundas.BI.Core, which includes the Dundas BI Engine and various services you may wish to access. You may also be accessing types from one of the other two assemblies as listed in the .NET API Reference Language Reference.
4. Start the engine
We can start up the Dundas BI Engine using the .NET API as demonstrated with the sample code below.
The AppDataPath property must be set to the path to the App_Data folder of the web application. The article List of installed folders provides more details. Then the ILogOnService.LogOn method is called without a session in order to obtain one.
// Create the CreateEngineOptions object.
CreateEngineOptions createEngineOptions = new CreateEngineOptions();
// Path to the application's data folder. Type: System.String
createEngineOptions.AppDataPath = appDataPath;

EngineManager.CreateEngine(createEngineOptions);

EngineManager.StartEngine();

using (Engine.Current.GetService<ICallerContextService>().CreateAndSetCurrentContext(null))
{
    LogOnResult logOnResult = Engine.Current.GetService<ILogOnService>().LogOn(
        // The account name. Type: String
        accountName,
        // The password. Type: String
        password,
        // Delete other logon sessions for the logon to succeed. Type: Boolean
        deleteOtherSessions,
        // Culture to associate with the logon session, or null. Type: CultureInfo
        explicitCulture
    );

    Engine.Current.GetService<ICallerContextService>().CurrentContext.SetCurrentSessionId(
        logOnResult.Session.Id
    );

    // Now you can access services as the logged on user.
}

