Set or reset the default time dimension
1. Overview
Every project in Dundas BI has a built-in time dimension, named simply Time Dimension, which is initially set as the default for the project. If you create additional time dimensions in a project (e.g., using a fiscal calendar system), you can set one of them as the default for the project instead.
2. View the default time dimension
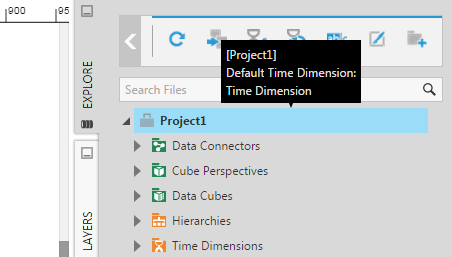
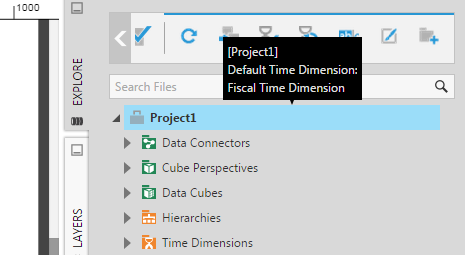
To see which time dimension is the default for the active project, open the Explore window and hover over the project name. The project's tooltip shows the name of the default time dimension.
3. Set the default time dimension
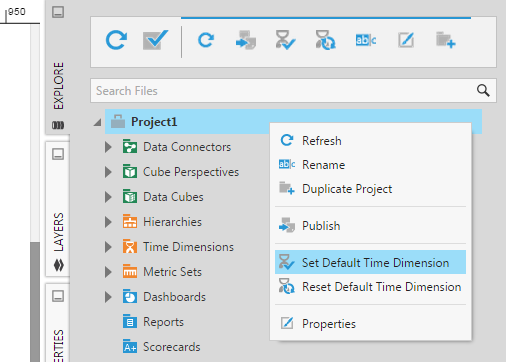
To set the default time dimension for a project, right-click on the project name in the Explore window, and then select Set Default Time Dimension.
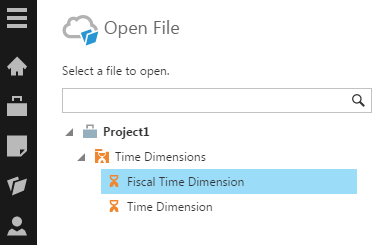
In the Open File dialog, select the time dimension you want as the new default, and then click Submit.
View the tooltip for the project name in the Explore window and verify that the default time dimension has been changed.
4. Reset the default time dimension
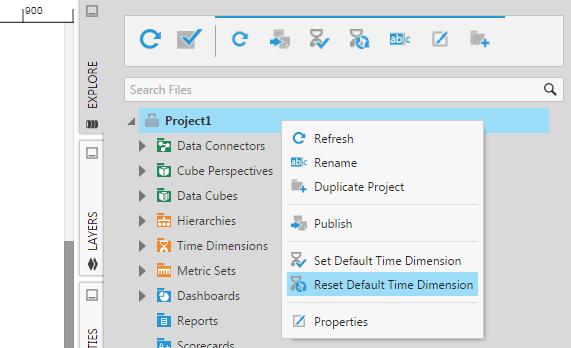
To reset the default time dimension for a project, right-click on the project name in the Explore window, and then select Reset Default Time Dimension. Note that this option is not available for the global project.
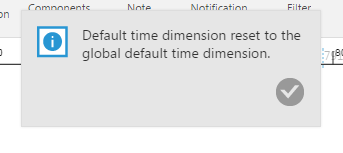
You'll see a message indicating the default time dimension was reset to the default time dimension from the global project.
View the tooltip for the project name in the Explore window and verify that the default time dimension is no longer indicated. This means that the default from the global project will be used.
5. Using the default time dimension
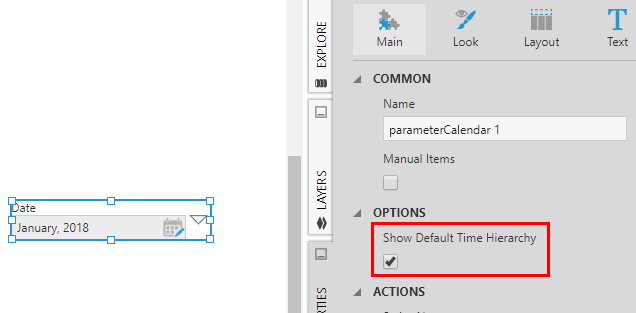
The default time dimension for a project is used by the Calendar and Calendar Range filters which have a property Show Default Time Hierarchy. When this property is enabled, the filter displays the hierarchy from the project's default time dimension instead of the hierarchy passed from the visualization.
