
1. Overview
This article shows you how to create a data connector for SharePoint and Microsoft 365 Lists and for SharePoint Excel Services.
2. Connect to a SharePoint List
When creating a new data connector, set the Data Provider dropdown to the SharePoint List option that corresponds with your SharePoint site as follows.
2.1. On-Premise SharePoint Lists
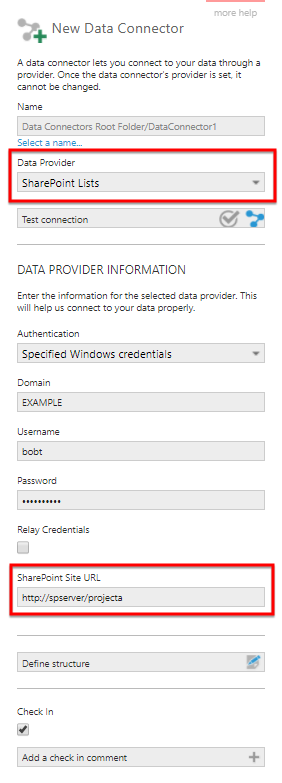
Choose SharePoint Lists or SharePoint On-Prem Lists for an on-premise SharePoint server.
Choose an authentication method. You will typically need to use specified or impersonated Windows credentials.
Next, set the SharePoint Site URL.
2.2. SharePoint Online List
Set Data Provider to SharePoint Online List to use modern authentication options with SharePoint Online. This requires setup by a Microsoft 365 administrator:
- Accessing SharePoint Online requires using a X.509 certificate to authenticate, which you will need to create first.
- Register an Entra ID (Azure AD) app.
- Configure the necessary API permissions for the app. Grant Sites.Read.All, or in version 26.2 or higher you can grant only Sites.Selected if the data connector's SharePoint URL points to a specific site, e.g., https://mysubdomain.sharepoint.com/sites/sitename. In older versions, BrowserSiteLists.Read.All may be necessary, and in certain cases you may need to explicitly grant User.Read (Delegated). Additional details are available here.
- Go to Certificates & secrets for the app to upload your certificate.
You can also follow a more detailed walkthrough that includes examples for creating a self-signed certificate and registering it along with SharePoint API permissions as part of Granting access via Entra ID Application Permissions in the SharePoint documentation.
In your data connector:
- Enter the Application ID and Directory ID, which can be found on the overview page of the Entra/Azure AD App.
- Under Certificate upload the X.509 certificate and enter the accompanying Certificate Password used when creating it.
- Enter the SharePoint URL for the site you want to access lists from.
3. Connect to SharePoint Excel Services
Excel Services is a service application that enables you to load and display live Microsoft Excel workbook data from SharePoint. If you are not sure whether Excel Services is enabled on your SharePoint instance, contact your SharePoint administrator.
When creating a new data connector, set the Data Provider dropdown to the SharePoint Excel Services option that corresponds with your SharePoint site as follows.
3.1. On-Premise Excel Services
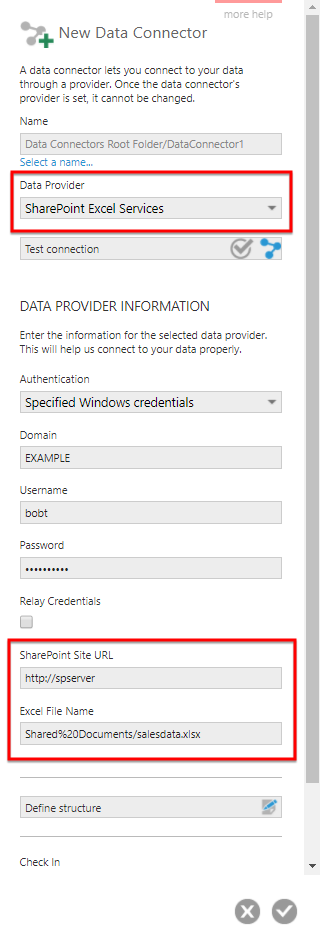
For an on-premise SharePoint server, set Data Provider to SharePoint Excel Services.
Choose an authentication method. You will typically need to use Specified Windows credentials and then enter the credentials.
Next, set the SharePoint Site URL and Excel File Name.
Click Save to begin discovering the available data.
If you encounter a connection error such as We noticed that you haven't been interacting with this workbook, so we paused your session, try selecting the Relay Credentials option in your settings, if applicable.
3.2. SharePoint Online Excel Services
In version 26.2 and higher, you can set Data Provider to SharePoint Online Excel Services for SharePoint Online.
This uses the same modern authentication methods as SharePoint Online Lists, which you can refer to for more details.
4. Define structure
You may want to define, or modify, the data structure for the created data connector. For example, you can change the data type of a column.
When editing the data connector, click Define structure. The steps are similar to connecting to a regular Excel file.