Connecting to Teradata
1. Overview
This article shows you how to use the Teradata data provider in a data connector.
Main article: Connect to data and view it on a dashboard
2. Install the driver
The Teradata data provider requires drivers to be installed on the server or computer where Symphony or Dundas BI was installed.
If you are using multiple servers, this is needed for each server installation.
2.1. Windows
When the application is installed on a Windows server, download and install the .NET Data Provider for Teradata for Windows on the server.
2.2. Linux
For installations on Linux, including Docker images and Kubernetes, download the Teradata .NET Data Provider NuGet Package. This file has a .nupkg extension but is a ZIP file that you can extract to find Teradata.Client.Provider.dll in the /lib/netstandard2.0 folder or similar.
The DLL needs to be placed in this location within the application instance's files:
/usr/share/dundas/bi/Files/{Instance Name}/www/BIWebsite/App_Data/ExtensionsLib/netcore/Teradata.Client.Provider.dll
For a Docker image, the instance name is Container. Otherwise, you could find the App_Data folder within your installation's folder, create two additional subdirectories ExtensionsLib/netcore/ (if they do not exist), and place the DLL within netcore.
Ensure the permissions allow the dundasbi group to read and execute the new file (e.g., chgrp dundasbi Teradata.Client.Provider.dll and chmod 751 Teradata.Client.Provider.dll). Restart the container or service to ensure the DLL is loaded (for a Dundas BI instance, restart the website service).
3. Create a data connector
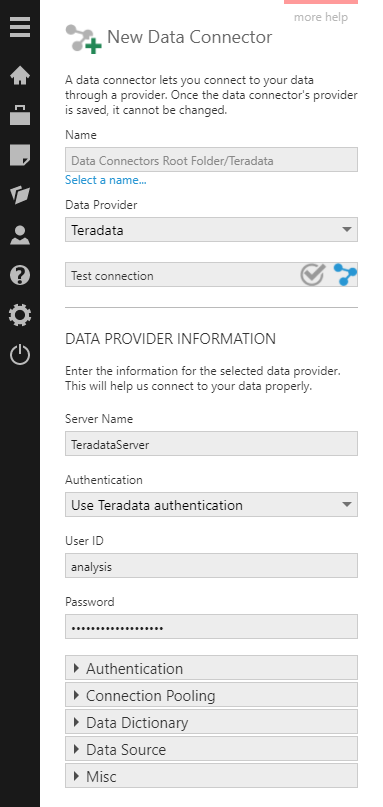
Set Data Provider to Teradata when creating a new data connector.

