Converting a string to date/time data type
1. Overview
This article shows you how to change the data type of a column to Date/Time in an Excel or flat file data connector. With a date/time data type, you can use a time dimension, customize the format, and more.
2. Connect to a flat file or Excel file
To import a flat file or an Excel file, follow the steps in Drag and drop an Excel file. You can also choose to create a data connector yourself for an Excel file or flat file instead.
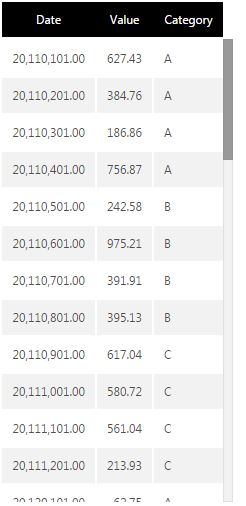
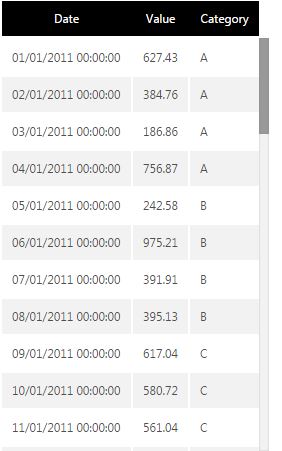
After creating the data connector, you can drag a sheet or table onto a metric set or dashboard to view it.
In the example above, the date column was actually entered into Excel as a number containing a year, month, and day, so a column of numbers was imported into the application. It is also common for a column of dates to be entered as text in Excel and imported as text (the String data type), which can't be reformatted or used with a time dimension.
3. Setting up the date/time data type
As an alternative to converting the values into dates in Excel, the data connector allows you to customize the structure of the imported data including each column's data type.
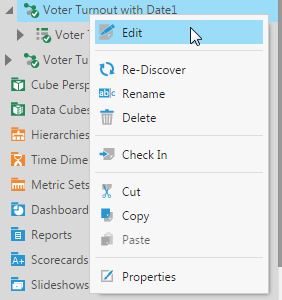
Right-click the data connector created for the Excel file and select Edit.
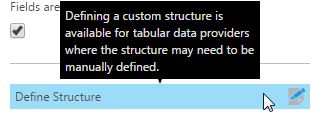
Click on Define structure near the bottom of the dialog.
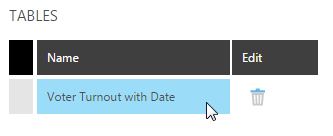
Select the table name or sheet with the column you want to edit.
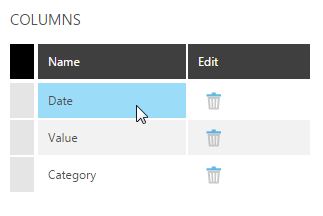
Select the column you want to edit. If the columns are not shown, click on Re-discover table.
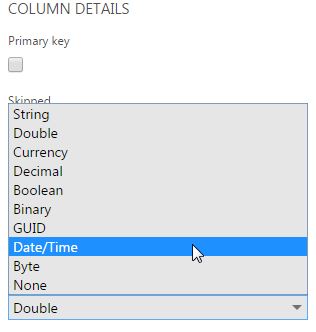
Under the selected column, set Data Type to Date/Time.
Once the data type has been selected, the Date Format field appears, where you can enter the format that matches the dates in your column so that each of its components (e.g., year, month, and day) are imported correctly. This format can be set the same way as formats elsewhere, including time dimensions.
Click to Save at the bottom of the dialog to save the changed information.
This converts the data into a date format, which allows you to use time dimensions, customize the format, and more.

