Data Input
The Data Input transform lets you reference a warehouse data storage area containing user input data.
You can use the Data Input transform to add and modify data from inside Dundas BI. You can input data yourself, or set up a data input interaction for viewers to add to it.
1. Input
Input into the Data Input transform is done manually after the transform has been configured. It does not require another transform for input and generates output based on user-provided data.
2. Add the transform
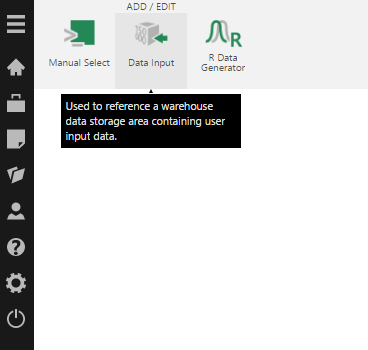
When creating a new data cube, you can add the Data Input transform to an empty canvas from the toolbar.
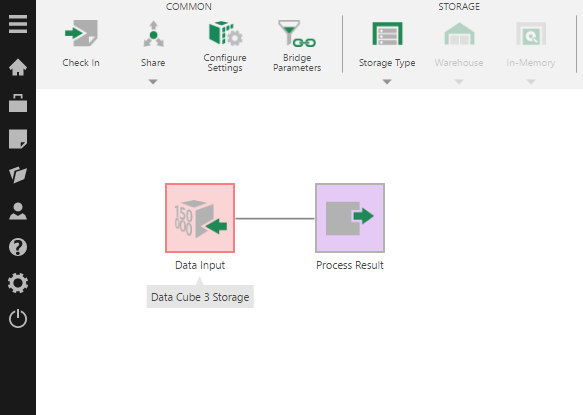
The Data Input transform is added to the data cube and connected to a Process Result transform automatically.
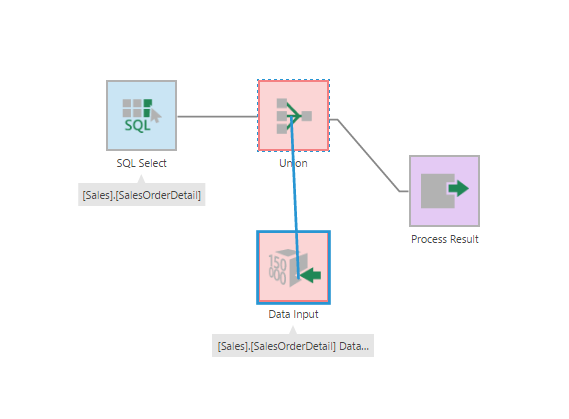
You can also add the Data Input transform from the toolbar to an existing data cube process. A typical example is to connect the Data Input transform to a Union transform that merges data from multiple inputs.
3. Configure the transform
Double click the Data Input transform, or select or right-click it and choose the Configure option in the toolbar or its right-click menu.
The Data Input transform has six automatically created and populated columns. By default, these columns are not selected to be included in the output:
- RecordID
- RecordSequence
- CreatedBy
- CreatedTime
- LastModifiedBy
- LastModifiedTime
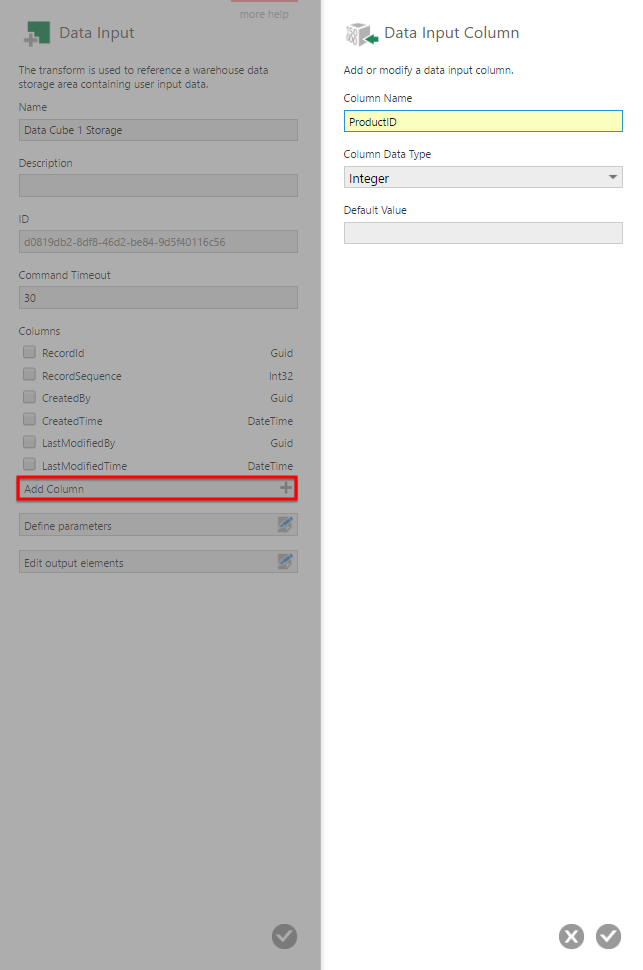
In the configuration dialog for the transform, the key task is to add new columns that will contain the input data. Click Add Column and complete the Data Input Column dialog.
4. Output
The output is user-input data, which you can both view and edit by selecting the Data Input transform and opening the Data Preview window.
When entering data, type Enter to create or move to the next row, and Tab to create or move to the next cell.
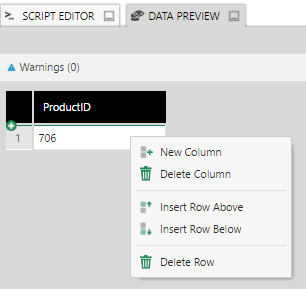
You can right-click a cell to insert a row or create a new column, or move the mouse and click the + icon when it appears where you want to add a row or column.
5. Notes
- Deleting a column from the Data Input transform is postponed until after you check in. This means you will be unable to create a column with the same title as the deleted one until you check in and check out the transform.
- Changes to rows of data are not affected by check in or check out states, as viewers or end users can be allowed to make changes. Undo Check Out does not change or remove data.
- Users require the Data Input privilege to be able to input data.
