
1. Overview
A data input interaction lets viewers of dashboards or other views append data to the Data Input transform in a data cube. This article walks through an example of how you can set up this type of interaction.
Data can be entered by a viewer through a variety of input controls available, which can be combined together into a form for users to fill out. It can also come from an interaction with existing data or from script by using a view parameter.
2. Create a data cube
First, create a simple data cube using the Data Input transform.
Add three data input columns:
- Textbox (containing the String data type)
- Number (containing the Integer data type)
- DropDown (containing the String data type)
3. Create a dashboard
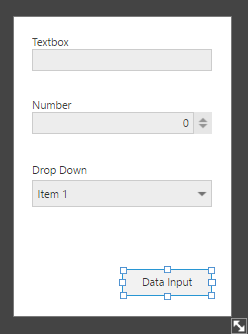
We can create a simple user input form on a dashboard to append data to these columns.
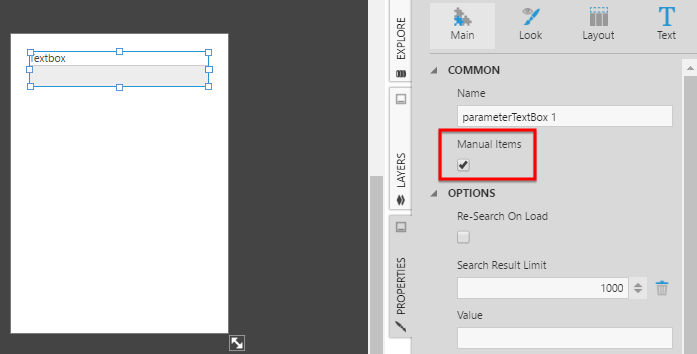
From the toolbar, add a Textbox filter:
- Change the label text (Textbox in this example).
- Enable the Manual Items property option, found under Filter Values in recent versions.
- Select Hide Token Menu, under Tokens & Menus in recent versions.
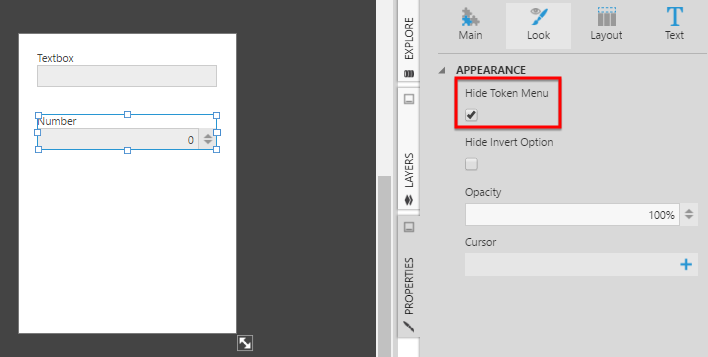
Add a Single Number filter:
- Change the label text (Number in this example).
- Enable the Manual Items property option, found under Filter Values in recent versions.
- Select Hide Token Menu, under Tokens & Menus in recent versions.
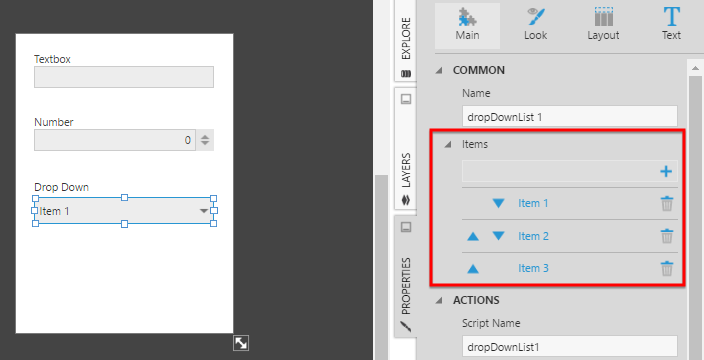
Add a Drop Down List component:
- Adjust the list of Options list to have three items for this example.
- Edit the properties for each item and set Value to be the same as the item's caption (look under Animation & Interaction in recent versions).
- Add a label component above the dropdown and set its text.
Add a Button component and change the button text to Data Input.
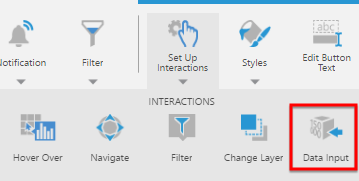
4. Set up an interaction
With the button selected, click Set Up Interactions from the toolbar and select Data Input.
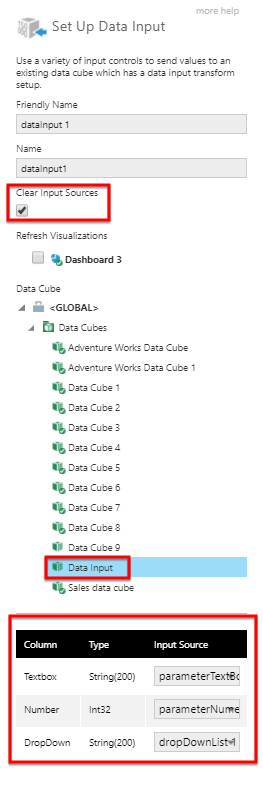
In the Set Up Data Input dialog, tick the Clear Input Sources checkbox and select the prepared data cube.
For each column in the Data Input transform in the cube, choose an input source. These can be either an input control such as a textbox, or a view parameter.
For our example, set up the following mappings given the default names identifying our input controls:
- Textbox – parameterTextBox 1
- Number – parameterNumeric 1
- DropDown – dropDownList 1
Click Submit.
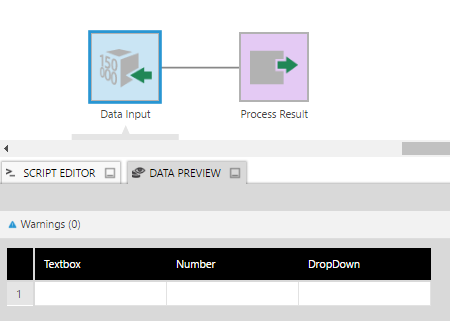
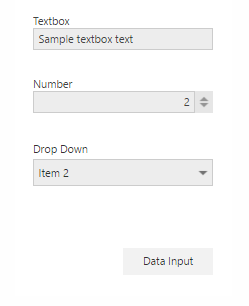
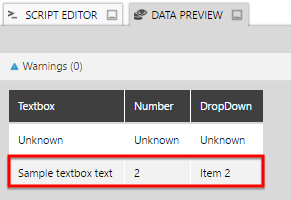
5. Test the interaction
Switch to View mode, fill out the form, and click the button.
Then, go to the data cube and open the Data Preview panel.
6. Notes
- The appended data is always a single value. In the case of a range or collection, the input is the beginning or first value respectively.
- Users require the Data Input privilege to be able to input data.