Drag and drop an image file (JPEG or PNG)
1. Overview
This article shows you how to add your own images using simple drag-and-drop operations, plus other options.
For example, you can add images for styling or branding purposes, like your own icons or company logo. JPEG, PNG, and other common image file formats are supported.
Related video: Dashboard Components
2. Drag an image file to the Explore window
When you are creating or editing a metric set, or a view such as a dashboard, you can add images via the Explore window.
Locate your image file in Windows Explorer or Finder.
Drag the image file and drop it into the Explore window.
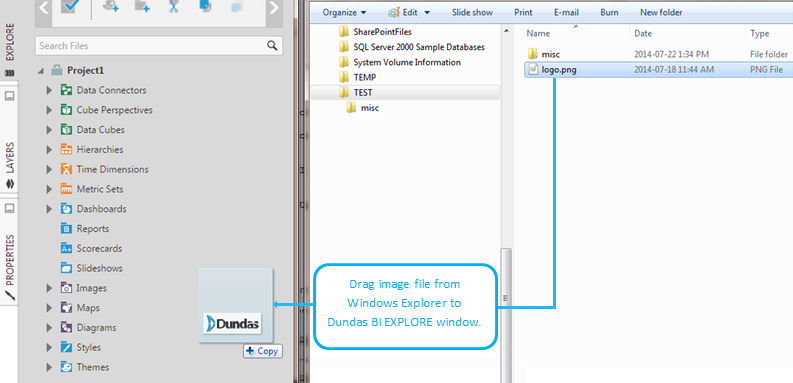
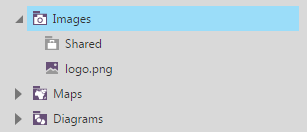
The image file is automatically imported into the Images folder in the Explore window.
3. Browse to upload an image
You can also browse for your file through a dialog as an alternative to dragging and dropping your image.
When editing a file such as a dashboard, open the Explore window.
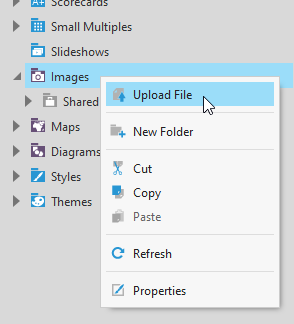
Right-click (or long-tap) the Images folder, then choose Upload File.
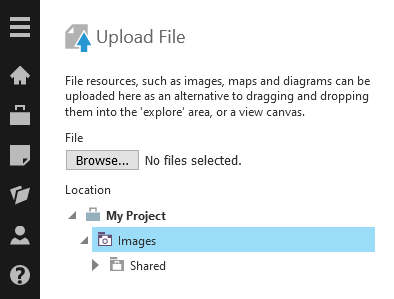
In the Upload File dialog, click the Browse... button to locate your image file from your computer or device.
You can click to change the Location within your Images folder where the file will be uploaded. To create a new subfolder, right-click a folder, choose New Folder, then type a name.
Click the Submit button at the bottom of the dialog to upload your image.
4. Drag an image to the canvas
There are multiple ways you can drag and drop your image to make use of it on your dashboard or other view. First, make sure you are in Edit mode.
To use an image that you already uploaded, drag it from the Images folder in the Explore window to the dashboard canvas.
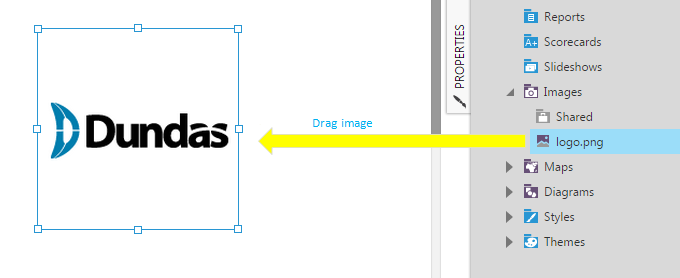
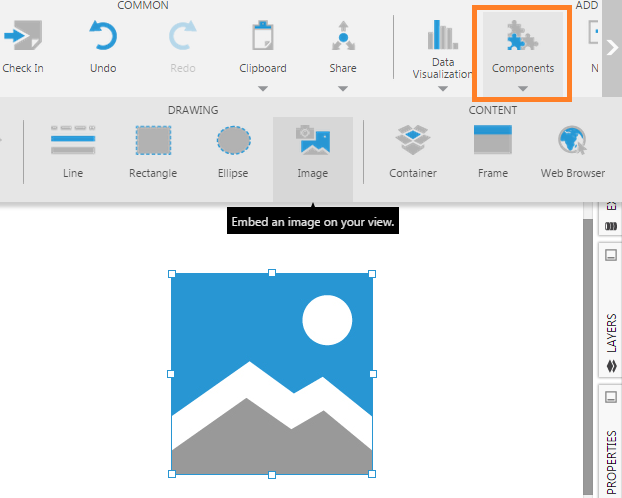
If you add an Image component to your view from the toolbar first, you can also set the image by dragging it from the Images folder in the Explore window and dropping it onto the existing image component on the canvas.
Finally, you can also drag an image file from your computer and drop it directly onto the dashboard canvas instead of onto the Explore window. The image file will also be added to the Images folder in the Explore window automatically, and an Image component will appear on the canvas displaying your image.
5. Using an uploaded image
Once added, images can be used in many ways besides in an Image component if you have access to the Properties window. Almost every component, visualization, and filter has properties that can apply images as a background, fill color, and more.
- In the Properties window, click the button next to the property value to open additional options.
- Look for a Brush option, and click to change it to Image.
- Next, you can click Select Image and choose which image to use from the Open dialog. To upload a new image from here, right-click the Images folder and choose Upload File.
For more details, see Using image brushes.

