Add a script to set the dashboard title
1. Overview
This article shows you how to add a Label component to a dashboard in order to display a title that changes dynamically.
Specifically, you will see how to add a script that changes the label text based on the current name of the dashboard. So if the dashboard file is ever renamed, the title on its canvas will still be correct when the dashboard is viewed.
Script is added to the dashboard's Ready actions, which are triggered whenever the dashboard is viewed and loaded.
2. Create a dashboard
For this example, create a new dashboard from the main menu.
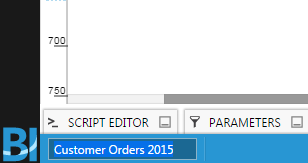
Go to the status bar at the bottom and double click the name of the dashboard to edit it.
Type a new name Customer Orders 2015 and press ENTER.
2.1. Add a label component
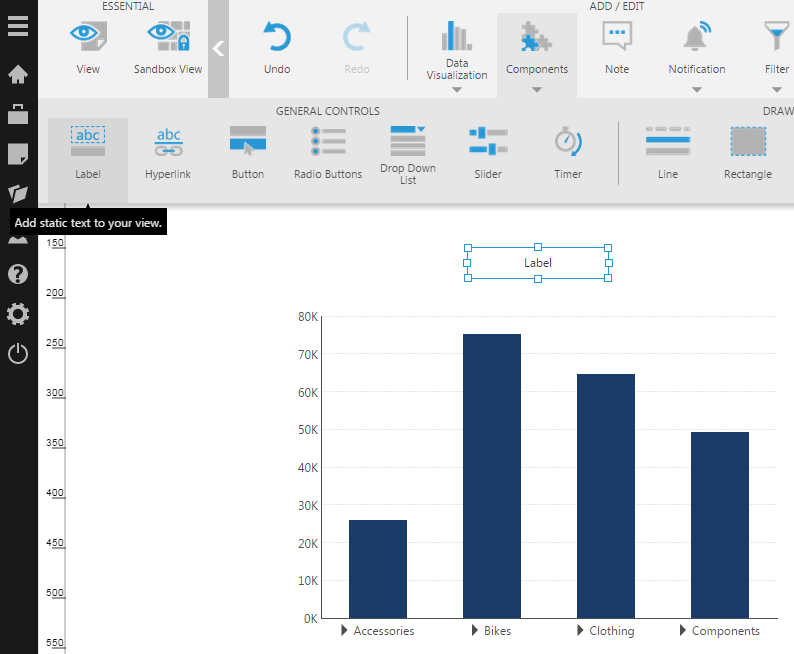
Go to the toolbar, click Components, and then click Label to add a label component to the canvas.
With the label on the canvas selected, click the Properties window.
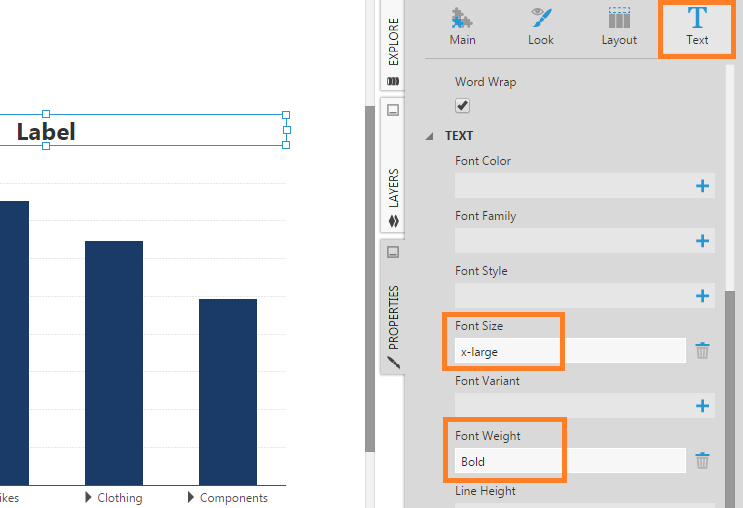
In the text properties, make the following changes:
- Set the Font Size to x-large.
- Set the Font Weight to Bold.
3. Add a script
Add script to the dashboard's Ready event using the Properties window:
- Click on the dashboard canvas, outside of any visualizations or components, and open the Properties window to the properties of the dashboard.
- In the Actions tab (previously a category in the Main tab) click the + button to add script to run when the dashboard is Ready.
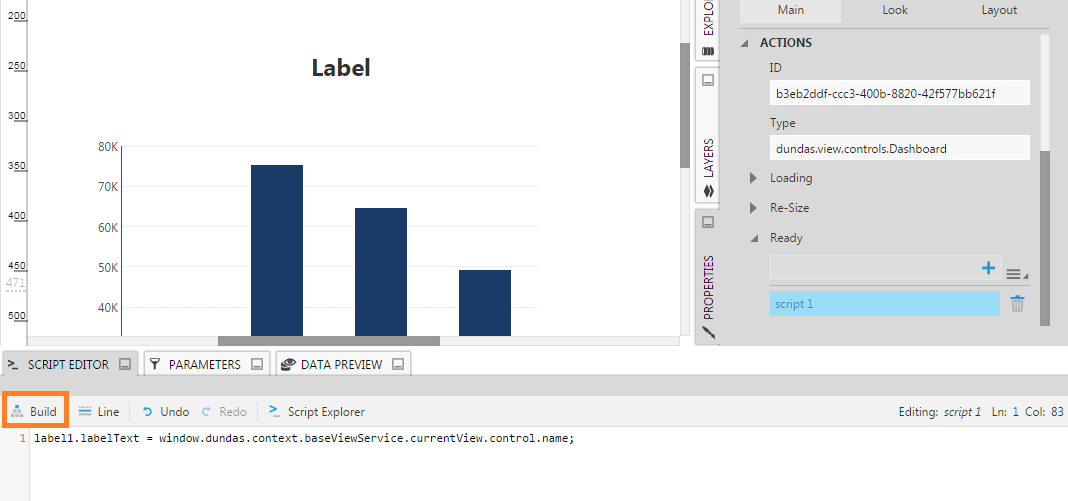
- Click to edit the new script action, which opens in the Script Editor.
In the editor, use JavaScript like the following:
label1.labelText = this.control.name;
- For a script action added to a dashboard, this.control refers to the Dashboard.control property.
- The dashboard entity name is set as the label's text using the Label.labelText property.
Click Build to check for any script errors. (There's no need to save because the Script Editor auto-saves as you type.)
4. Test the script
The Ready action is triggered when the dashboard is opened for viewing directly or when the page is reloaded, but not when switching between Edit and View mode.
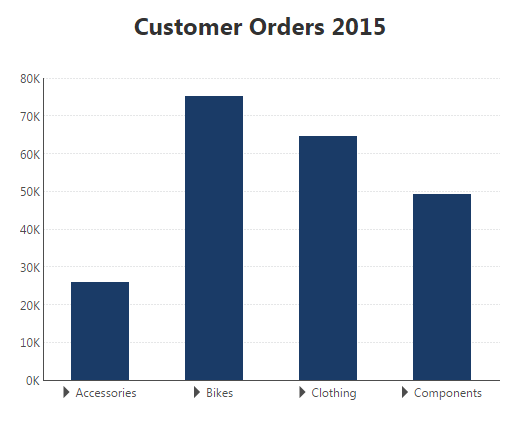
Click Sandbox View to test the script in a new browser tab.

