
Using the script editor
1. Overview
When editing dashboards or other views, the script editor lets you add custom functionality.
The scripting language that this built-in editor supports is JavaScript.
The Script Editor window is also available when editing data cubes and offers a subset of the following features for writing SQL or MDX, Python or R, or DundasScript.
2. Opening the script editor
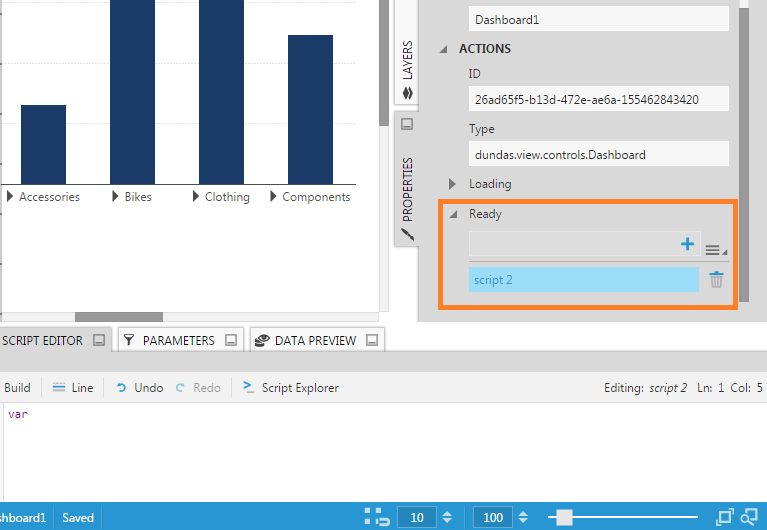
Your account needs to have a developer seat to edit scripts. Script is one of the types of actions you can add in the Properties window.
- Select an element on the canvas, or click an empty area of the canvas to de-select elements of you want to add script to events on the current dashboard, report, or other view.
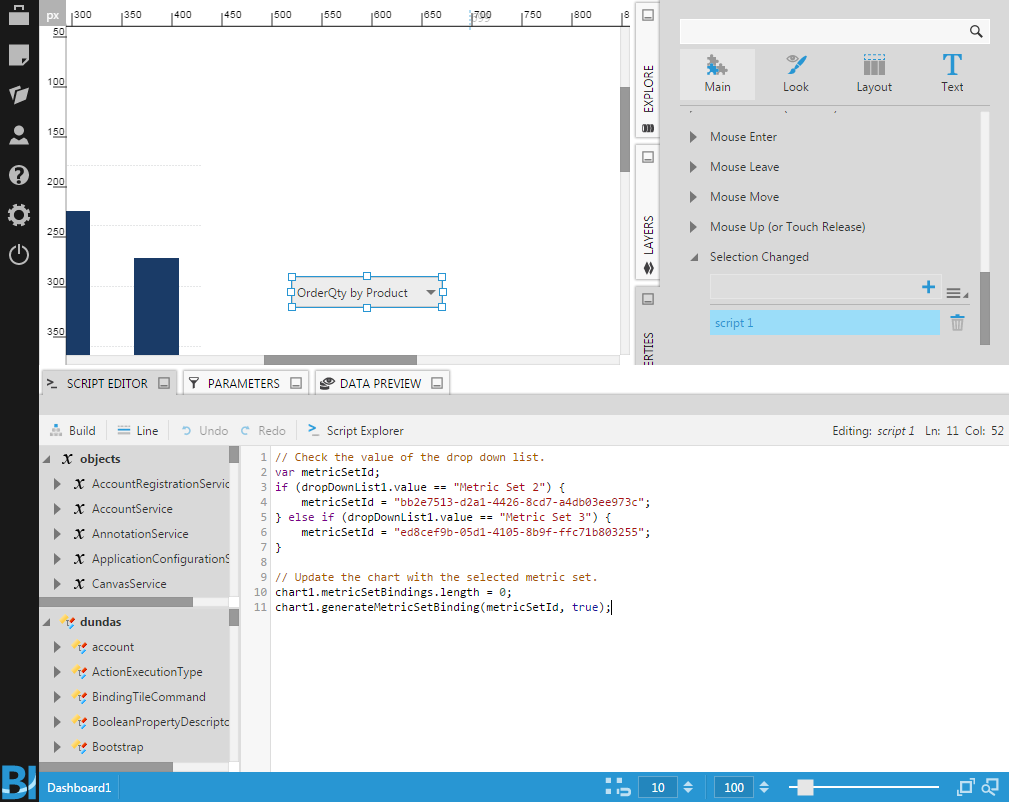
- Open the Properties window to the Actions tab (previously at the bottom of the Main tab).
- Click the + button to add a new script, or click an existing script to edit.
The Script Editor window opens and is docked along the bottom of the canvas by default.
You can also find existing script listed in the Layers window and click to open them from there.
3. Elements of the script editor
The script editor consists of these main elements:
- Toolbar
- Script Explorer panel
- Editor area
3.1. Toolbar
The toolbar in the script editor lets you:
- Build the script to check if it is valid
- Go to a specific line number in the script
- Undo or redo your changes in the editor
- Show or hide the Script Explorer panel
- See the name of your script
- See what line number and column you are at in the editor (i.e., cursor position)

3.2. Script explorer
The script explorer lets you navigate the properties and methods of objects on the current view as well as the data types available in the JavaScript API.
To show or hide the Script Explorer panel, click the Script Explorer button in the editor toolbar.
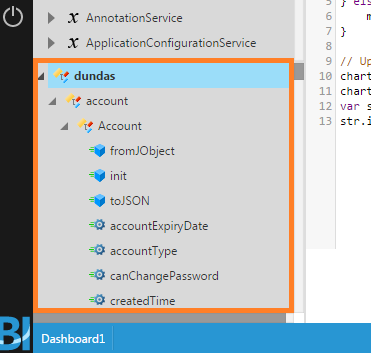
The Script Explorer panel has two parts: an Object Explorer and a Type Explorer.
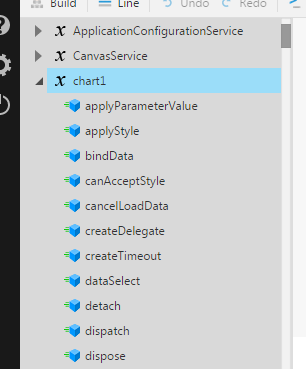
The Object Explorer lists all of the currently-available objects on your view (in alphabetical order), which can be manipulated by the statements you write in the editor.
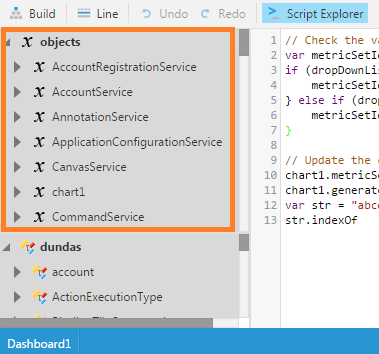
Expand the arrow icons on the left to see what properties and methods are available on each object.
The Type Explorer lists all of the data types that are supported for scripting (similar to an API reference).
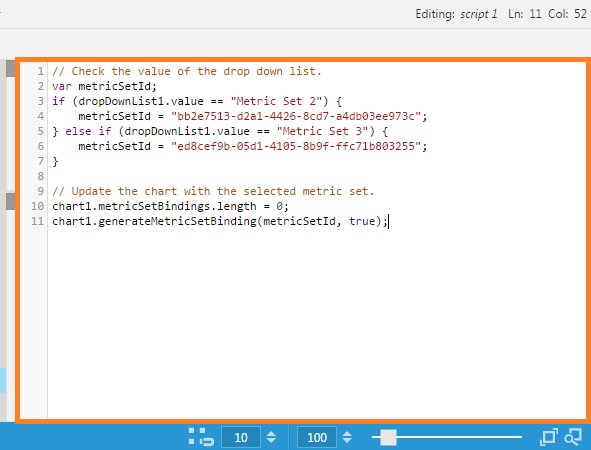
3.3. Editor
The editor is the large text area where you compose and edit your script.
4. Functionality
4.1. Build script
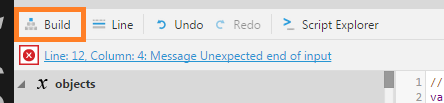
Click Build in the editor toolbar to build your script and check for syntax errors.
If an error is detected, click the error link to move the editor cursor to the location of the error.
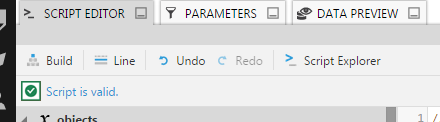
If there are no errors, you'll see a message indicating the script is valid.
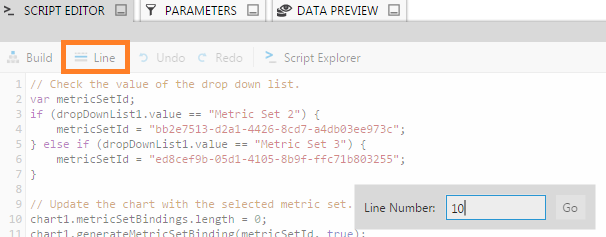
4.2. Go to line number
To move the cursor to a specific line number in your script, click Line in the editor toolbar.
Enter the line number and then click Go.
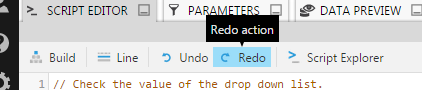
4.3. Undo and redo
Use the Undo and Redo buttons to revert or re-apply your actions in the editor area.
4.4. Auto-complete
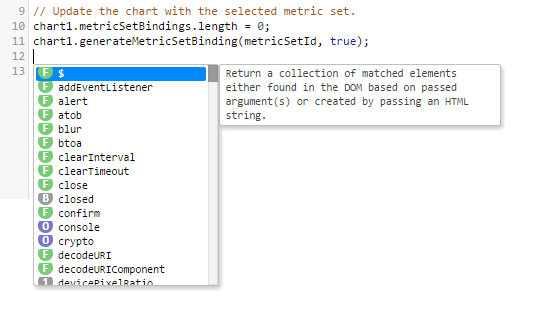
The script editor offers auto-complete (or code completion) support for: ECMA5, ECMA6, Browser, jQuery, and the JavaScript API. As you type in the editor area, auto-completion popups appear which help you to choose the desired property, method, function, or other construct to include. For example:
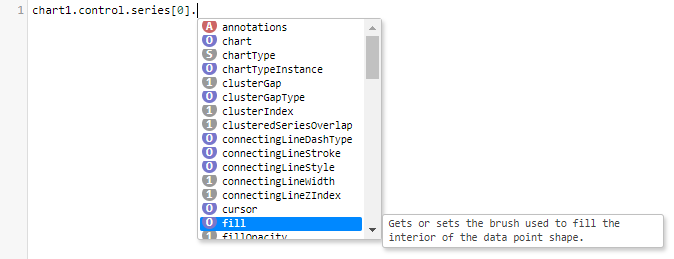
List properties and methods - Type the period character after any variable reference, property name, or array element in the editor. You will immediately see an auto-complete popup listing the properties and methods on that object, along with the corresponding API description. Use the arrow keys to cycle through the available choices, or click on an item with your mouse. When you've found the item you want to insert into your script, press ENTER or double-click the item.
Show documentation - Wherever you are typing, click Documentation in the editor toolbar or press CTRL+O to display the documentation for the current property, object, or argument in a popup, including its type.
Click the docs link to bring up the related page in the JavaScript API reference.

Function/method parameters - In the case of a method or function, once you've added it to your script by pressing ENTER, type the open bracket '(' to see the function/method signature. The first required parameter will be underlined. As you type each parameter, the popup will underline the next parameter that is required.

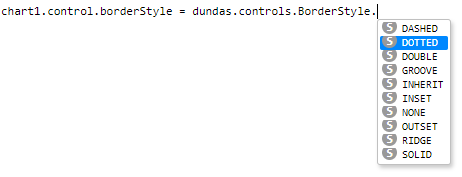
All available types - While on a new line, press CTRL+SPACE to see the auto-complete popup showing all available types.
The following table describes what the icons in the auto-complete popup means:
| Icon | JS Type |
|---|---|
| A | Array |
| F | Function |
| B | Boolean |
| 1 | Number |
| S | String |
| O | Object |
| ? | Unknown |
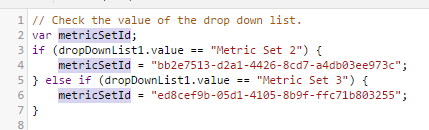
4.5. Highlight instances of current object for renaming
To rename all instances of an object, move your cursor over one of the instances or click on it.
Press CTRL+. to select all instances of the object, and then type the new name.
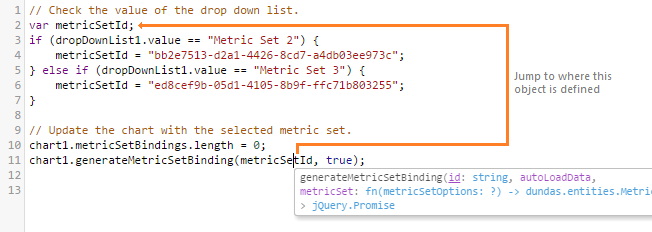
4.6. Jump to object declaration
While your cursor is over an object, press ALT+. to highlight the object where it is defined (i.e., its var statement).
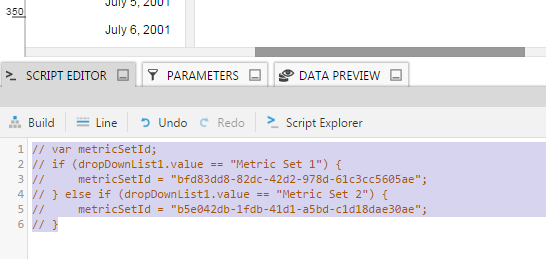
4.7. Comment the current line or selected lines
Press CTRL+/ to comment the current line (where the cursor is located) or multiple selected lines in the editor.
If the current line or selected lines are already commented, this key sequence will uncomment the line or selected lines.
On a Mac computer, using CTRL+/ or CMD+/ will work the same to comment or uncomment code.
5. Running scripts
Script actions that you add to events will only run in view mode. It's good practice to click Sandbox View in the toolbar to test your scripts in a separate browser tab with the toolbar hidden so that you don't switch back into edit mode, because you usually don't want the script's results to be saved and then loaded next time for everyone.
Note that events such as Loading or Ready on a dashboard will only fire when that dashboard is opened directly into view mode: you can re-open that dashboard from the main menu, reload the page, or use the Sandbox View option.