Working with projects
1. Overview
All of the work that you do occurs within the context of a current or active project, which allows users to collaborate on all of its files including dashboards, data cubes, and more.
As soon as you check in a new file or an updated version, other users with access to the project can see and use it. You can use separate projects for different users, teams, or staging vs. production environments.
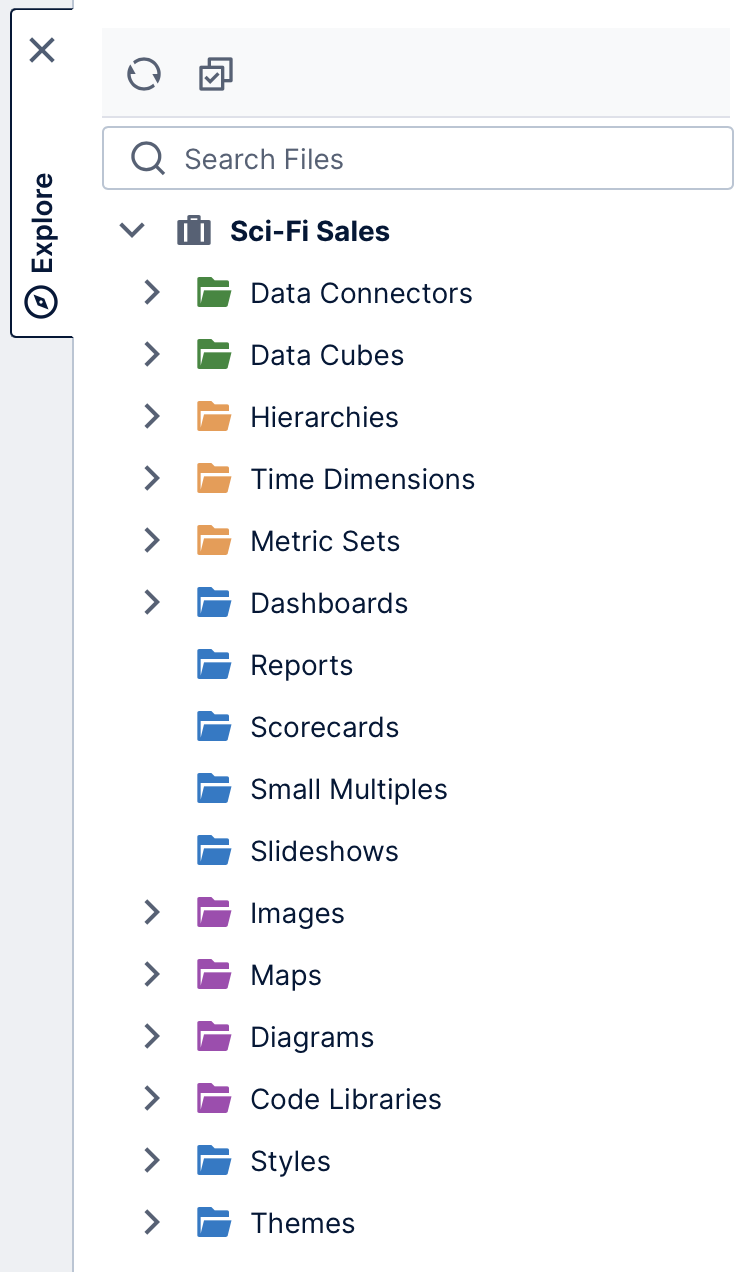
You typically work within one project at a time. The main menu creates or open files from the current active project, and the Explore window lists all of its files for you to work with while you edit an item.
2. Built-in projects
2.1. Global project
A built-in project is included named <GLOBAL>. You can use this project to store any items that are common to your other projects and reusable.
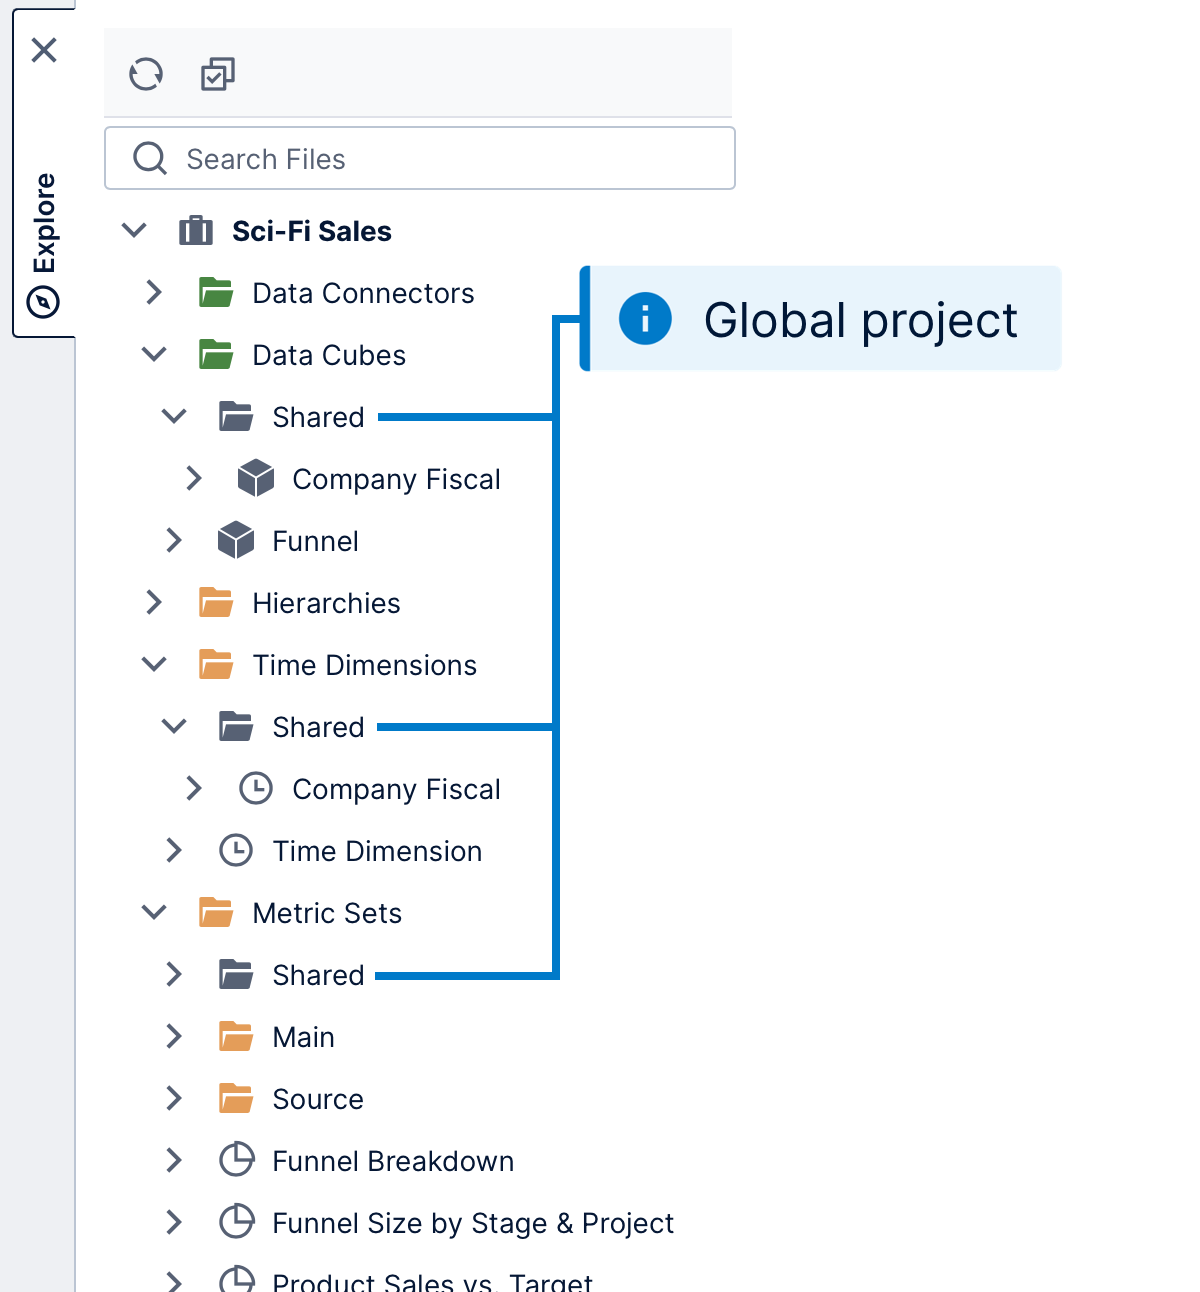
You can work with content from the global project by switching projects, but an easier way is to expand the Shared folders that appear under various folders in other projects, including Data Connectors, Metric Sets, Time Dimensions, Dashboards, and Themes. These act as shortcuts to the global project.
For example, a set of built-in maps, styles, and themes are included as part of the global project.
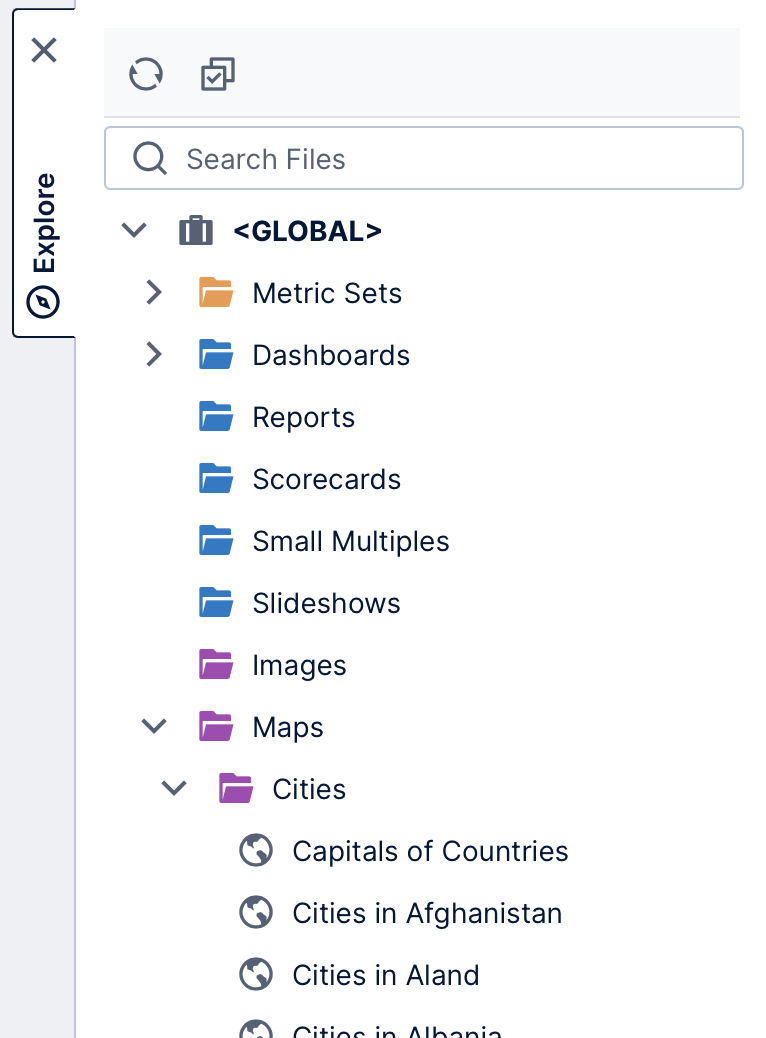
You can expand the Shared folder under Maps in any other project to access the built-in map resources from the global project.
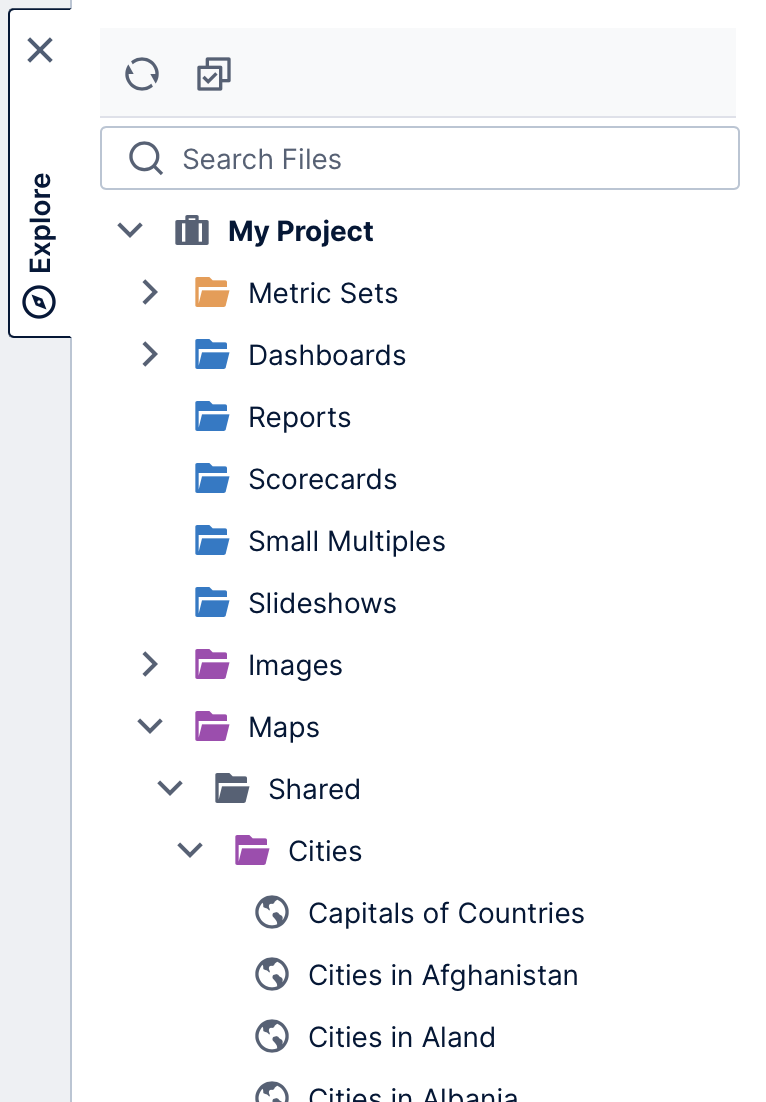
Similarly, you can expand the Shared themes or styles folder from the Explore window or from dialogs when applying a theme or style.
2.2. My project
Every user typically also gets a personal project automatically, named My Project. This is the current project when you first log in. You are free to use My Project as your own workspace to create dashboards and other items for prototyping or quick analysis. But for actual production work, you'll probably want to use other projects that have been created specifically for that purpose.
By default, no one else has access to your personal project. However, you can use the Share option in the toolbar to give other users the ability to view a dashboard or report from your personal project. The permissions on the project can also be changed to grant other users or groups access.
3. Switch to another project
You can switch the current project at any time from the main menu.
Click Projects, and then select a project from the list. The main menu now creates and opens items in this project, and the Explore window will update to list its items.
4. Create new projects
Administrators have the ability to create new projects and configure which users or groups have access to them. For example, you can have a project that is internal to the Human Resources department only.
In general, you will want to set up new projects for collaboration or production efforts rather than use the global or personal projects.
For details on creating new projects, and on the option to duplicate existing projects, see Manage projects and the file system.
5. Publish a project or files
Publishing lets you copy the contents of a source project or files (such as dashboards or data cubes) to a target project, with the option to also copy referenced files so that any dependencies are also part of the target project. Unlike when simply copying and pasting, the new copies will reference each other within the target project: for example, the published dashboard will reference and use the published data cubes and data connectors instead of the ones from the original project.
As an example of using the publishing feature, you can set up a project for testing, staging, or development work. Once you are happy with the resulting dashboards, you can publish them to a production project – using a single application instance for both testing/development and production purposes.
To publish a project or a file, find it in a file explorer such as the Explore window or from one of the main menu options.
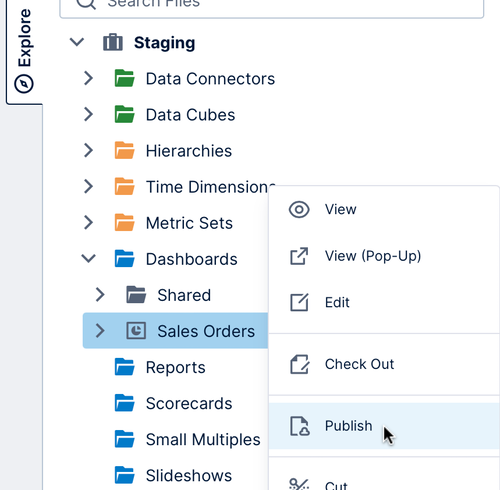
Right-click (or long-tap) on the project, folder, or file. From the context menu, select Publish where available (files must be checked in to see this option).
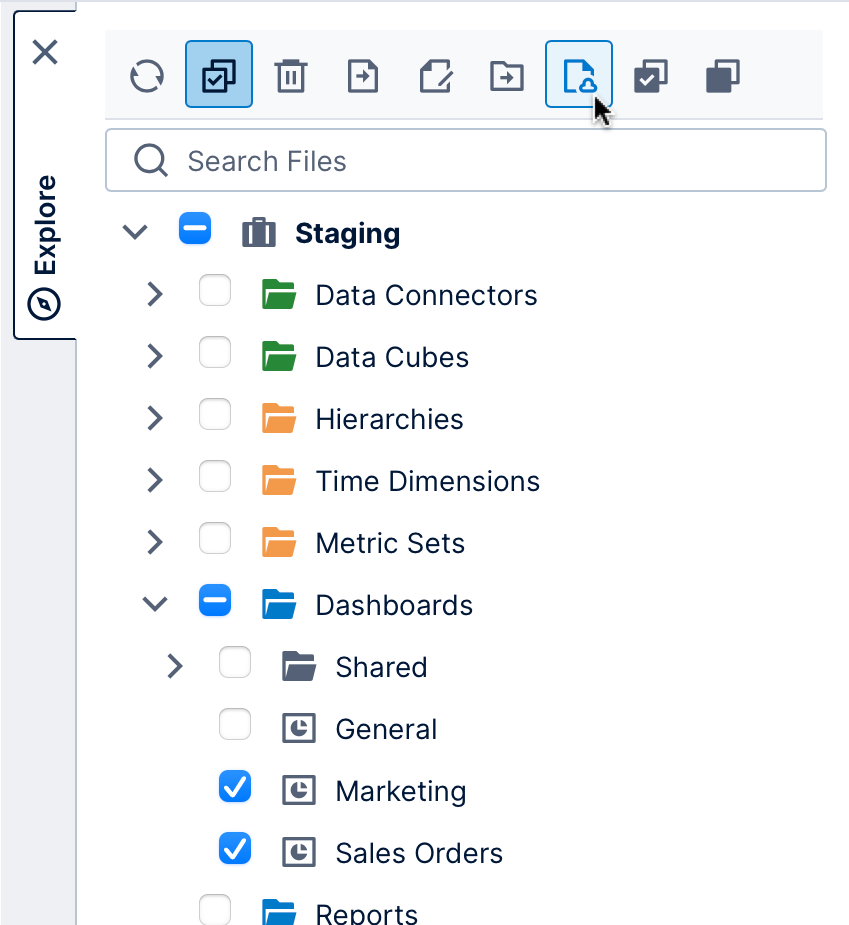
If you have multiple individual files to select rather than publishing the entire project or folder, use the Explore window or another file explorer with a toolbar where you can click to enable checkboxes, then click to publish the files that you checked off.
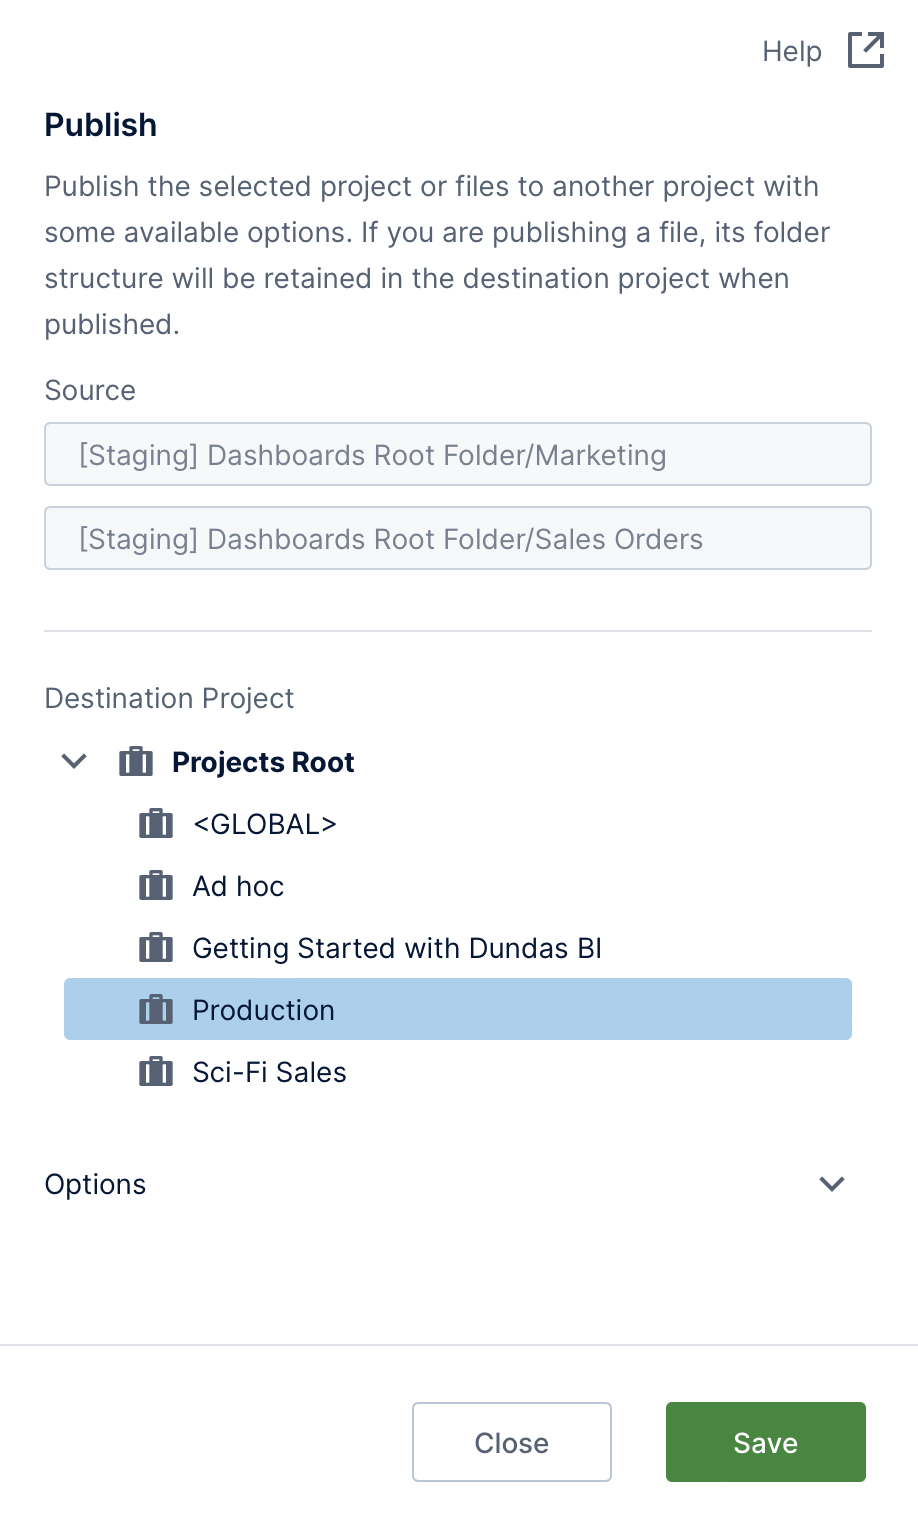
In the Publish dialog, click to select a project where the files should be published.
To access any of the following options, expand the Options section and enable them:
- Ignore/suppress warning messages.
- Copy any referenced/dependent items from the source project.
- Copy the data from Data Input transforms.
- Copy the data from contextual measures.
- Copy any data files, such as Excel or CSV, which have been uploaded as a data connector.
- Copy the data cube's storage type (you will be asked whether to build the cube after publishing).
Click Save at the bottom of the dialog to begin publishing.
5.1. Publish an item to a project that contains an item with the same name
When you are publishing an item to another project for the first time, the item is copied with the same name. If a file with the same name already exists, the published file will get a name with the suffix 1, or will increment by one if the name ends in a number.
Publishing creates a relationship between the source and published files. When you publish the same file to the same project more than once, the previously published file will be overwritten by the new version.

