Customize branding for each tenant
1. Overview
Multi-tenancy enables you to use a single application instance to serve multiple tenants (where each tenant is one of your clients) whose users are isolated from other tenants and see only the appropriate content and data.
This article shows you how to apply further customization to multi-tenant instances at the application level and at the dashboard level so that users belonging to different tenants see different branding elements, such as logos and color schemes, or other customizations.
2. Application styling resources
System administrators can add custom CSS styles, JavaScript, and HTML by editing the application styling resources through the Administration interface, as shown in the article on white labeling.
In the case of tenant-specific resources, you can follow the same steps except to add separate styling for each tenant.
2.1. Adding tenant resources
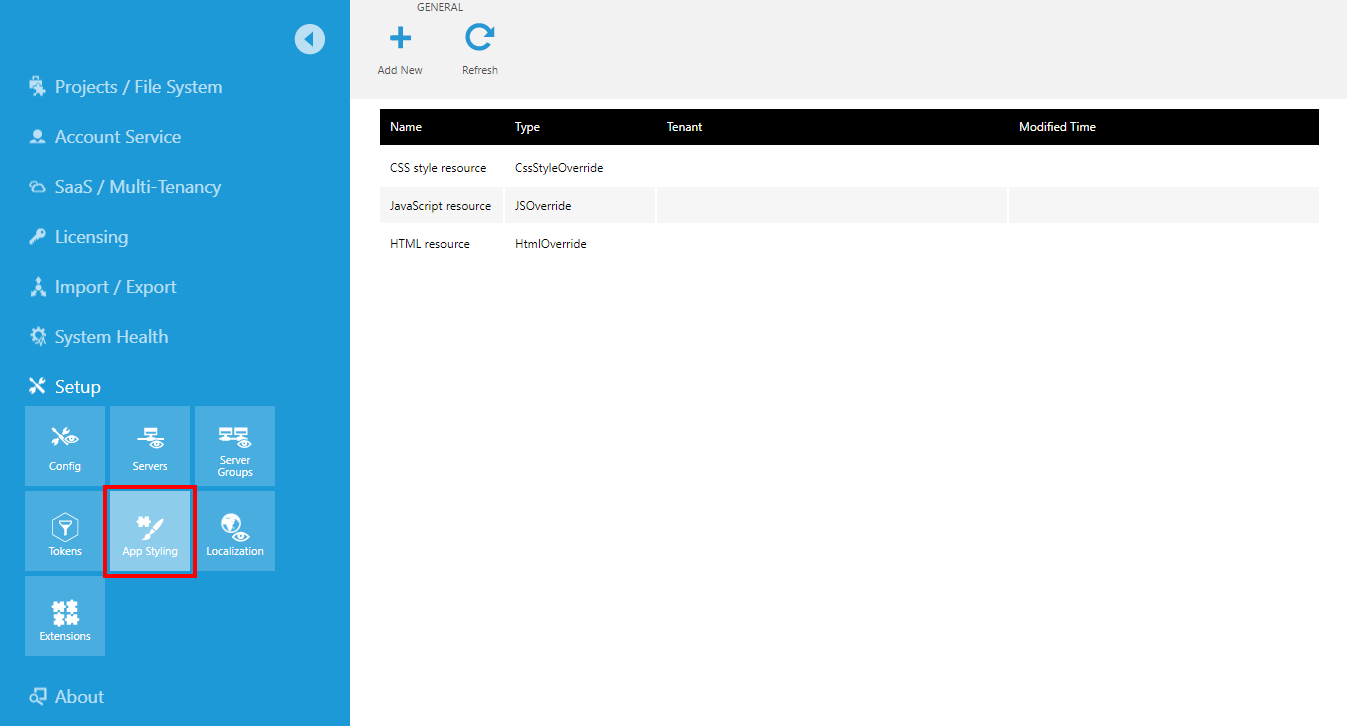
Access Administration from the main menu, expand Setup and then click App Styling.
A list of application styling resources is displayed on the right.
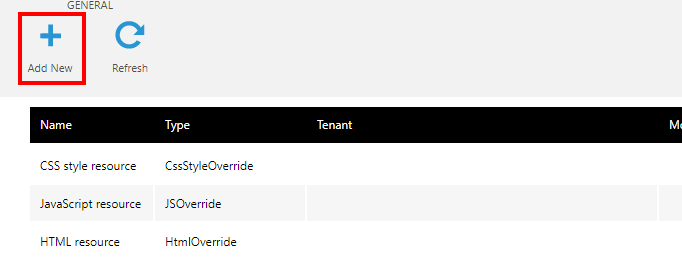
On an instance with multiple tenants, you can click Add New in the toolbar to add a new resource that is specific to a tenant.
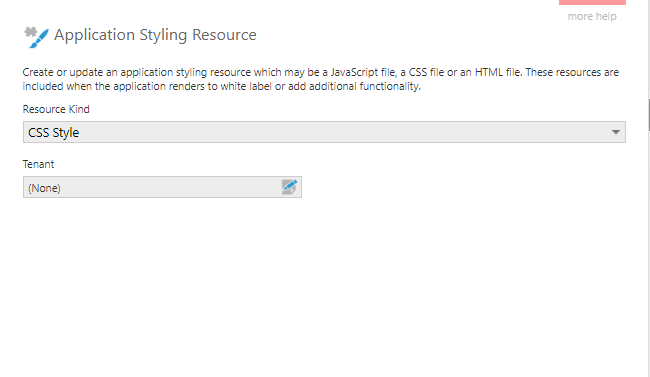
In the Application Styling Resource dialog, choose the Resource Kind and then select the Tenant.
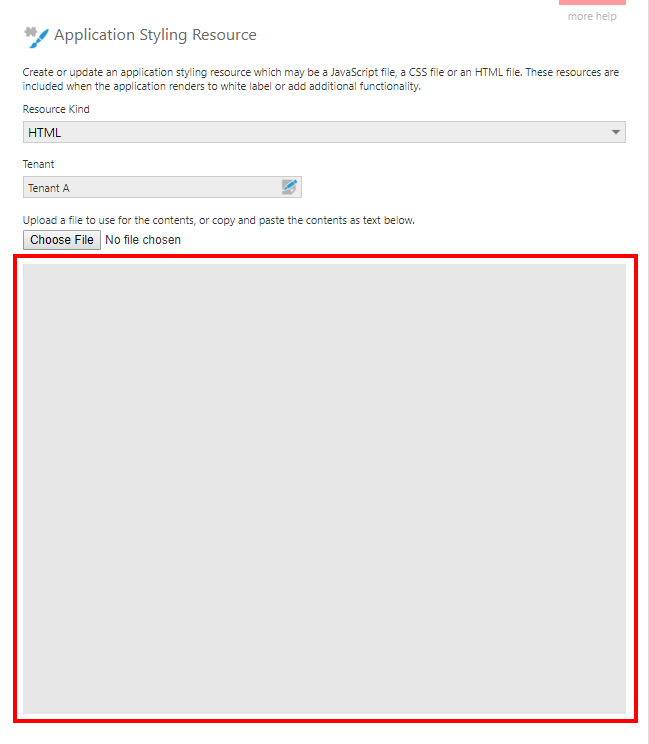
Click Choose File to select an existing file containing the content, or enter or paste the styling content directly into the dialog.
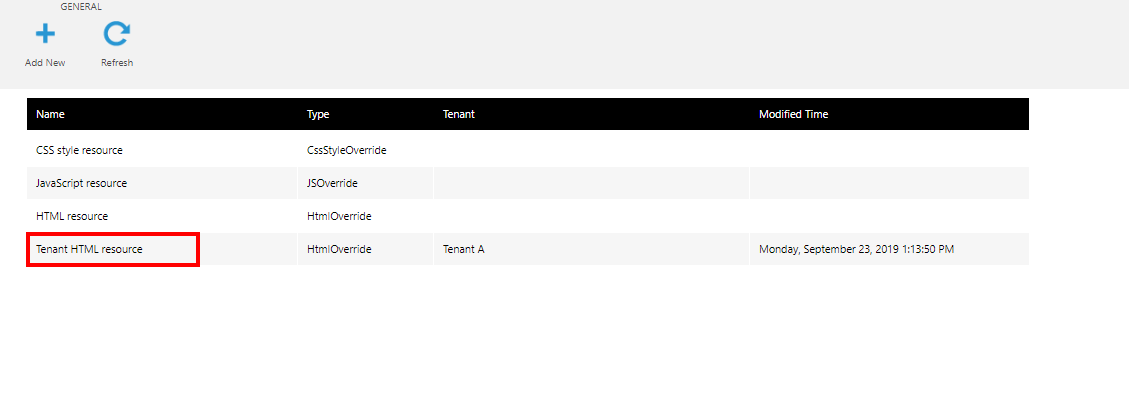
Click Submit. A separate tenant resource is now listed, which is now applied the next time one of the tenant's users loads a page.
2.2. Branding the log on screen
Styling resources pertaining to the log on page are applied by passing in the corresponding tenant ID via query string when navigating there. For example:
http://dbi.example.com:8000/LogOn/?tenantId=bcfad362-12c3-458b-b072-9ea0e4110c4e
2.3. Testing the styling
To test your tenant-specific resources beyond the log on screen, log on with a user account that belongs to the tenant (i.e., the Tenant field is set for this user account). The scripts, styles, and HTML associated with this tenant will be applied.
3. Apply dashboard theme per tenant
When you want to customize the styling of dashboards that are reused between different tenants, an alternative to using the application styling resources described above is to define tenant-specific styles and themes. A simple script can then be used in the Loading action of the shared dashboard to load the appropriate theme.
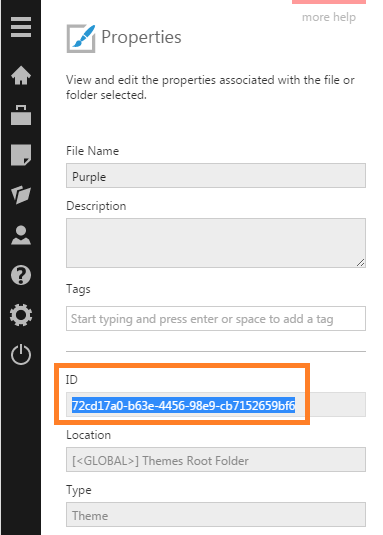
To use this method, first record the ID of the theme file from its Properties dialog.
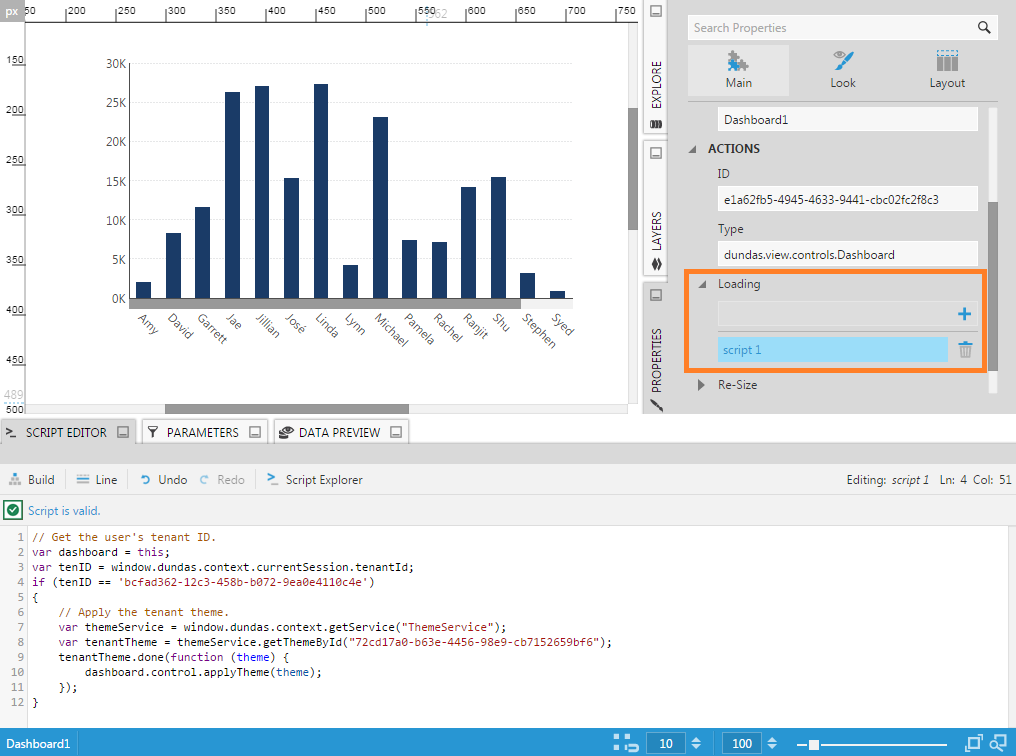
Next, go to the Properties window when editing the dashboard and add a Loading script action.
In the Script Editor, you can use code like the following:
// Get the user's tenant ID.
var dashboard = this;
var tenID = window.dundas.context.currentSession.tenantId;
if (tenID == 'bcfad362-12c3-458b-b072-9ea0e4110c4e')
{
    // Apply the tenant theme.
    var themeService = window.dundas.context.getService("ThemeService");
    var tenantTheme = themeService.getThemeById("72cd17a0-b63e-4456-98e9-cb7152659bf6");
    tenantTheme.done(function (theme) {
        dashboard.control.applyTheme(theme);
    });
}
To test the dashboard, check it in, log off and log back on as a user that belongs to the tenant, then view the dashboard.
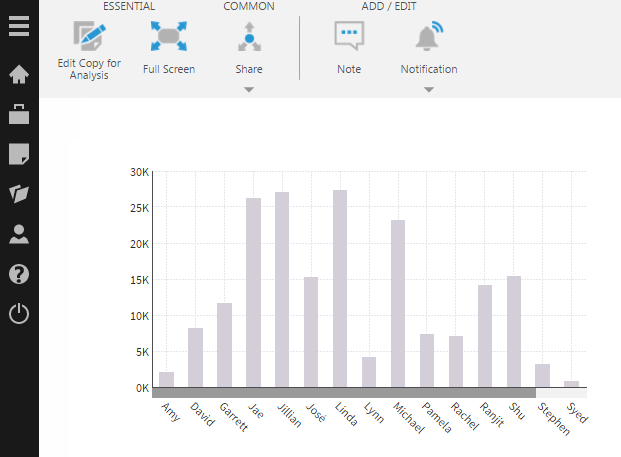
For the example script above, the Purple theme should be automatically applied.
