Administration overview
Administration tasks are performed right from the main interface, including licensing, application configuration, and user accounts and their privileges.
1. Accessing admin functionality
To access the administration functionality, first log on as an administrator user. After initial installation or sign-up, the built-in administrator user's logon name is admin, and the password is the one specified during the installation procedure or provided to you. Users who are part of the System Administrators group also have access to the administrative functions.
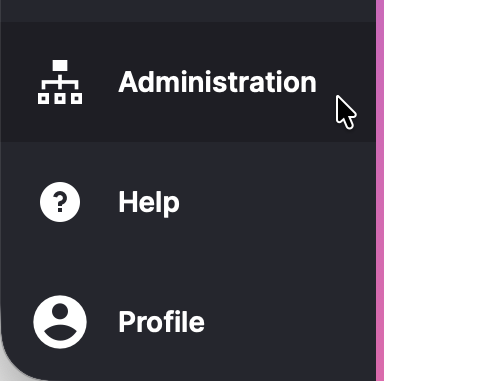
In the main menu on the left, click Administration. In some versions, this option is found after first clicking Profile.

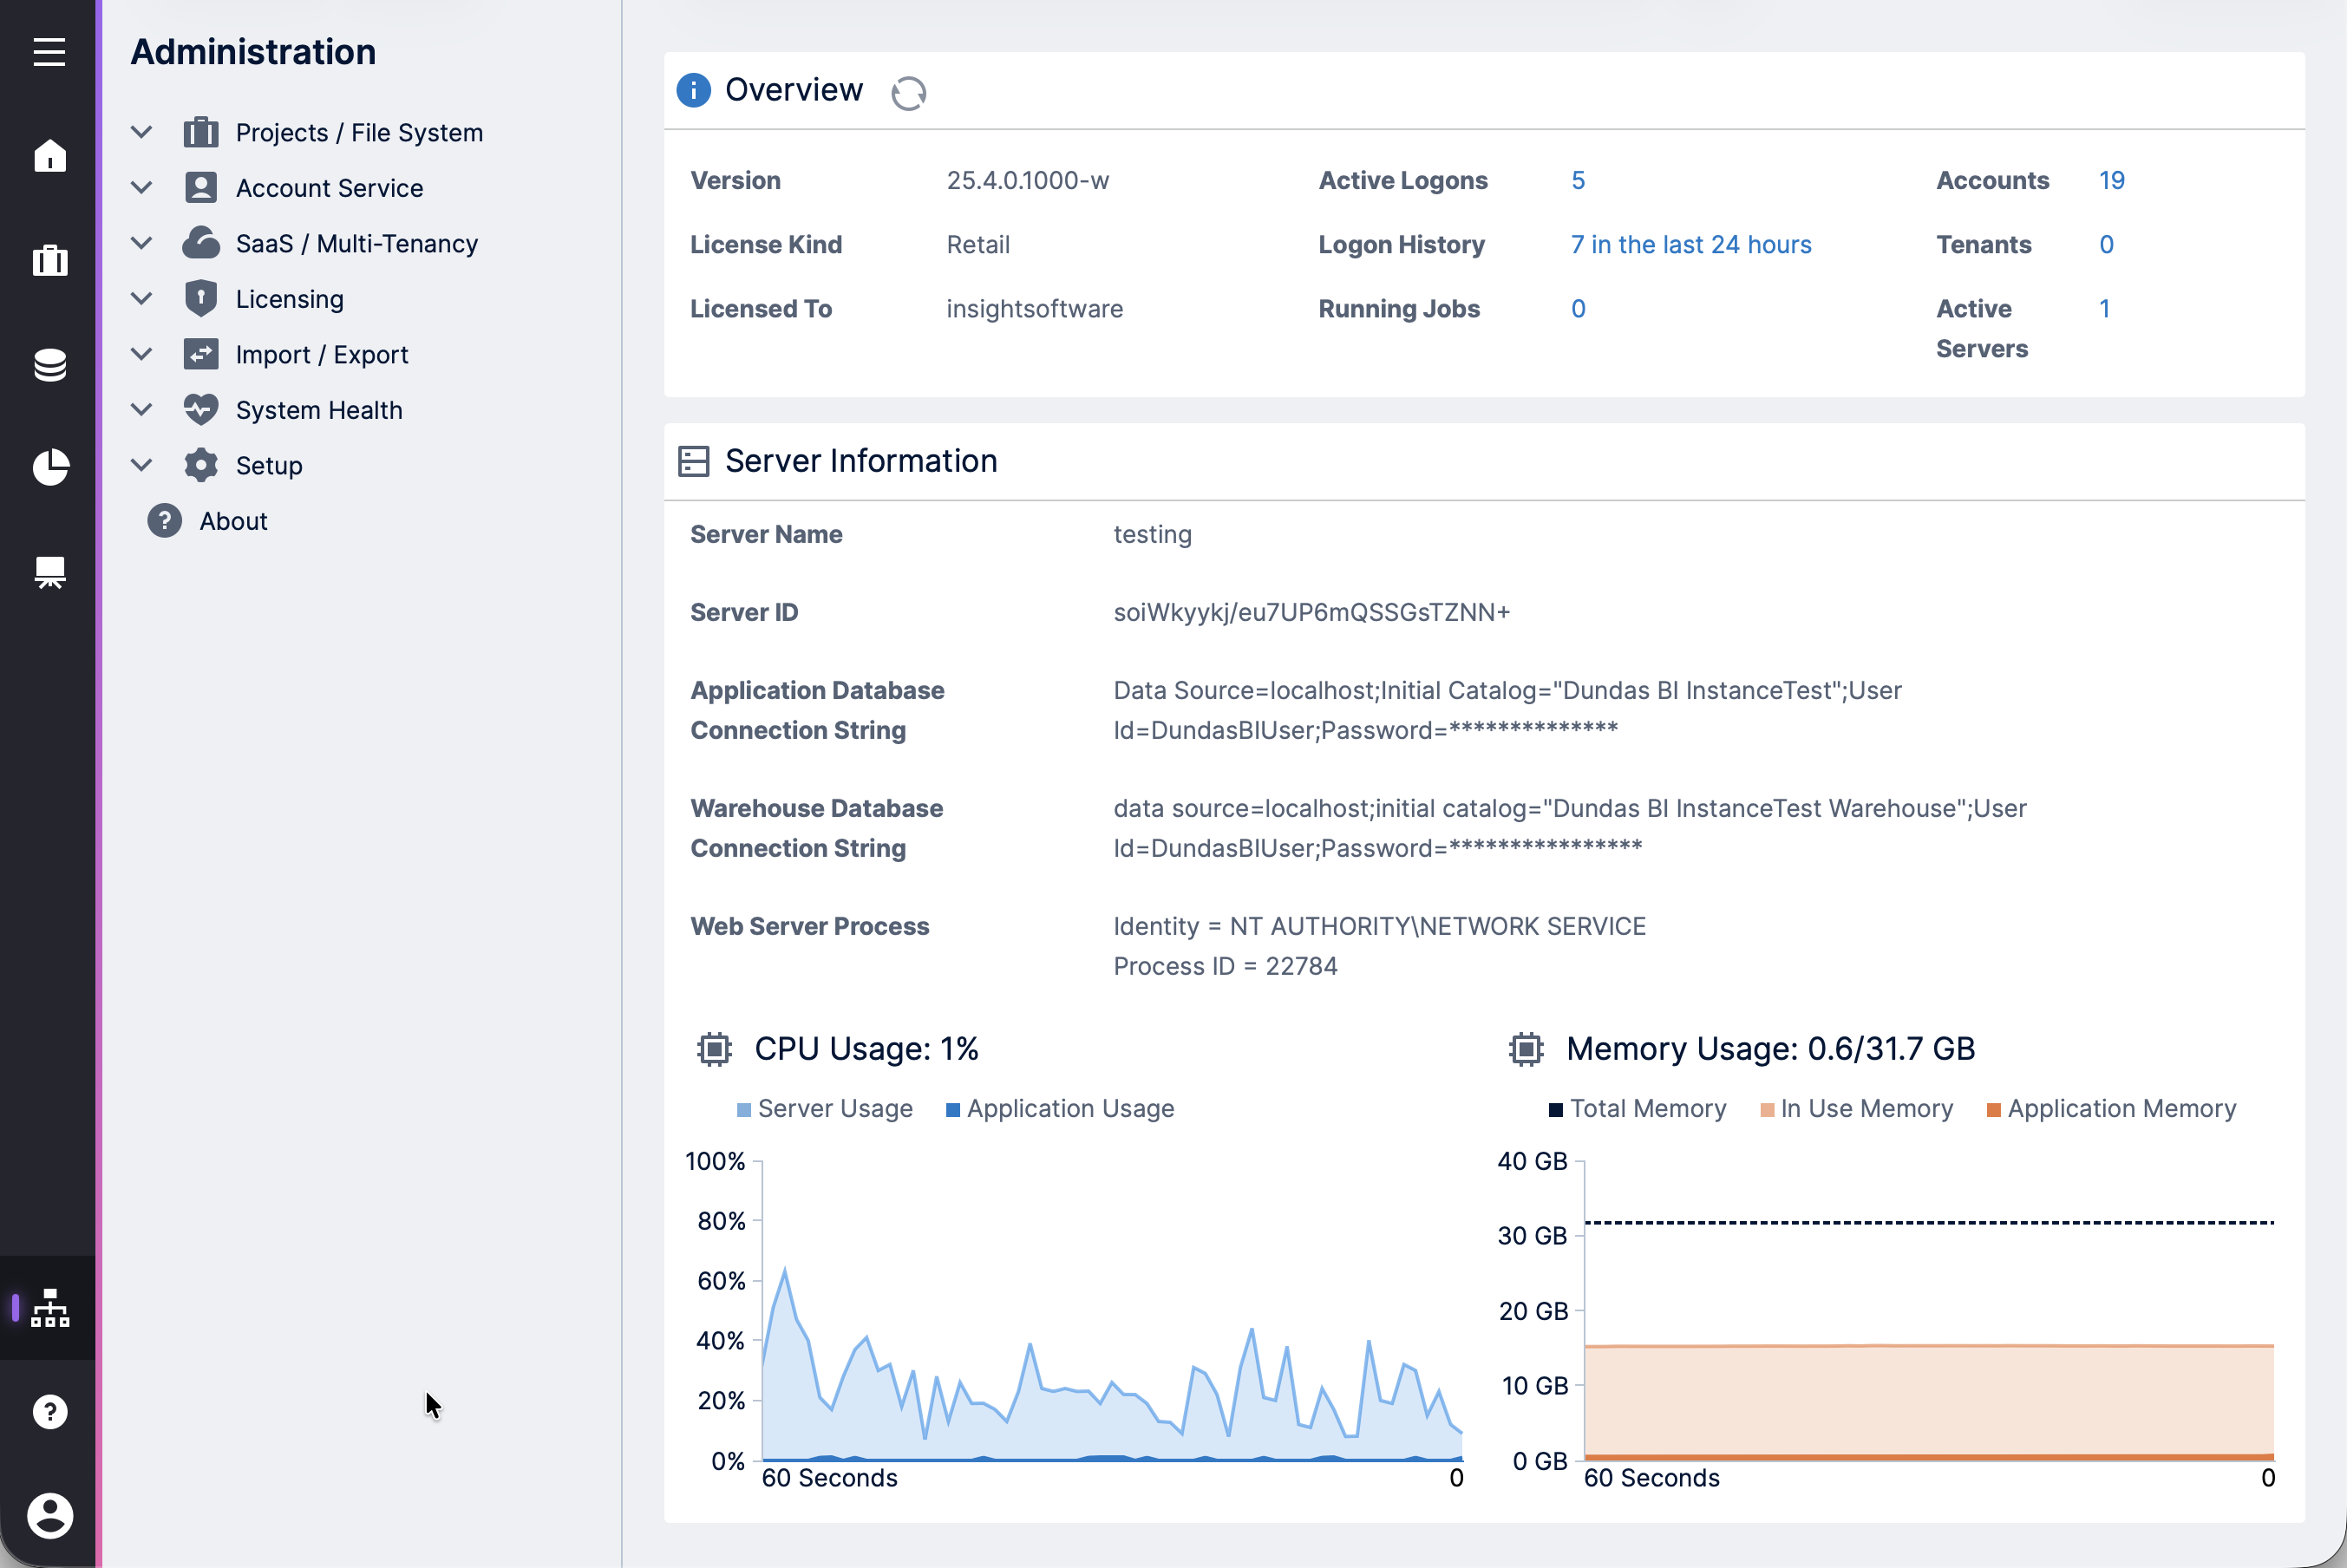
This opens the administration homepage and a list of administrative functions you can navigate between in the sidebar on the left.
1.1. Administration homepage
The administration homepage is displayed for system administrators and its main content area is divided into three sections:
Notifications
Errors and warnings such as for failed jobs, critical log entries, or licensing issues may appear at the top of the page, and may include a link for further information.
Application Information
Information related to this application instance, including:
- Version of the software instance
- License kind and licensee
- Application identity and ID
- Numbers of active & recent logons, running jobs, accounts, tenants, and servers - click to go to the respective area
Server Information
Information related to the currently-used server, including:
- Server name and ID
- The connection strings you configured for the application and warehouse databases, if applicable
- CPU and memory usage
2. Administration areas
Administration functions are categorized into different areas such as Account Service and Licensing in the sidebar to the left. Click on one of the headings to expand it and see the available options.
2.1. Projects / File System
The Projects & File System area lets you:
- Create, edit, and delete projects
- Explore and reorganize the files and folders within an existing project
- Rename, edit, publish, or delete file items (e.g., data connectors or dashboards)
- Set up security privileges and other properties for projects, files, and folders
- Manage data cube storage options and scheduling
See Manage projects and the file system for more details on these options.
2.2. Account Service
The Account Service area lets you:
- Create, edit, and view user accounts, including seat type and application privileges
- Create, edit, and view account groups
- Manage logon sessions, including terminating a logon session
- View the logon history
- Define custom attributes to associate with users or groups for row-level security via filtering or security hierarchies
- Manage user-defined notifications within the application
- View, approve, or deny account registration requests
2.3. SaaS / Multi-Tenancy
Built-in support is available for SaaS (software-as-a-service) and multi-tenant deployment scenarios. Use the SaaS / Multi-Tenancy administration area to:
- Create and manage tenants which are isolated from each other
- Add user accounts or groups to a specific tenant
- View and manage tenant projects
- Share a single project and its dashboards with multiple tenants using tenant overrides
- View and customize the licensed seats for each tenant individually
2.4. Licensing
The Licensing area lets you manage existing licenses and add new licenses. You can also see how many licenses of each type are in use and how many are available.
2.5. Import / Export
This area lets you:
- Import and export projects, accounts, settings, and various other files and objects from one application instance to another
- Save your export settings for future use
2.6. System Health
Use the System Health area to:
- Access application logs to troubleshoot operational warnings or errors
- Manage running and scheduled jobs:
- View the status of each job or cancel a running job
- Monitor the status of warehouse and in-memory storage builds
- View and modify scheduled notifications
- Verify email settings by sending a test email
- Run health checks and fix identified issues
See Monitoring system health for more about these options.
2.7. Setup
The Setup area lets you:
- View and modify configuration settings
- Register servers and add server groups if you've deployed multiple installations
- Create and modify tokens available for users when filtering data
- Customize the application with CSS, JavaScript, HTML, images, and other custom files
- Manage localization and extensions
2.8. About
Click About to view the About screen for this application instance.
The About screen displays information such as:
- Version
- Release Kind
- Build Date
- Licensed To
- License Kind
- License IDs
- Session ID
- Application Diagnostics
All users can access a similar screen from their profile via the More about this product link, but non-administrator users see fewer details. To also hide the product version from those users, enable the Hide Error Stack Traces configuration setting.

