Configuration settings
1. Overview
You can view and modify configuration settings through the administration web interface.
2. View or modify configuration settings
To view or modify configuration settings, go to the Administration area.
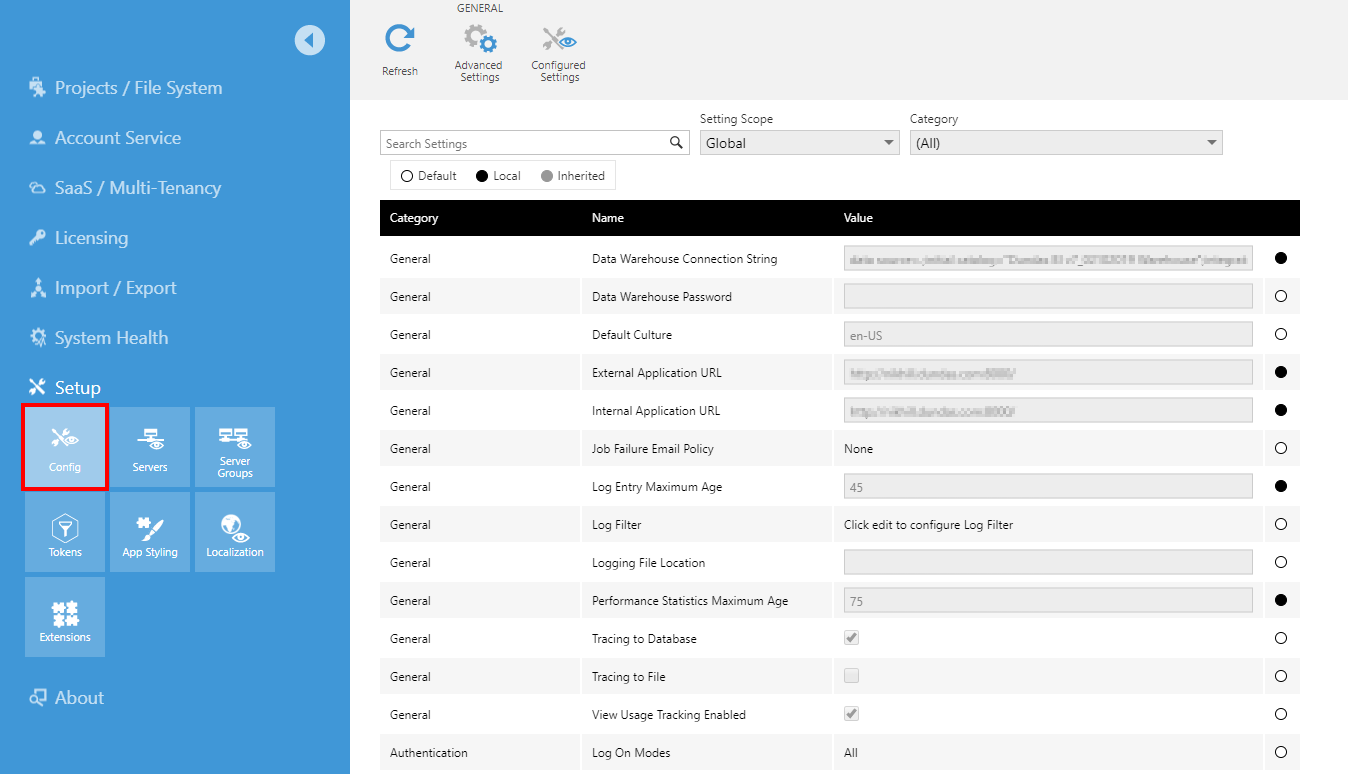
Expand the Setup section along the left and click Config. The configuration settings are displayed in a table.
2.1. Advanced settings
By default, advanced settings (such as App DB Query Timeout) are hidden. To see the complete list of settings, click the Advanced Settings icon on the toolbar. Advanced settings are displayed in italics.

2.2. Filter by category or search for settings
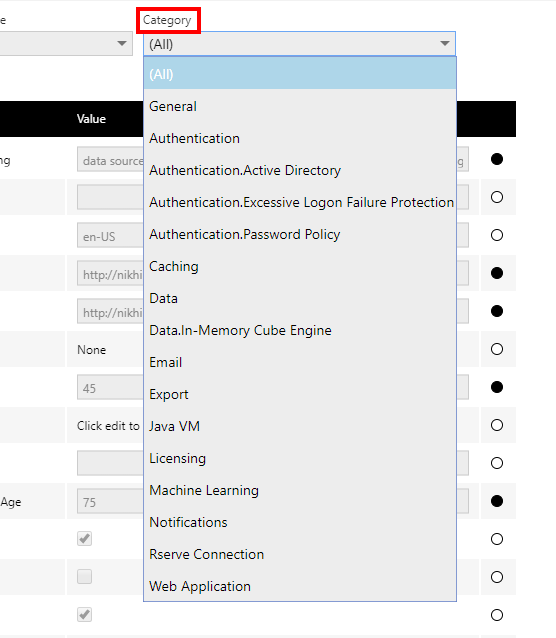
Use the Search box or the Category dropdown to easily find the setting(s) you need.
For example, if you want to see only email-related settings, set the Category dropdown to Email. The table of settings will be filtered accordingly.
To filter the list to include only settings that have been previously set or changed, click Configured Settings in the toolbar next to the advanced option.
2.3. Setting scope
For scalability, multiple servers are supported (i.e., a server farm) for handling application and data processing.
When your installed application instance has server groups set up, you can override each configuration setting on different levels such as globally, across a server group, or per-server. The override system works as follows:
- A configuration setting may have a built-in default value.
- A Global value for a configuration setting will override the corresponding default value.
- A Server group value for a configuration setting will override the corresponding global value.
- A Server value for a configuration setting will override the corresponding server group value.
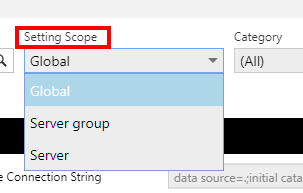
Use the Setting Scope dropdown if applicable to view or modify the configuration setting values at the Global, Server Group, or Server levels.
If you don't provide a setting value at a certain level, it will just inherit the setting value from the next priority level. For example, if you're at the Global scope and you don't specify the value for the Default Culture setting, it will inherit the default value of en-US.
2.4. Source for a configuration setting
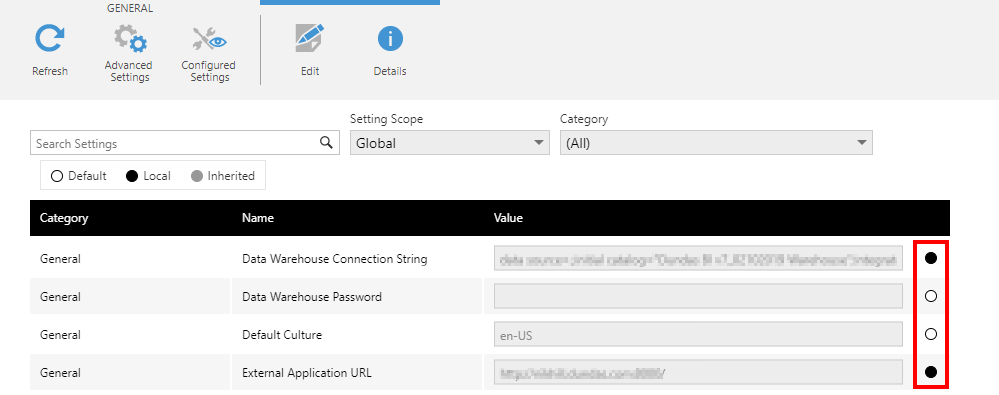
Beside each configuration setting is a symbol that helps you quickly identify which settings have been customized:
- Default (empty) - The setting value is the default, built-in value.
- Local (filled) - The setting value is set directly in the current setting scope.
- Inherited (shaded) - The setting value is inherited from another scope (where applicable).
2.5. View the details for a configuration setting
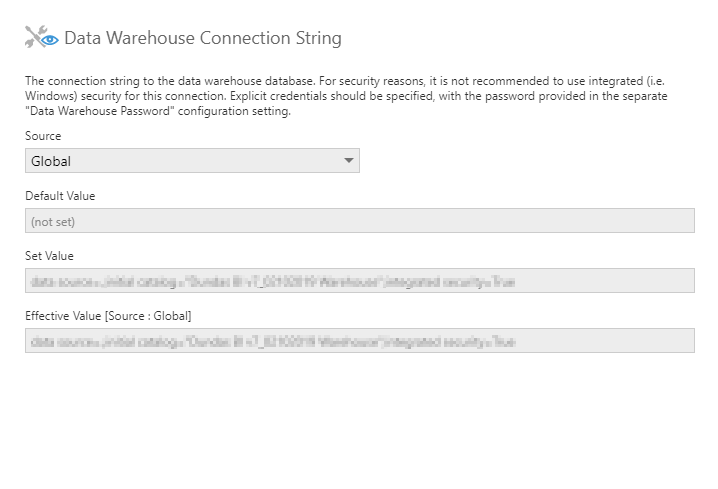
Select a configuration setting and then click the Details icon on the toolbar.

The following details are displayed for that setting:
- A description of the setting.
- The default value of the setting (if any).
- Whether the setting is set in the current scope or not, and its value if it is set.
- The effective value of the setting and its source.
2.6. Modify a configuration setting
To edit/modify a configuration setting, make sure you are in the proper setting scope if applicable, select the setting and then click the Edit icon on the toolbar.
A dialog appears on the left, allowing you to set a value or reset it back to default. The actual options in the dialog will be different depending on the configuration setting.

3. Example settings
3.1. Automatic Windows Log On
Automatic Windows Log On is one available method of Single Sign On (SSO) when logging on with Windows credentials. By default, this setting is turned off in the configuration settings.
Before enabling this option, first ensure that the Log On Modes configuration setting is set to All or Windows.

Then enable the Automatic Windows Log On configuration setting.
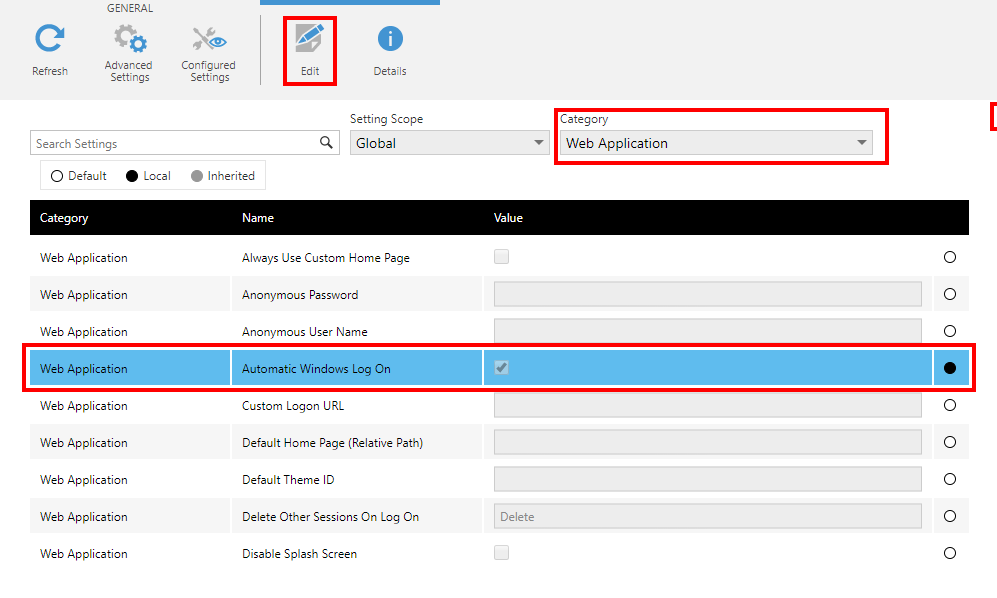
Note that Windows authentication must be enabled in IIS as well. For more details, see this Microsoft article: Configure Windows Authentication (IIS 7).
Once enabled, automatic logon will occur for all URLs that do not require explicit authentication. For example, navigating to http://yourinstance/ will take you directly to the home screen, whereas http://yourinstance/LogOn/ will still show the Log On screen.
3.2. Multiple Domain Support
This setting enables working with multiple Active Directory domains. Activating the Multiple Domain Support setting lets you set up cross domain authentication by adding Windows accounts and Windows groups from another domain.
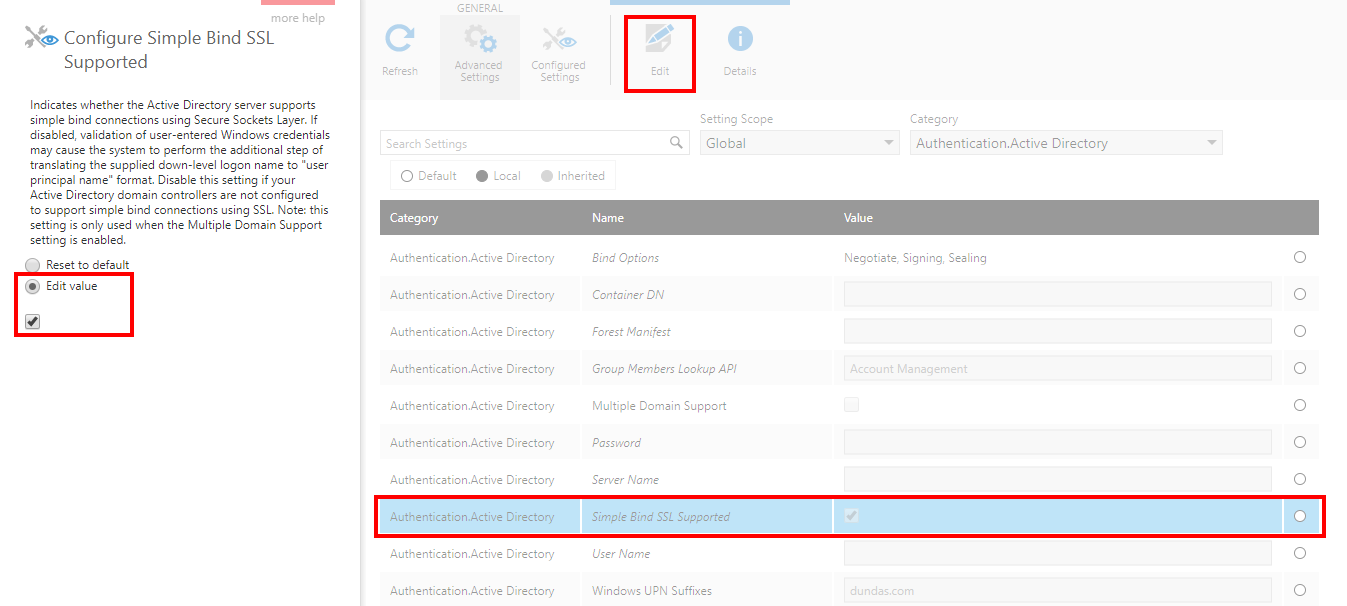
Under Category, select Authentication.Active Directory, select the Multiple Domain Support setting and then click Edit on the toolbar. On the edit settings dialog click Edit Value and select the checkbox.

If your Active Directory domain controllers are not configured to support simple bind connections using Secure Sockets Layer (SSL), you have to disable the Simple Bind SSL Supported setting. This setting is an advanced setting.
3.3. Default Home Page (Relative Path)
This configuration setting lets you set the page that appears when a user logs on. It applies to all users application-wide as long as their Default View is set to Home (i.e., the user has not set a specific default view).
The setting value must be a relative URL like the one you get when you open a dashboard:
/Dashboard/abd7c93f-c9a6-4ecd-b7cf-7206d1977eae?e=false&vo=none
Or, it can be a relative URL like the one you get when you use the share link option:
/Link/?shortLink=yt1sca4pw9ir7ryke9ymew54th
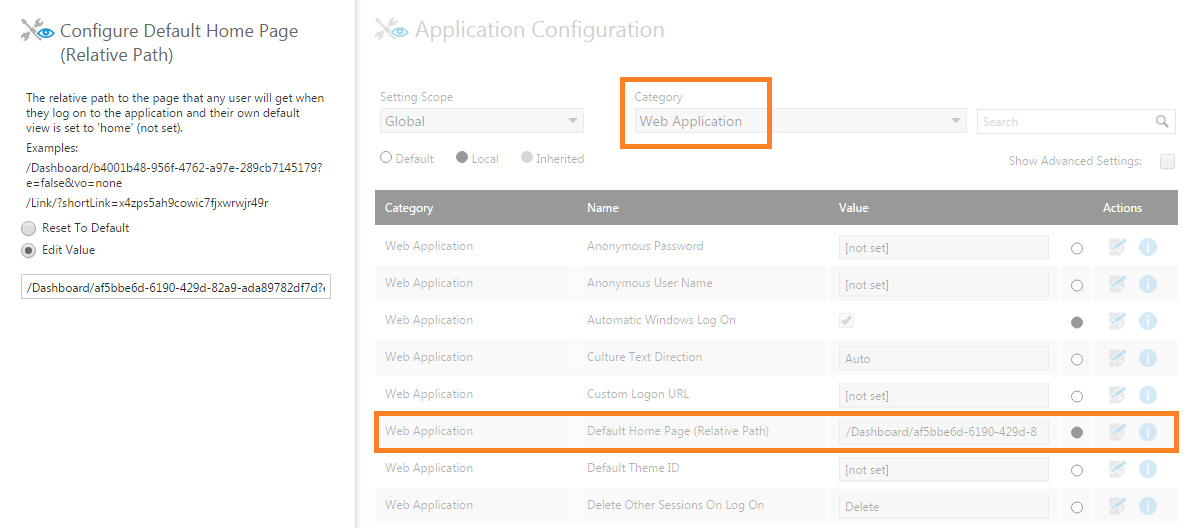
You can also configure the related setting Always Use Custom Home Page to also direct users to the customized home page when they navigate back there after logging in.
3.4. Email settings
For instances of the application that you installed yourself, email settings must be configured for certain features to work, including notifications and password reset from the logon screen. You may have configured these already when deploying.
Set the Category dropdown to Email to filter to the available email settings. Note that the Advanced Settings toggle is necessary to see some settings.
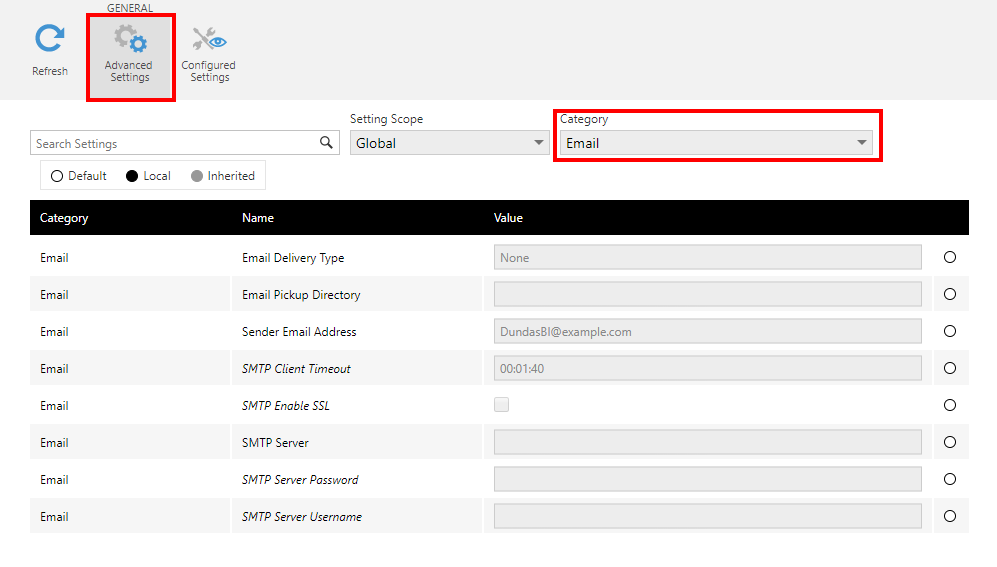
The following table describes the various settings needed to enable sending emails. Email is sent via an SMTP server, or you can have the email messages delivered as files to a network share folder.
| Setting | Description | Values/Example |
|---|---|---|
| Email Delivery Type |
The email delivery type to be used by the application:
|
|
| Email Pickup Directory | Email pickup directory location (applies when the email delivery type is Drop Folder). For example, set this to a network share folder. | \\server1\share |
| Sender Email Address | The sender of the email messages sent by the email service. | sender@example.com |
| SMTP Enable SSL | If enabled, SSL will be used when connecting to the SMTP server. | true/false (default) |
| SMTP Server | The SMTP server (applies when the email delivery type is SMTP). An optional port may be specified here as well (e.g. "smtp.example.com:25"). | smtp.example.com |
| SMTP Server Password | The password for SMTP server authentication. | Leave empty if authentication is not required. |
| SMTP Server Username | The username for SMTP server authentication. | Leave empty if authentication is not required. |
There are a couple of ways to test the email settings after you've set them.
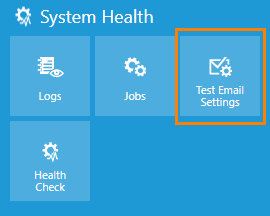
The first way is to expand the System Health administration section and click Test Email Settings. You'll be asked to enter an email address to receive a test email.
A second way to test is to create a note-based notification and then add a note to a data point in a visualization. Next, check your inbox or drop folder for the notification message. If you don't see the message, view the application logs for any email-related errors (e.g., search for "Email"). If you get errors when using the Drop Folder delivery type, it may be due to permissions on the network share folder.
It is also recommended to set the Maintainer Email Address setting in case of issues such as license expiry or job failure. (If unset, the built-in System Administrator account's email address will be sent these messages.)
3.5. Internal Application URL
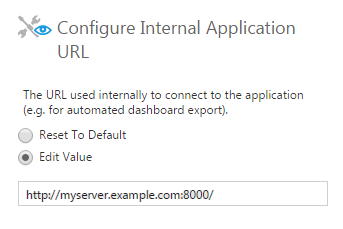
The Internal Application URL setting (if applicable) must be configured properly for scheduling-related features such as scheduled notifications to work properly. This URL is used by the Scheduler Service.
3.6. Log Filter
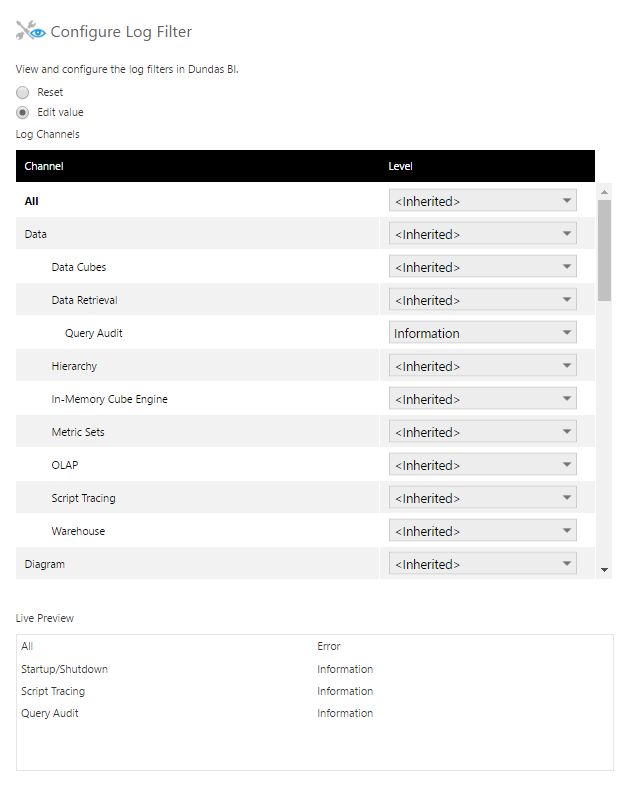
The Log Filter configuration setting lets you control the filtering of messages in the application logs. For each log channel (application area), you can independently set the level of logging you want (such as log only Critical messages or do Verbose logging). Use the scrollbar to see all of the available log channels.
If you change the level for a channel, you'll see it listed in the Live Preview section.
For example, if you set Query Audit to an Information level, every query sent to the database for data retrieval will be included in the log.
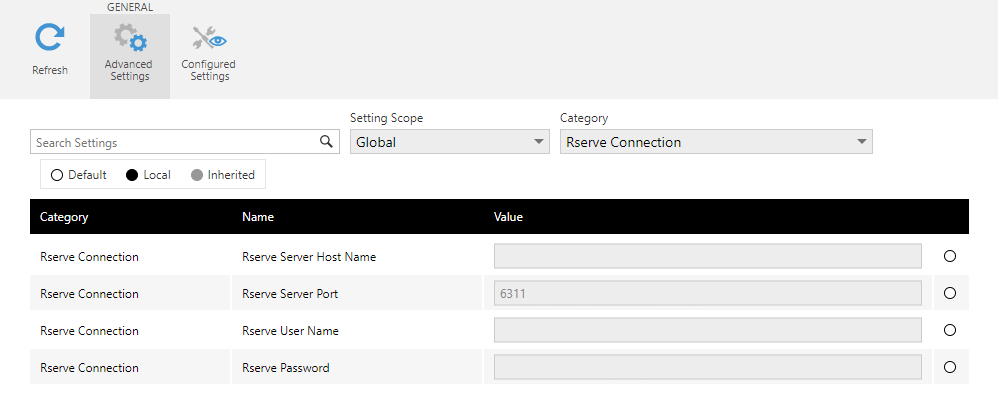
3.7. Rserve Connection
The Rserve Connection settings let you specify the details for connecting to an external R server. This is required in order to use the R language transforms such as R Data Generator.
If you have installed Rserve for Windows on your server for testing purposes, then the default Rserve Connection settings should suffice.
3.8. Additional Export Command Line Arguments
The exporting service relies on the Chrome Embedded Framework (CEF), which sometimes requires additional arguments. The Additional Export Command Line Arguments setting lets you specify any extra command line arguments required for the exporting application.
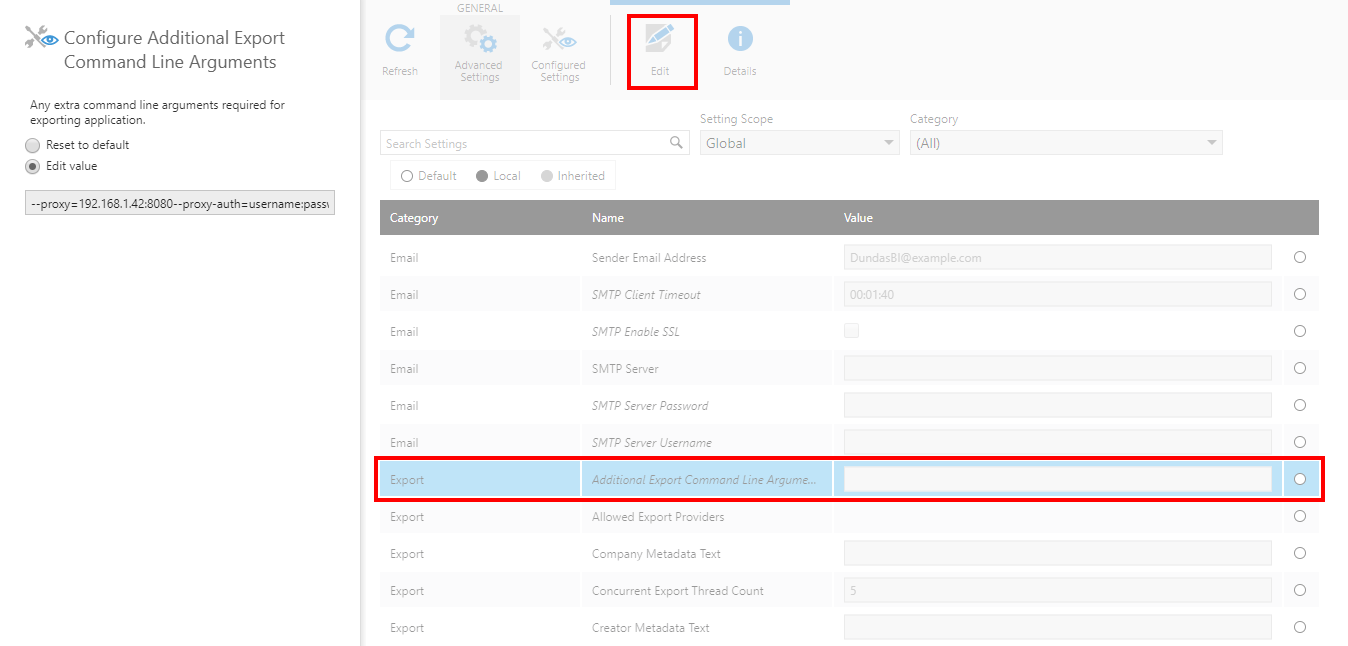
The following table describes the various CEF arguments supported:
| Argument | Description |
|---|---|
| --proxy=address:port | Specifies the proxy server to use (e.g. --proxy=192.168.1.42:8080). |
| --proxy-type=[http|socks5|none] | Specifies the type of the proxy server. The default server type is set to http. |
| --proxy-auth | Specifies the authentication information for the proxy server (e.g. --proxy-auth=username:password). |
4. See also
- Installing Dundas BI
- Configuration best practices
- Configuring notifications and other scheduling features
- How to enable anonymous log on
- Set up a custom logon URL
- Setting a default theme
- Turn off automatic saving for views
- Set a configuration value from the command line
- Override config settings using an XML file
- Create custom application configuration settings
- Script Library: Application Configuration Service
